kitchen and bath

Dramatic Kitchen Shines in this Mountain Retreat

Every once in a while, a project comes along that is really special.  Now, that's not to take away anything from any of my other remodels or new construction projects - but sometimes you are lucky enough to be part of a project in which all of the involved parties have an unquenchable thirst to build something that pushes our creative boundaries in the quest to provide a truly unique space.  This house, this kitchen is definitely one of these spaces, and it shows through in every room of the house.  I was hired by the interior designer on this project to provide the cabinetry design for this kitchen.  We started from scratch and built something that we had never done before.  I'm quite proud of the result. You'll notice that all of the cabinetry has a reflective surface in the door.  I had to work with our cabinet shop to create a new door that would accept both a bronze glass panel and a cherry veneer panel in the door.  It wasn't easy but we figured it out and the end result is beautiful!  The Sub Zero housing is encased in a floor to ceiling column that is cladded in a natural stone.  The housing itself had to be completely re-thought from our standard because of the door swings on the refrigerator, hence the 135 degree angles on the pilasters that anchor either end of the housing.  Above the fridge, we placed a piece of Lumix Quartz (same as countertops).  The result is a piece that mimics a work of art instead of an appliance.

If you are interested in working with any of the other professionals associated with this project (interior designer, architect, builder), please get in touch with me.

[gallery type="rectangular" columns="2" ids="714,715,716,717,718,719,720,721"]

Cherry Creek Loft - European Styled Kitchen and Bath

The Kitchen

I think that when most of us think of "modern" style, we tend to associate it with very cold spaces that are fun to look at, but seem fairly sterile and cold.  Contrarily, this space is definitely modern, but also feels warm.  I accomplished this feat by pairing high gloss custom color laminate wall cabinetry against a matte finish, dark cabinet below.  The dark cabinetry is actually a rift cut gray oak veneer with a custom stain on it.  Luxury appliances by Sub Zero and Wolf allow this sleek kitchen to perform at a very high level as a chef's preparation area.  I designed a custom cabinet to house a dishwasher about 12" off of the floor.  This higher placement makes using the appliance much easier.  The end result is a space that doubles as both a wonderful cooking haven and a entertaining space.

[gallery columns="2" type="rectangular" ids="681,682,683,684"]

The Master Bathroom

The master retreat - as I like to call it - is just that: a retreat from the stresses of daily life.  It's a very calming room when you step into it.  Subtle colors on cabinetry, tile, and countertops are a nice compliment to the cool blue metallic paint used on the walls.  A very nice place to start your day...or end it.

[gallery columns="2" type="rectangular" ids="689,690,691,692,693"]

European Styling in the Heart of Cherry Creek

I knew this kitchen would turn out wonderful when I first met the client.  She was open to exploring the options available in new materials and was more than willing to "go that extra step" with the design that took it from great to amazing.  The tall and upper cabinetry is a high gloss gray laminate and the base cabinetry is a composite rift cut white oak veneer with a custom stain on it.  This was a difficult kitchen to plan for, as we had to order the cabinetry from two different manufacturers, yet make it look seamless.  I think we accomplished this feat to perfection. These photos were taken by yours truly so the quality isn't fantastic.  We plan to professionally shoot this project in about a month though, so I'll post those photos as soon as they're available!

[gallery type="rectangular" ids="663,664,665"]

Cooking appliances:  Wolf induction cooktop, island hood, and oven/microwave.  Sub Zero refrigeration.  All integrated and all very sleek.  We raised the dishwasher in a custom cabinet to elevate it 12" higher than normal.  It is very easy to get into and out of.  That sort of configuration is not always doable and is based on the space available to us.  In this case, it worked perfectly - so why not??

The perimeter stone is quartz and the island is honed granite.  Stainless steel upstands and back-painted glass doors also add to the character.

Clean Traditional White Kitchen

These young clients preferred a throwback to traditional style when they decided to purchase and remodel an East Wash Park Bungalow.  From the very beginning, these clients were open to all sorts of ideas.  We eventually settled on a white kitchen with contrasting blue island.  The lighter colored flooring, neutral backslash, and carrera marble countertops all contribute to a very open and light feel.  Casual and refined; perfect for this growing family of four to eat dinners together or entertain guests. I teamed up with designer Megan Kane and the result is beautiful and functional.  Appliances are by Thermador: Integrated refrigeration and freezer columns, a 36" range, and built in microwave.  The bar area (not pictured) includes an ice maker and under counter beverage center.

[gallery columns="2" type="rectangular" ids="641,642,643,644,645,646"]

A Traditional Kitchen Remodel

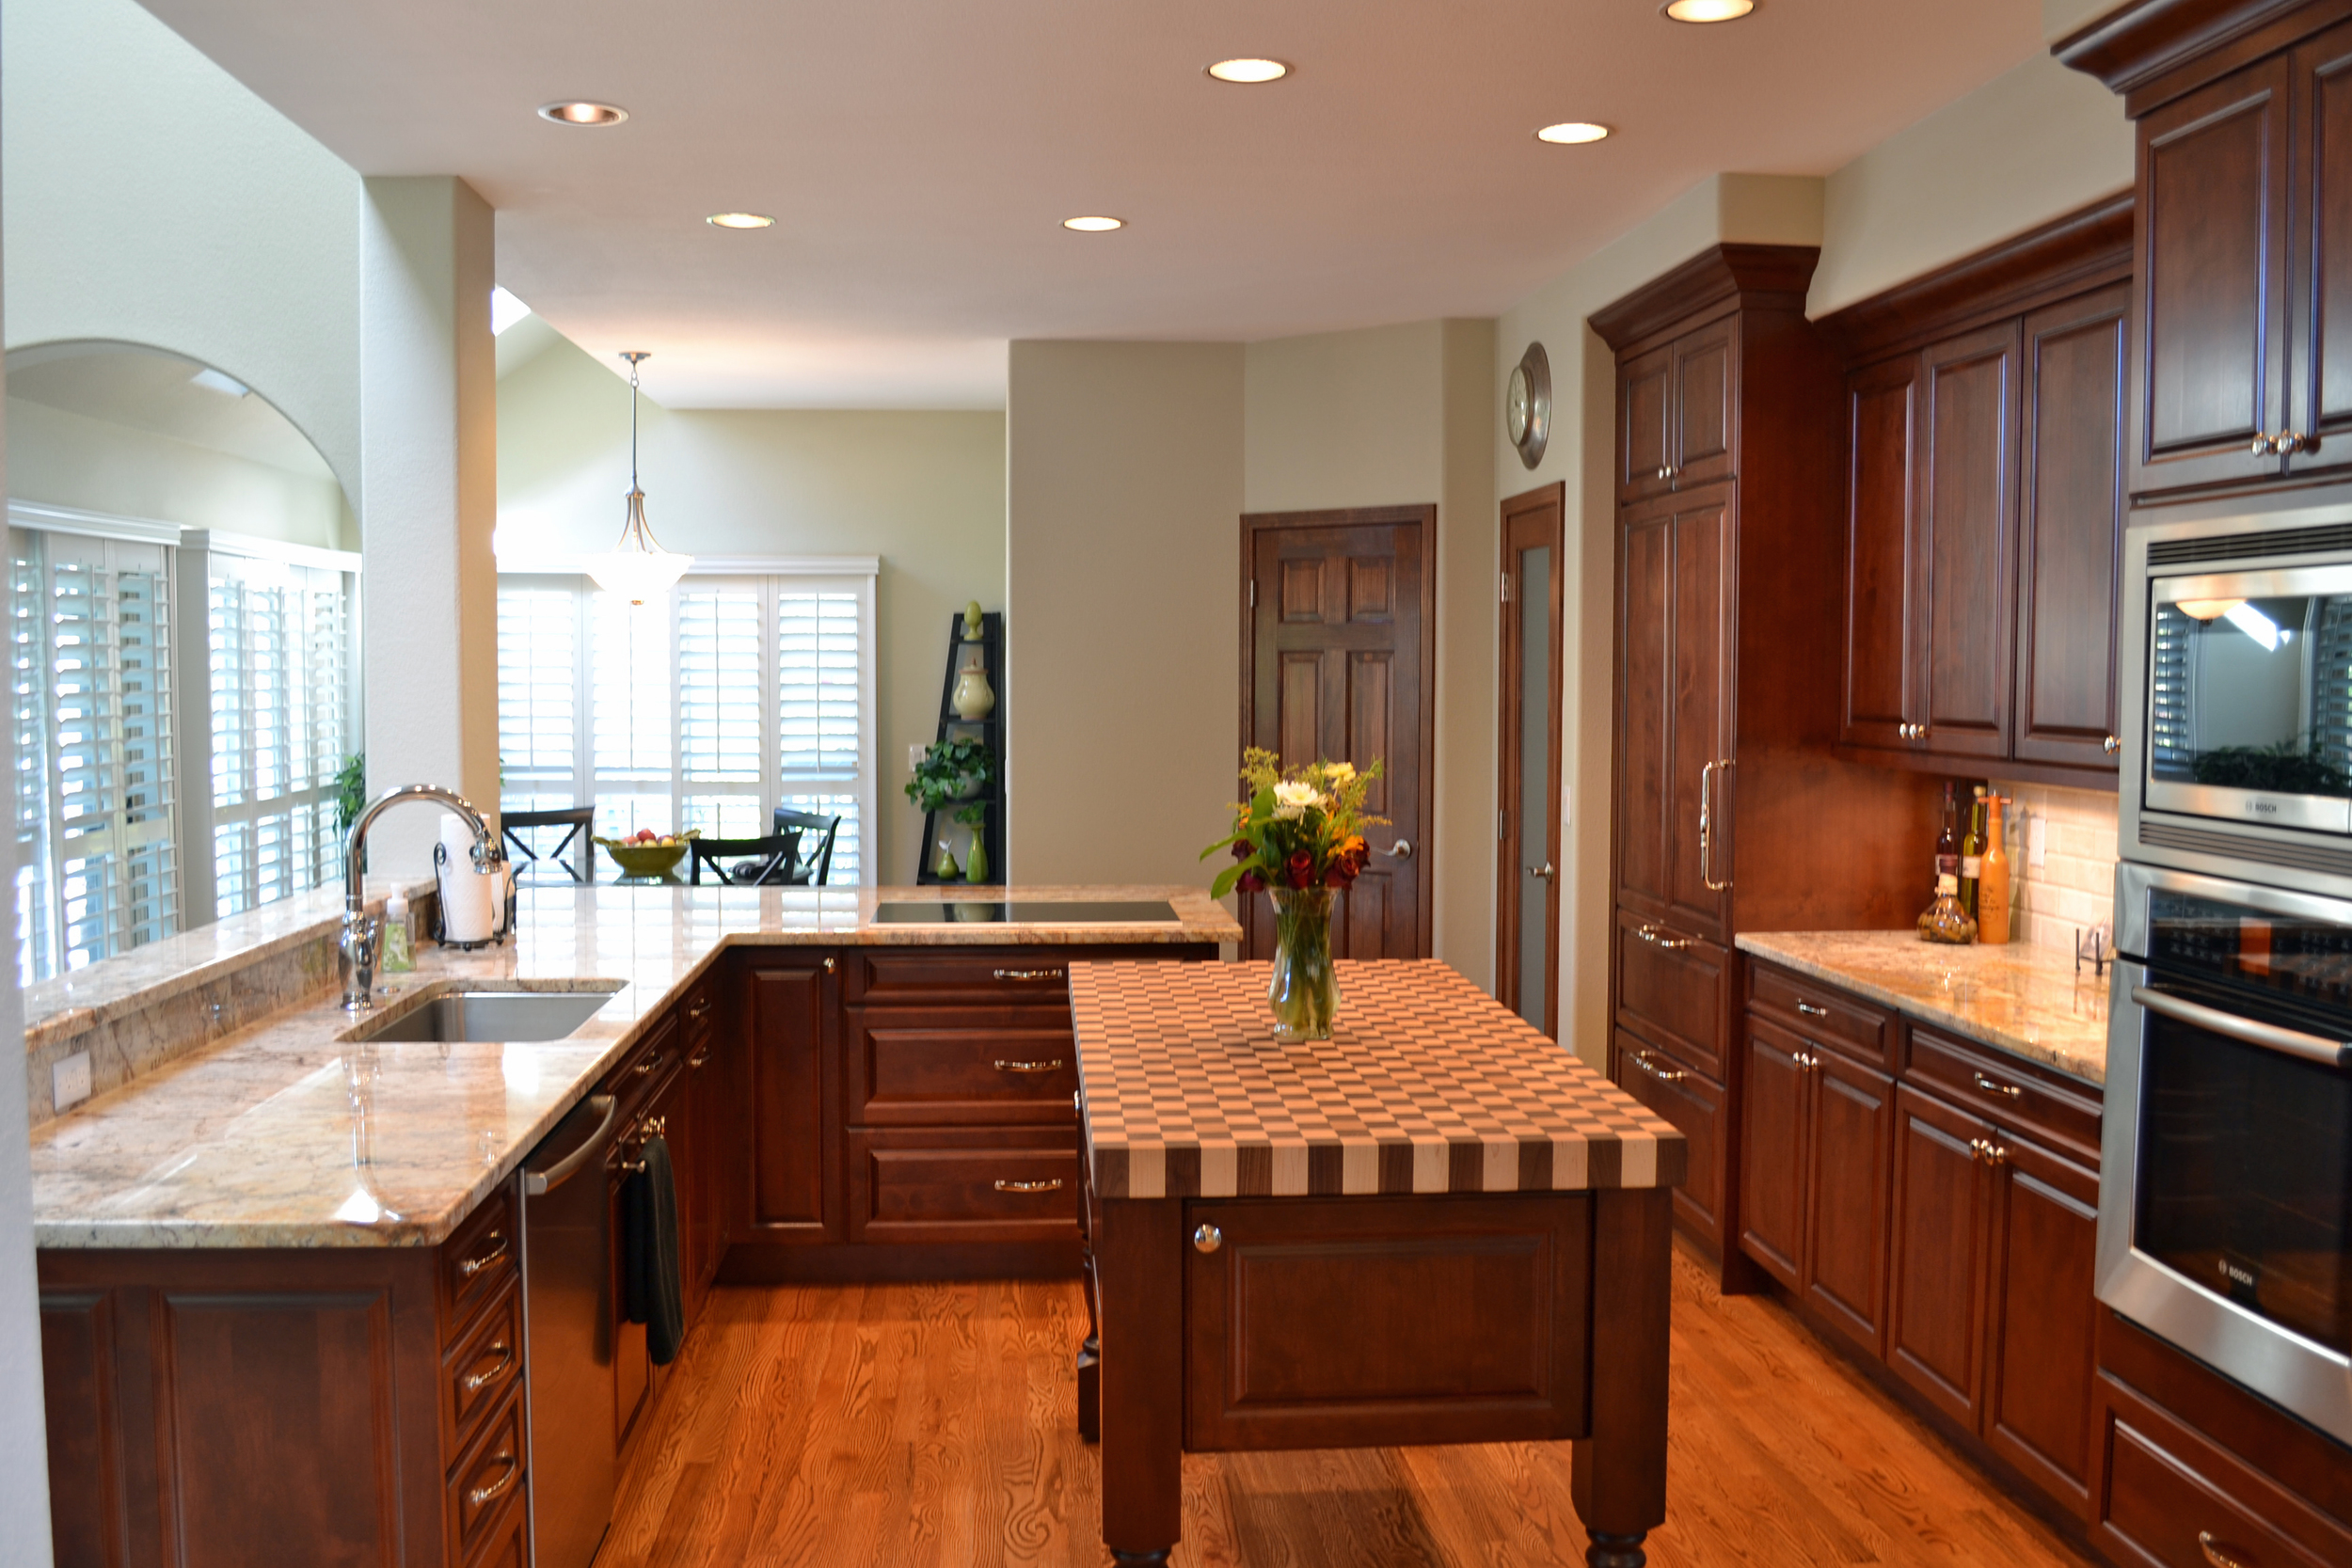
The clients, in Centennial Colorado, were interested in garnering more prep space on the countertops, updating their look, and most importantly increasing the functionality of their kitchen.  It's a difficult space!  With multiple openings, and only one true wall to work against, it was definitely a challenge coming up with a design that would satisfy all of their needs.

The old kitchen was white, builder grade.  The induction cooktop was located on the island, and their previous peninsula, to the right of the sink was desk height and awkward.  There was a serious lack of preparation space.  By stealing space from a pantry and walkway into garage, we were able to add seating for 4 people comfortably, take the cooktop off of the island, and add much needed counterspace to the back wall.  One of the biggest structural changes we made was removing a stand alone coat closet in the middle of the house.  You can see the difference it makes in the before/after pictures below.

The backsplash tile is a 3 x 6" polished limestone that we found at Decorative Materials in the Denver Design Center.  I wrote about this tile here, and it ended up being the perfect compliment to the Typhoon Bordeaux granite.

The true star of the kitchen is the 2-1/2" thick butcher block top.  It's a combination of walnut and maple, end grain.  This top was painstakingly created in Pennsylvania and shipped to Colorado, where it sits atop a mobile island.  Yes, the island is movable.  We sourced low profile casters and installed them on the bottom of each island post.  The result is a space that is truly multi-functional and very friendly for two cooks.

[gallery type="rectangular" ids="627,628,629,630,626,625,622,621,623,624"]

Some Notes from KBIS 2011 in Las Vegas

image First off, I apologize for the formatting. This is my first post via a mobile device.  We'll see how it turns out.

I am also convinced that Electric Mirror is going to be a hot item in the coming year.  These mirrors provide lighting and mirror in one, which is really nice because the best lighting at the vanity is at eye level, not from above.  I recently specified the "Novo" mirror for a Denver bathroom remodel and can't wait to see the finished product installed in about a month.

image

Rambling Thoughts...

Totally surprised by the lack of contemporary cabinet lines on display. Taiwanese /Chinese vendors and manufacturers have evolved from last year, but it will be a while before they measure up to the big market players such as Kohler in terms of quality and marketing technique. Speaking of Kohler, they really impressed me with some of their new lines. Abrezo Line of fixtures was awesome...very refined. Anyone interested in a $6,400 toilet withal touchscreen control unit?

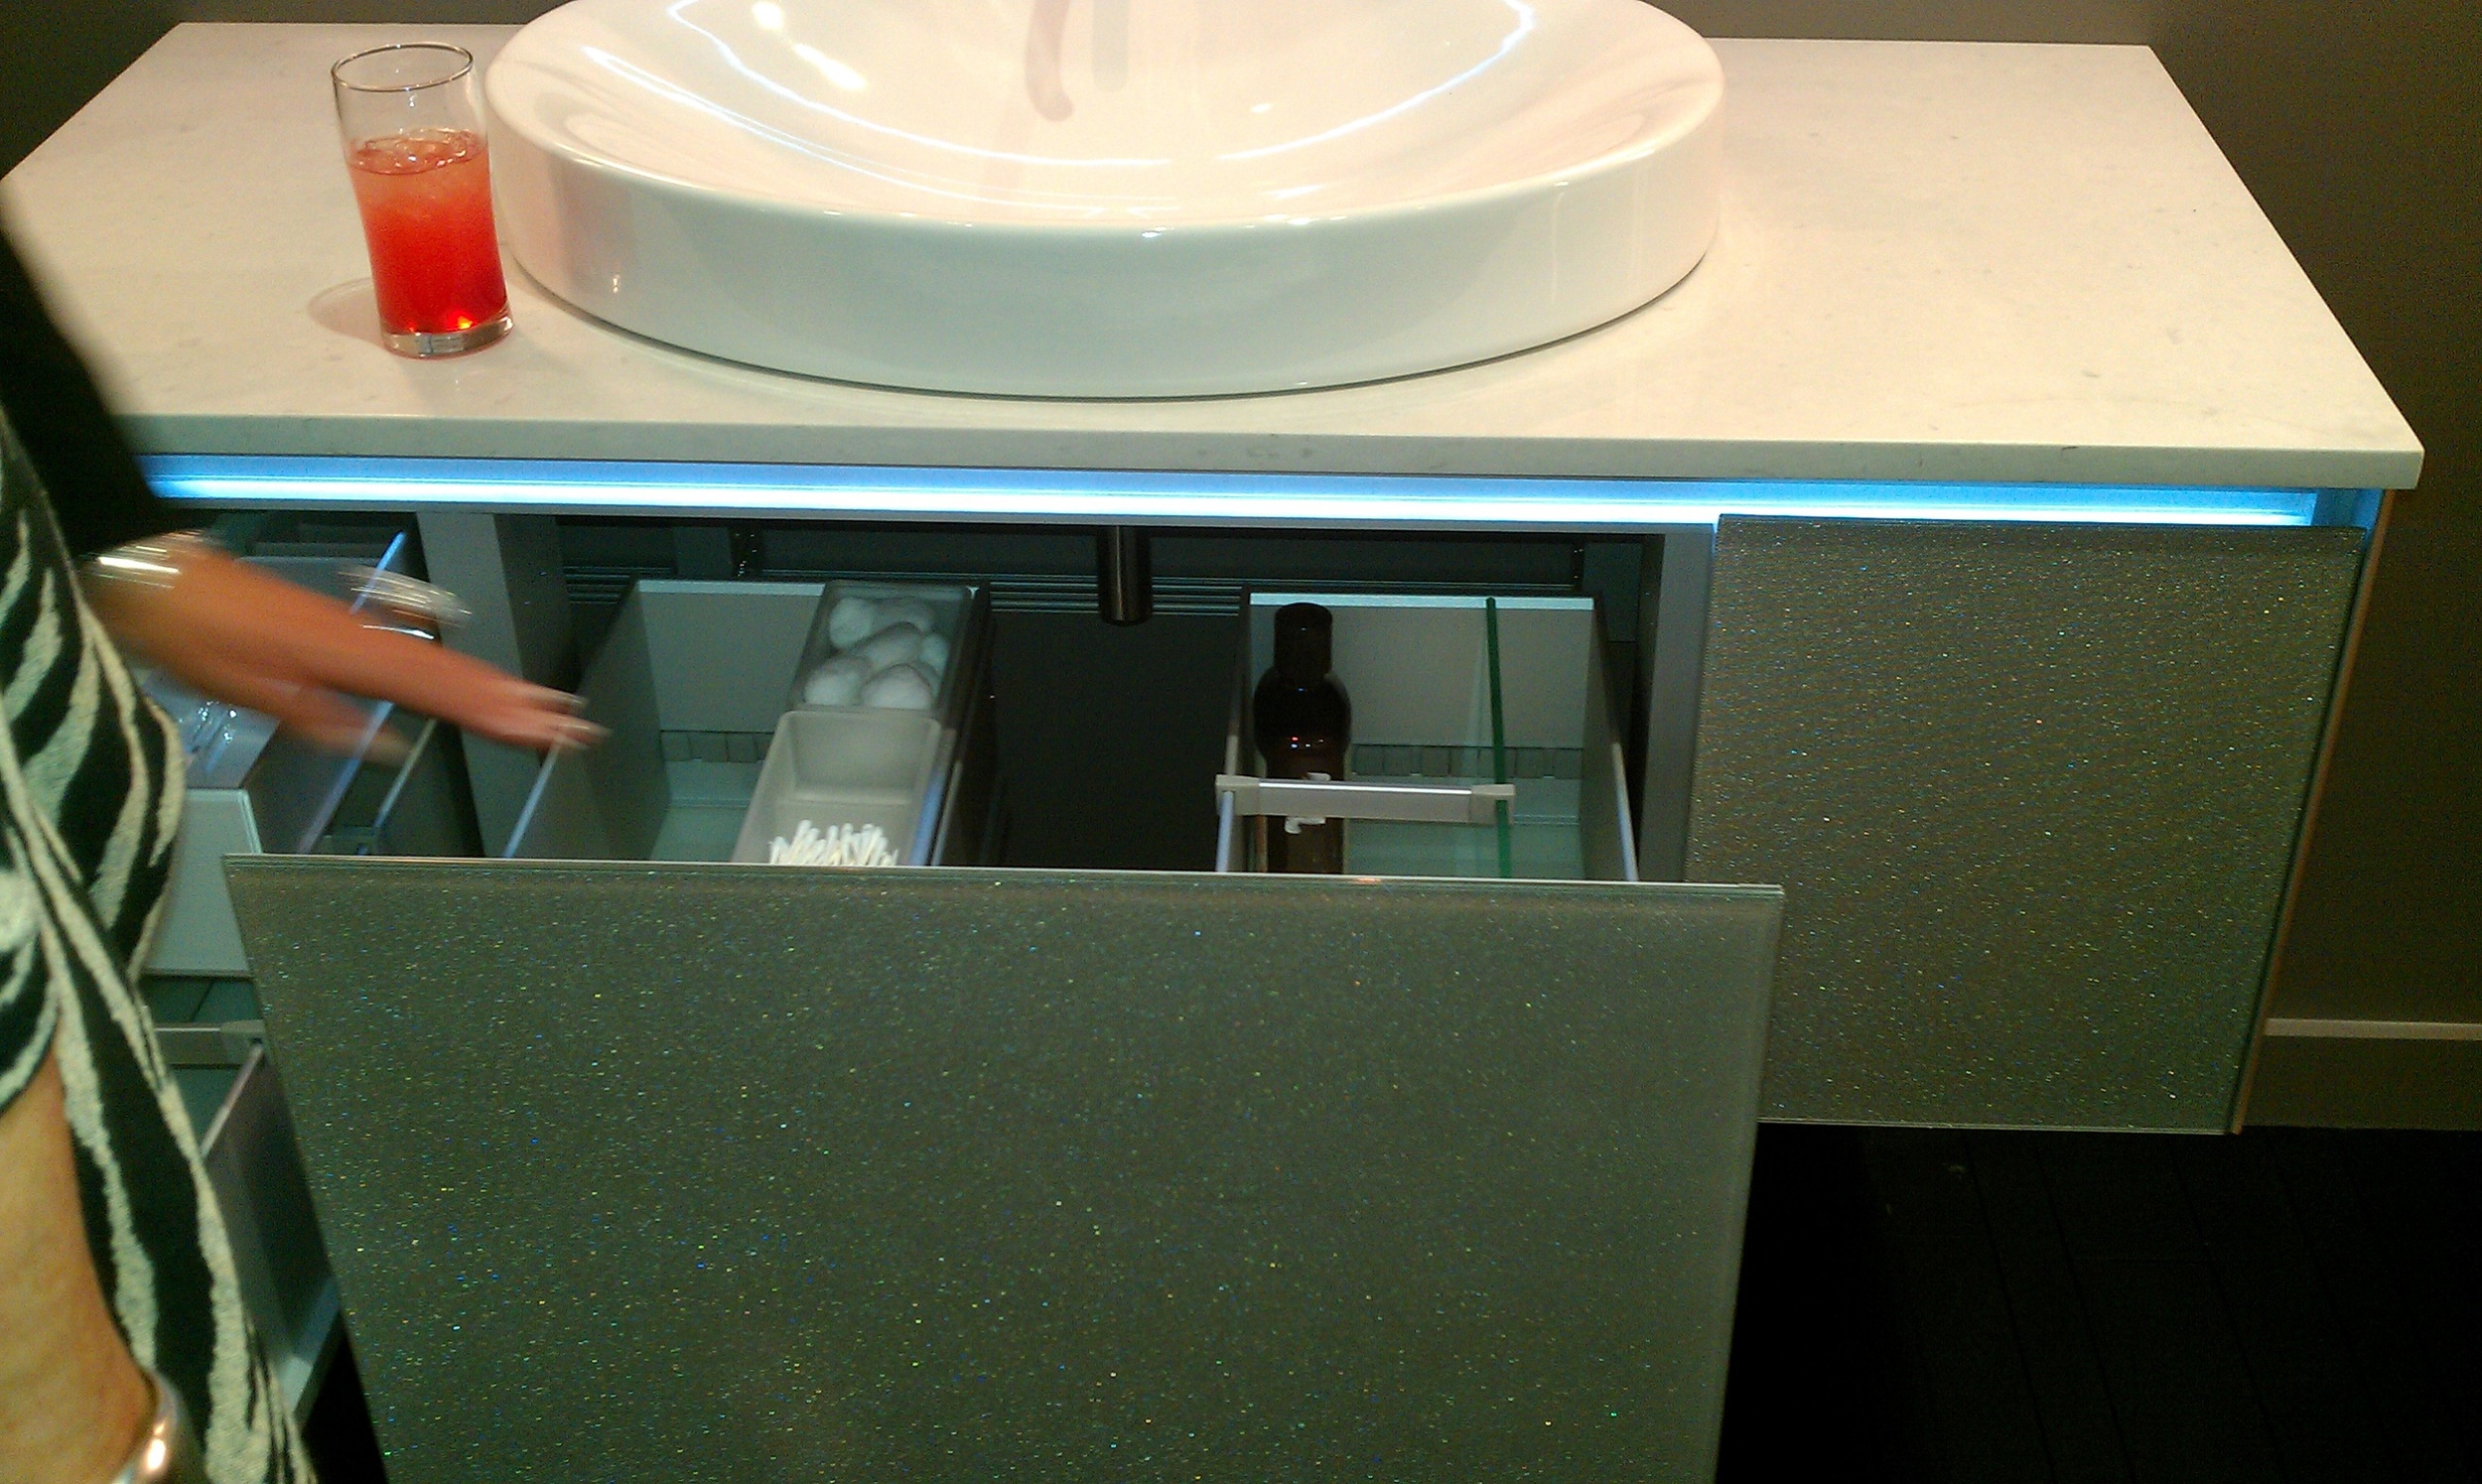
Robern has some really great vanity cabinets on display.  Honestly, I had no idea their product line went beyond the medicine cabinets they are so well known for.  The vanities have glass fronts (of which you can choose several different types of glass), divided drawers for solid organization, integrated power sources, and some really slick lighting.

Restoring a Denver Square...

What's  a Denver Square you ask?

Well, it's a familiar type of home to us that live here in town.  The Denver Square gets its roots from its shape.  Basically it is 4 square rooms on the main floor and four square rooms on the second floor.  The Denver Square style of architecture became popular after the Silver Crash of 1893.  That semi-depression caused architects to hold back on ornamental details and make homes more accessible to those that had lost much of their wealth.

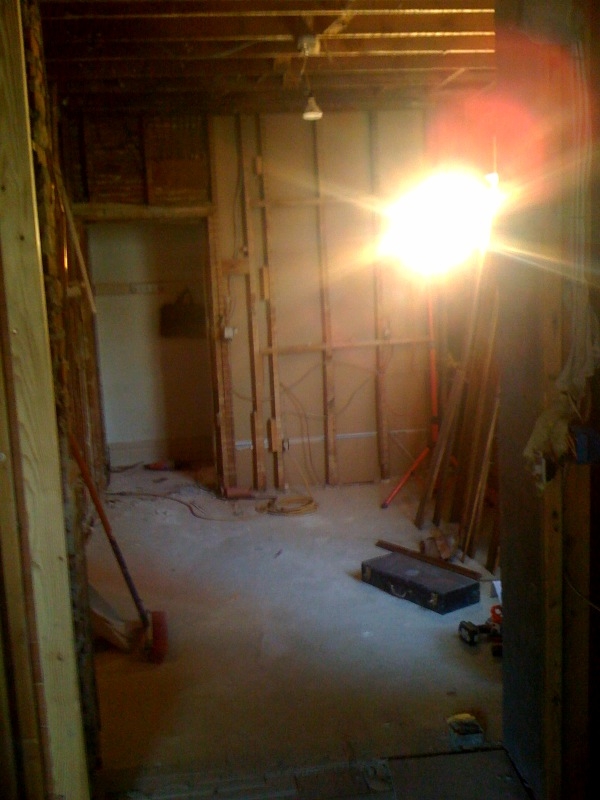
Cheesman Park is home to many of the city's most well maintained Denver Squares.  The owner of this home in Cheesman Park has been working on restoring his property to it's original condition for more than a year now, and I am happy to say that work on the kitchen has officially began.  We've chosen incredibly unique colors and styles for the cabinetry and gone top of the line with a Sub Zero and Wolf package of appliances.  When finished, it will be truly incredible.

Our ambitious design calls for knocking down several walls and installing an 18' LVL (laminated veneer lumber) supporting beam where we once had a load supporting wall.  We are opening up the main traffic thoroughfares into and out of the space and really adding some functionality to a space that desperately needed it.  Our lighting plan calls for a dramatic increase in task and general lighting.

I'm also very excited because we will be reusing some of the original leaded glass panes in the new design.  The entire kitchen is driven off of these lead panes.  Heights and widths for the two main cabinets are driven off the of the size of the leaded glass panes, which in turn dictates our heights for the rest of the cabinetry.  Very cool...

I will update with more photos as work progresses...It will certainly be a dramatic transformation from start to finish.

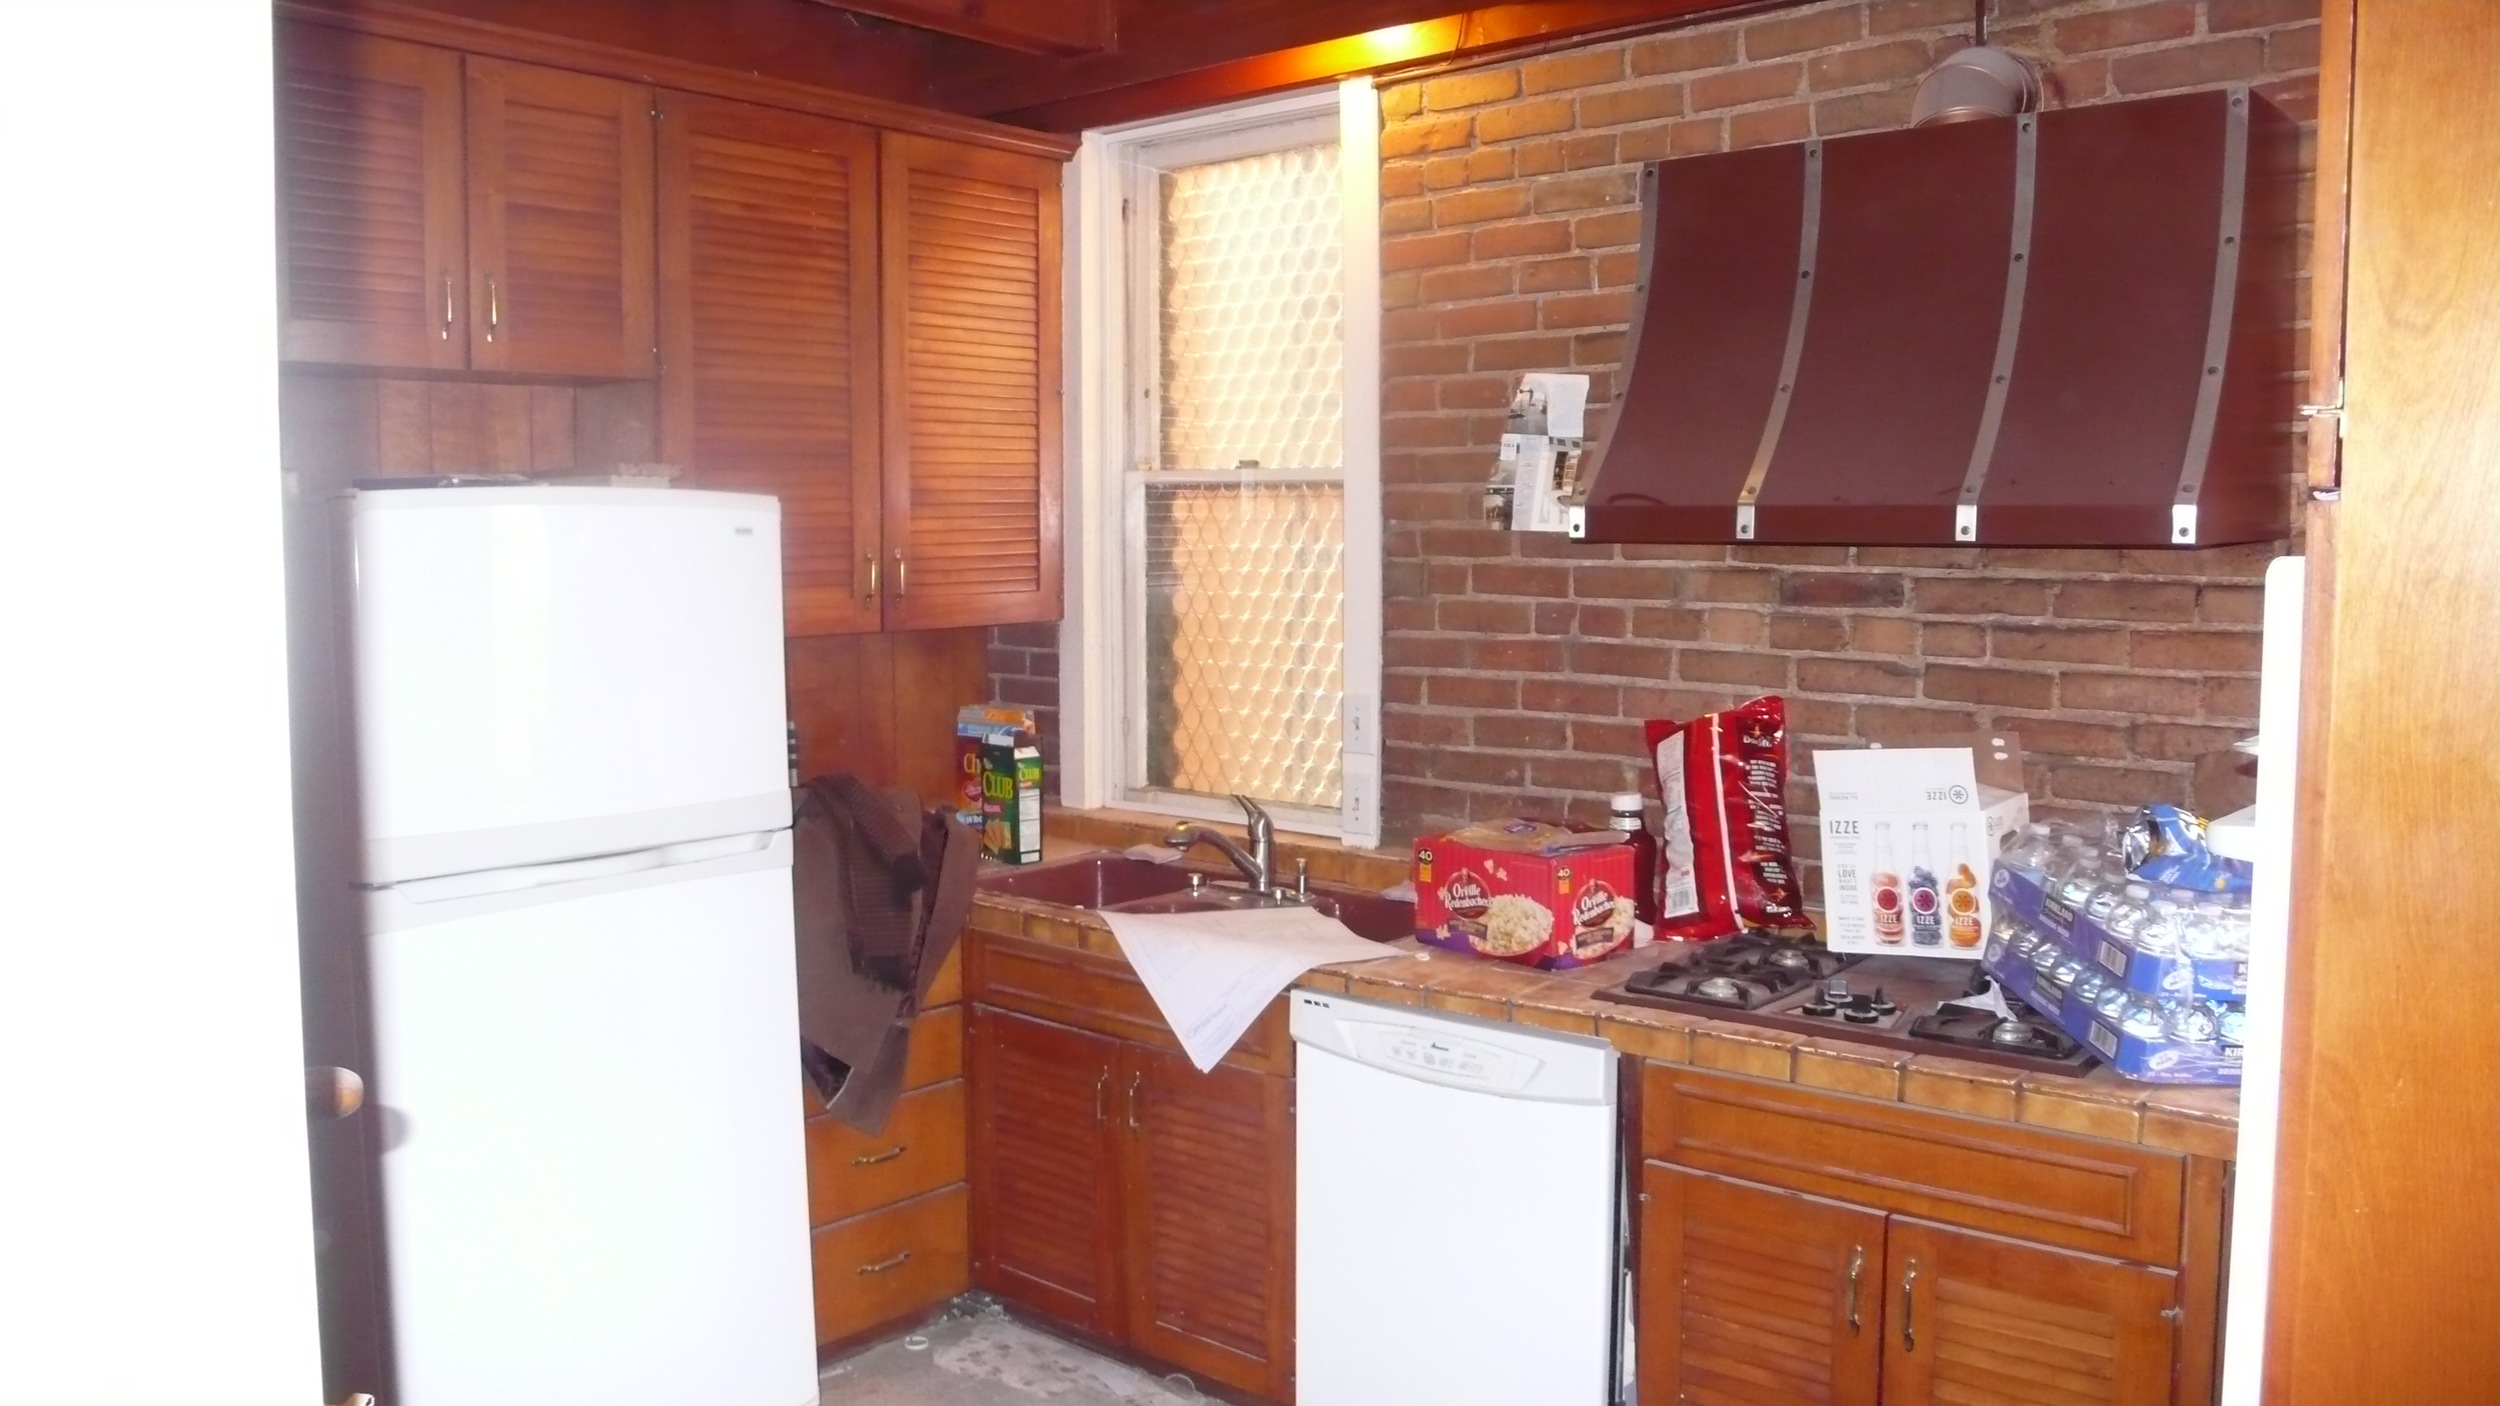
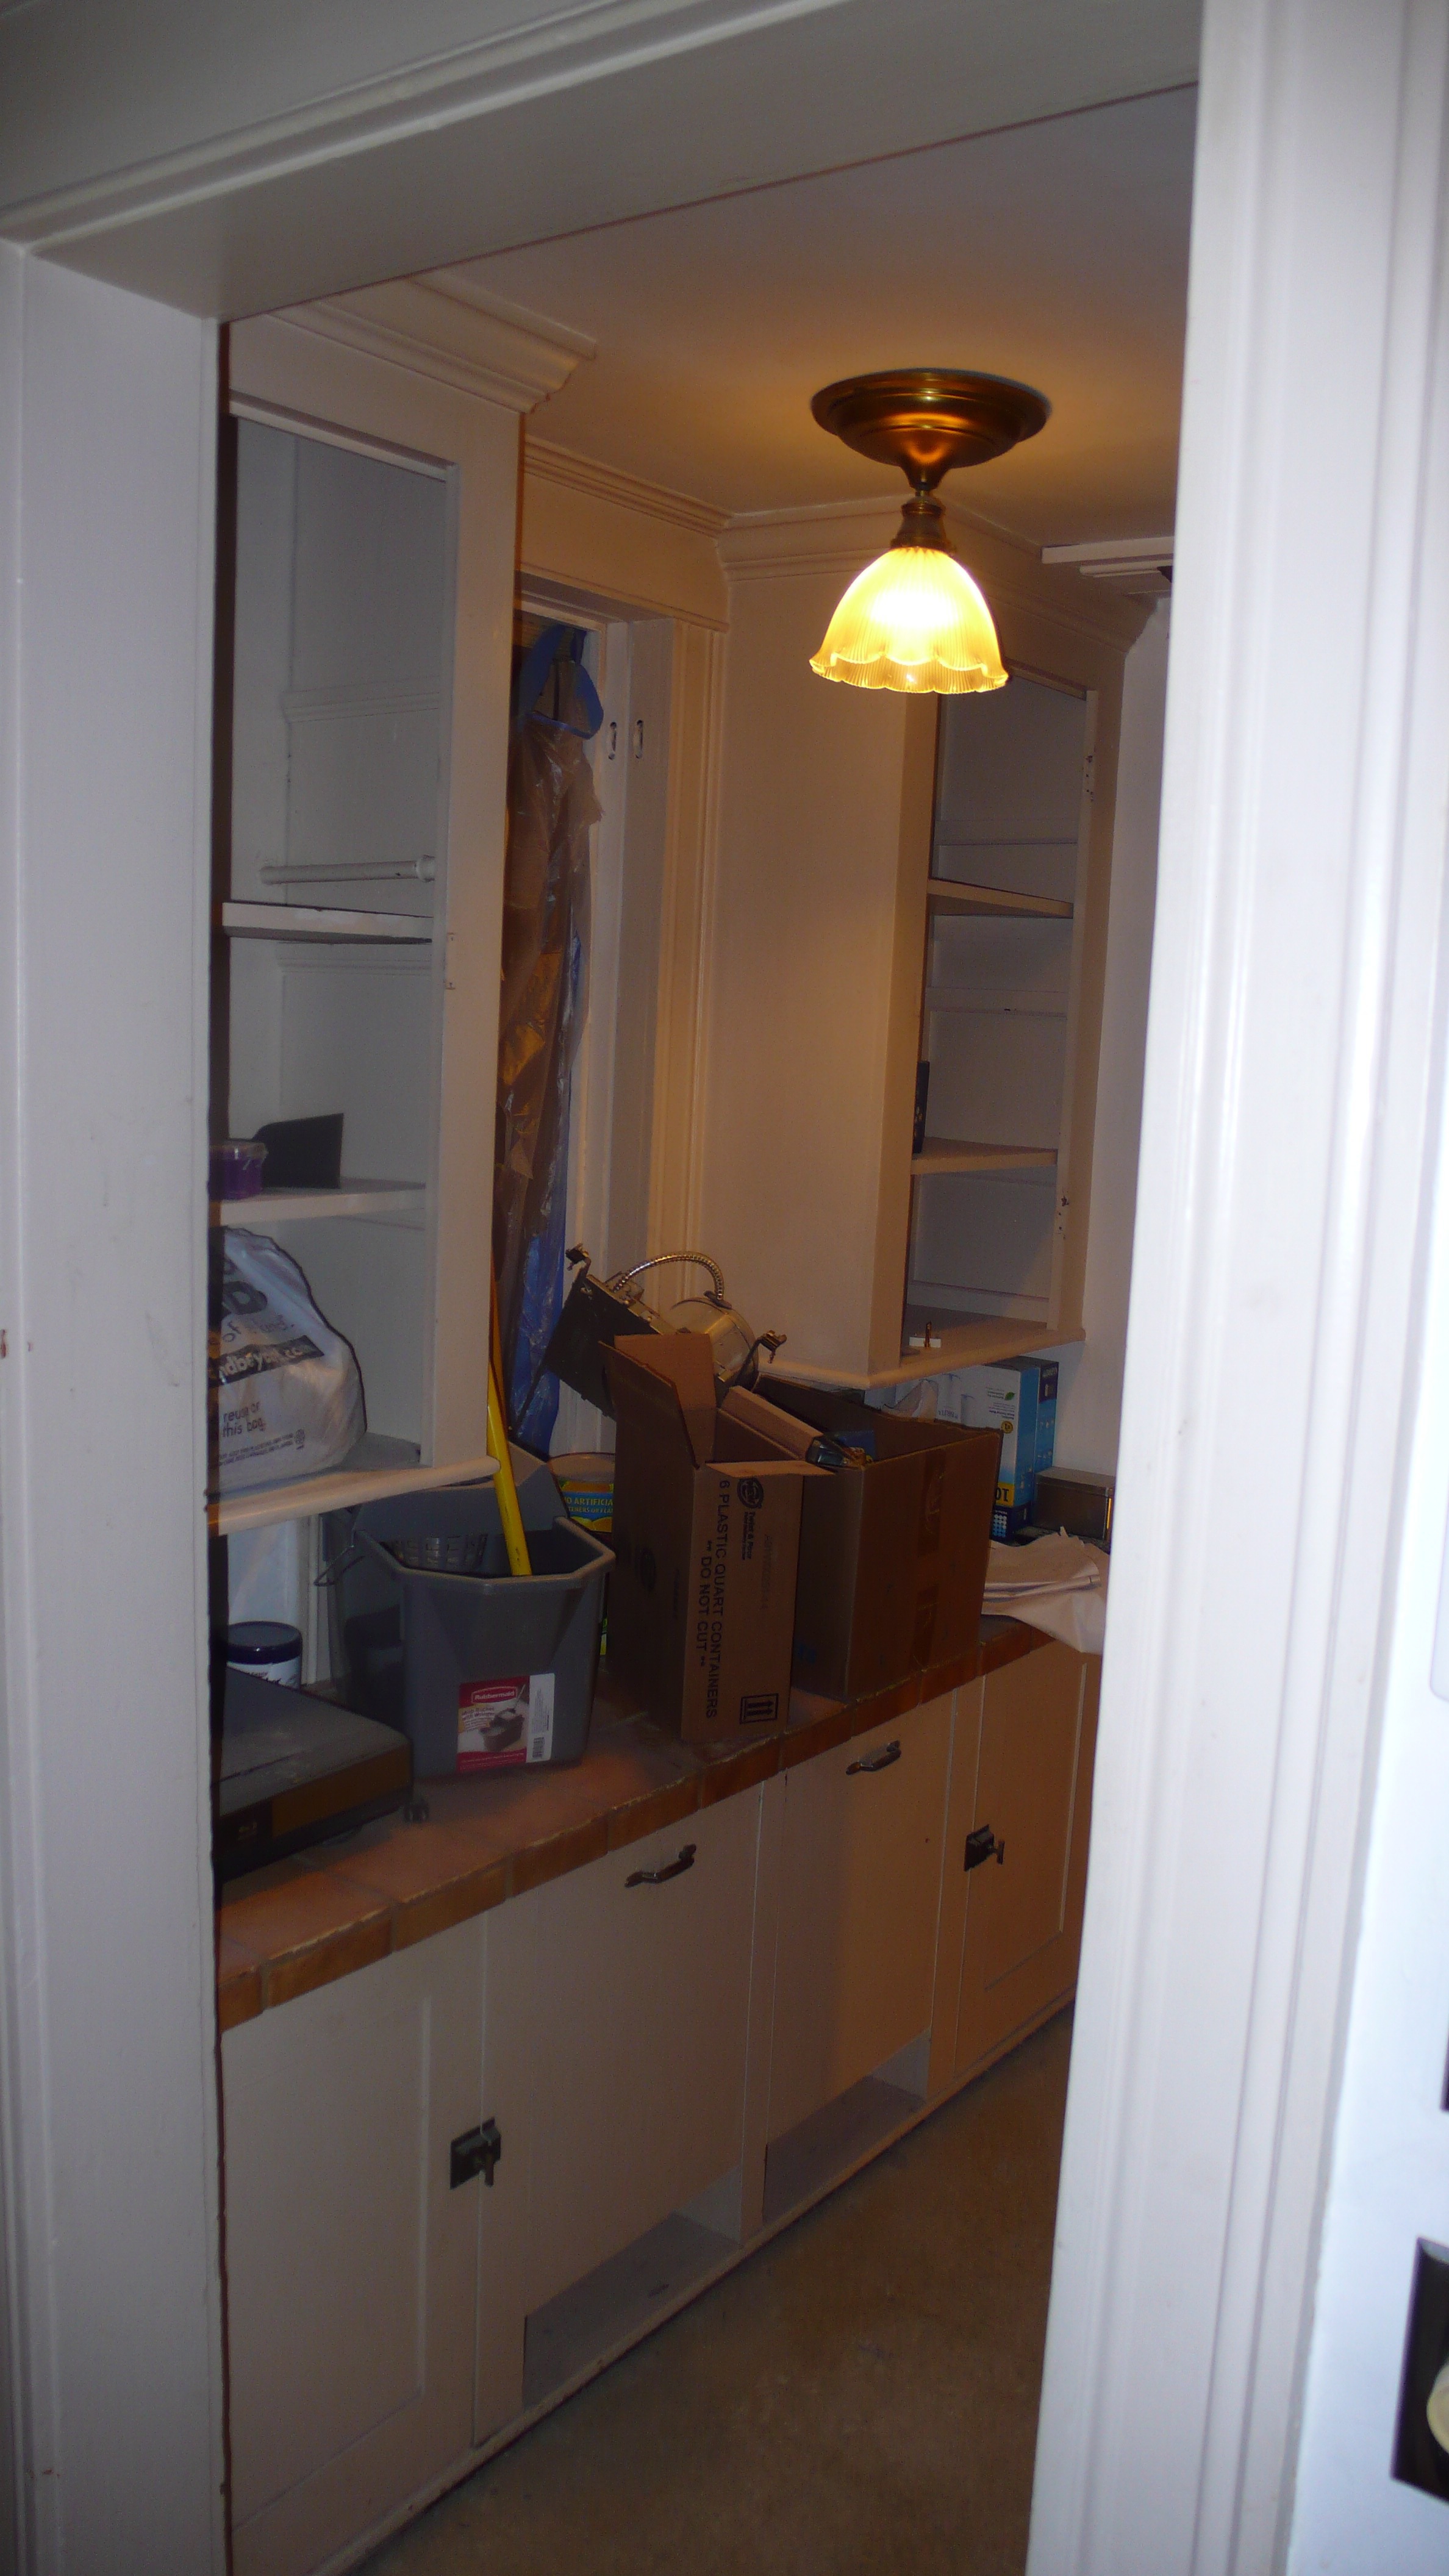
A couple "Before" shots:

8 Steps to Follow for a Successful Kitchen Remodel: Steps 4-6

If you haven't yet read Steps 1-3, then click HERE.

At this point in the process, clients should have completed a few steps before moving on to the next phase of the remodel.

1.  Defined a style for the kitchen

2.  Set up a budget

3.  Assembled a team of professionals: Designer, Contractor, Architect (if needed)

4.  SET A TIME FRAME AND SCHEDULE FOR THE PROJECT

Have any of your neighbors ever remodeled a portion of their home?  If so, how many of your neighbors' projects actually followed a set schedule and finished on time?  You'd be surprised.  Most if not all construction projects will take longer than you expect, no matter how organized you are.  Hiring an experienced kitchen designer can drastically cut down on the amount of time it takes to complete a kitchen remodel.  DIY'ers will find that they fall behind schedule within a few days of starting their project.

The kitchen remodel schedule is determined based upon lead times for product.  Cabinetry has the longest lead times from time of order until delivery (unless stock cabinetry is used).  Industry standard is anywhere from 4-16 weeks for cabinets, with the upper end of the spectrum only coming into play for true custom cabinets.  Most semi custom cabinet manufacturers will require at least 6 weeks for delivery lead times.

I use the cabinet delivery date as my starting point for determining when certain deadlines must be met.  This process is most easily described using a hypothetical situation.

For our example, let's assume that the cabinets are ordered on May 15.  Assuming a 6 week lead time on cabinetry - we can estimate that the cabinets will be delivered to the premises on July 1.

So July 1 is our basepoint for our schedule.

Using this basepoint, we can lay out the basic schedule of events into a visual diagram.  To download a PDF version of this work flow, click Work Flow

5.  LET'S GET THE BALL ROLLING!

This might be the easiest step of all.  Now that you've figured out what style kitchen you want, figured out your budget, assembled a team of professionals, and set a timeline of events, it's now the moment of truth: time to write the check and hire your team.  I say this is the easiest step because you'll have absolutely no trouble scheduling meetings to hire your contractor and designer.  I have yet to meet an industry professional who won't make time to sign on a new client.

Your contracts should be detailed in scope of work and nature of agreement.  However, don't go overboard with trying to define every single detail.  A schedule of work with deadlines should be included in your contracts.  This will incentivize your contractor and designer to meet their deadlines efficiently.  Make sure that all of your costs are spelled out.

Payment terms:  Each firm is different.  A kitchen and bath dealer will operate either on 50/50 terms, or on 50/40/10 terms when they are handling installation.

50/50 = 50% up front and 50% due upon delivery of cabinetry.

50/40/10 = 50% up front, 40% upon delivery of cabinetry, 10% upon completion of project

General Contractors have all sorts of payment terms.  The main rule to remember is that you do not pay 100% of the labor up front.  Always hold a small percentage as leverage and only pay when the job is complete based upon the terms of the contract.  GC's employ a number of pricing strategies.  There is "cost plus" which means cost of materials and labor plus a defined percentage.  Some contractor work on a "contract" basis, in which the costs are laid out in the beginning.

6.  ORDER FINISHING PRODUCTS

Each project is different and unique.  Client A may want to shop around and purchase their own appliances because they have the time to commit to it.  Client B may ask their designer or contractor to supply the appliances because they are frequently out of town and don't have the time nor resources to find the appliances themselves.  Early on in the process, think Step 3 or 4, you should determine which finishing products you want to source yourself, and which ones you prefer to have a professional source for you.

Finishing products are:

Cabinetry

Tile / Flooring

Appliances

Hardware

Countertops

Paint

Fixtures

It is vital to the timeline of events that any finishing product you are planning on sourcing yourself is ordered well ahead of time and on site when construction begins.  I have seen many jobs held up for weeks (or months!) due to a sink having not been ordered with enough lead time.  Check the lead times on the products you are interested in ordering yourself.  If you plan on starting construction in a month, but the faucet you desire is on backorder for 12 weeks, then maybe you should reconsider the faucet or push the construction timeline back a bit.  I have had clients buy cheap temporary faucets in this type of situation before.

The main point here is to do the up front research on the products that will finish your kitchen.  Make sure that what you want is either in stock or able to be delivered within a timely manner.  Taking the time to go through this process in the beginning will save a lot of headaches.

Exotic finishes or materials are almost always special order.  Special order can mean anywhere from 6-12 week lead times.  Have you selected a slab of granite that has a particularly high content of iron?  If so, you're fabricator may need additional time to order special cutting blades to get through the stone.  It never hurts to ask "when can I get it?".

Up next:  CONSTRUCTION and COMPLETION

8 Steps to Follow for a Successful Kitchen Remodel: Steps 1-3

The cabinetry is hopelessly outdated, your appliances are on their last leg, and you're simply tired of not having the amenities that you want in your kitchen...

You've torn out pages from design magazines, casually browsed for new appliances, and talked endlessly about the possibilities for your new kitchen.  So when the time comes to finally put those thoughts and aspirations into motion, where do you begin?

What steps ensure that your finished remodel will actually bare some resemblance of all the visions in your mind?

It can be a daunting challenge - remodeling a room in your home.  The kitchen, no doubt, is the most used, and most viewed space in your home.  Whereas a small design mistake in another room in your house, perhaps the study, may go unnoticed by yourself and others, a mistake in the kitchen will rear its ugly face every day.  It can't be stressed enough that proper planning in the pre-construction phase of the project is the most important aspect of any remodel.  This is amplified ten fold for a kitchen remodel.

Where to begin??!

As a kitchen and bath designer, I have had the opportunity to work on some amazing remodels.  There are some basic rules, or steps, that I follow during every project and I have found that sticking to these steps is a very effective way to ensure that all of my projects are conceived fully, run smoothly, and achieve an end-result that is pleasing to my clients.

As a general rule of thumb, if you follow these basic guidelines, it will greatly increase your chance of completing a successful remodel.

1.  WHAT'S YOUR STYLE?

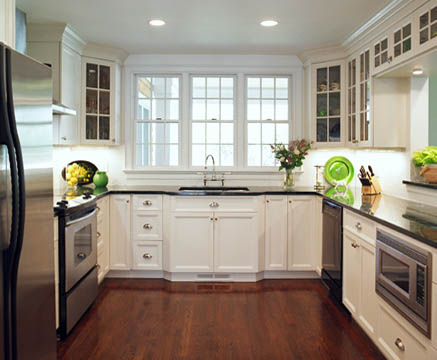
Whether it is contemporary, traditional, french provincial, arts and crafts, or any number of other styles, you'll need to identify what sort of "feel" you want for your kitchen.  You may not know what your style is until you see it.  Flip through magazines, browse websites, take note of your neighbors' kitchens.  Pull out pages from magazines, print pictures from websites, and assemble a folder with all of these items.  It may be a certain color that you saw on in an advertisement for cabinetry, or a door handle that you saw in your neighbor's kitchen.  Whatever it may be, take note of it.  These design choices will come together and identify the style you're interested in.
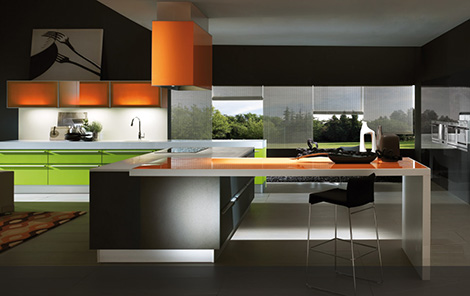
If you already have a clear vision of what style you want to achieve with your new space, then you're already ahead of the game.

Textures, colors, and materials all play a role in the style of the kitchen.  For instance, if you're looking for a "mountain" feel for your space, consider rustic woods such as knotty alder.  Consider a painted white finish or cherry / maple specie for a traditional kitchen.
2.  WHAT IS YOUR BUDGET?

Usually, one of the first questions that you should talk honestly about is your budget for the project.  Consider that an average sized kitchen can be remodeled from $25,000 to $250,000 depending on the materials, scope of labor, design fees, and appliances.

The overall cost of a kitchen remodel is usually somewhere between 12% - 20% of a home's value.  Using a hypothetical situation, we will use a $500,000 home value and 15% variable for the overall budget = $75,000 overall budget.

Using the hypothetical situation above, we can break down the remodel into the major components, and the amount of the budget that is typically used for each area.

40% Cabinets:  $30,000

15% Appliances: $11,250

8% Countertops: $6,000

7% Floors: $5,250

5% Lighting / Electrical: $3,750

3% Tile: $2,250

2% Sink/Faucet: $1,500*

20% Labor: $15,000

*assumes one sink/faucet

Figuring your budget and being realistic will make the entire process run more smoothly from start to finish.  You will have the ability to be up front with your contractor, your designer, and your self in the early stages of the project.  Knowing budgets helps the contractor in choosing his materials, and it will guide your designer in his/her drawings so that the space comes in at or beneath your budget.

Obviously, choosing higher end products in one category will mean you will have to choose lesser priced materials in another.  This is usually the case.

3.  ASSEMBLE YOUR TEAM

I can't stress this enough.  No other factor in the entire process will make or break your project faster than assembling the right people for the job.  Spend the time up front to find experienced, reliable, and proven professionals to come on board for your project.  But this still leaves the question, what kinds of professionals do you really need?

1.  Kitchen Designer

2.  General Contractor / Builder

3.  Architect*

*Architects are usually only employed when major structural changes are called for.

DESIGNERS: Hiring a designer is the first step here.  Your designer will be your "agent" throughout the entire process.  They quarterback the entire project from start to finish.  They will help you finely tune your vision and will be able to provide cabinetry, countertops, appliances, tile, and flooring.  Employing a designer is vital to a project's success.  A great place to start your search for a Kitchen and Bath Designer in Denver is the National Kitchen and Bath (NKBA) website. CLICK HERE

GENERAL CONTRACTORS / BUILDERS: Most likely, your designer will have a list of preferred contractors or builders that they work with on a consistent basis.  However, it is up to YOU  to choose your contractor.  RULE:  Always interview at least three general contractors before choosing one.  You may have a family member who recently did some work on their house and was 100% satisfied with their contractor.  Get a referral.  The best way to actually gauge a reference is to speak to someone who is currently having work done on their home.  Ask them how things are going.  Is the project on schedule?  Is it within your original budget?  Do the workers show up on time and behave appropriately while on the job?  The more information you have the better, so don't be afraid to ask questions.  General Contractors are responsible for pulling building permits, all plumbing and electrical, painting, and flooring.  Each project is different, so you may only employ them for certain pieces of your remodel, while sourcing the other pieces elsewhere.

ARCHITECTS: Unless you are planning major structural changes to your home, i.e. an addition or full house gut, you probably will not need an architect.  However, if your plans call for major structural work in any part of the home, it can be a good idea to employ an architect.  Here is a list of Denver's AIA certified architects:  CLICK HERE

NEXT - STEPS 4-6

Kitchen Remodel - Des Moines, IA

Project A takes place in Johnston, IA. My mother in law is a big entertainer.  She loves to throw parties and have people over.  Her home is constantly abuzz with visitors and family members.  The old kitchen was not a good fit for her.  It was closed off and outdated.

The appliances were 15-25 years old.  Linoleum floors.  Formica countertops.  The lighting was insufficient.  The footprint of cabinetry and the dividing wall between the kitchen and great room made the space feel twice as small as it actually is.

Basically we removed the wall that divided the kitchen from the great room, added more functional interior cabinet fittings, and updated the materials and appliances.

Cabinetry: Maple and Lyptus, slab doors

Cooktop:  Miele 36" 5-Burner Induction

Oven / Micro: GE Advantium 30" Combination Micro / Oven

Fridge: Sub Zero 42" stainless steel with dispenser

Dishwasher: Miele LaPerla

Venting: Miele 42" telescopic hood (raises and lowers up to 12" by touch button)

Flooring: 12x24 tile

Countertops:  Granite, "Iron Red"

Slideshow of Entire Project:

[slideshow]