denver bathroom design
Boulder Kitchen on the Drawing Board
This transitional kitchen will soon belong to a family of four in North Boulder. With construction slated to begin in May, we are just a few months away from completely transforming their space into something really magnificent!
How to Plan for In Floor Heating / Radiant Heat in Your Bath
It's one of the most asked for luxuries in a bathroom project - in fact I can't remember the last time it was not part of a major overhaul of a master bathroom. Radiant Heating, also known as in floor heating, is becoming a standard for the modern luxury bath.
Frequently asked questions about in floor heating:
1. How is it installed?
2. How is the temperature controlled?
3. Will my bathroom become too hot if I don't eliminate the existing heat registers?
4. Can I use radiant heat under my wood floors?
5. Do's and Dont's
Answers:
1. At it's most basic premise, radiant heat is a system that heats the floor of a room. Related to a bathroom, the preferred method is to use a self contained electric system. There are several companies that provide these systems, but my personal favorite is the Schluter Ditra.
It is a self contained electric system that comes in a single box. Tile setters perform the installation but an electrician is necessary for providing the electrical connection. Communicating the specifications and details in the early stages is very important to all sub contractors on your project.
Whether you use the Schluter system or a similar one, the installation process is fairly straight forward. These heating systems come in "mats". The wires are either embedded in the mats or they are laid directly into the mats (as with the Schluter).
The Schluter Dietra System is a mat and wire system. First the mat is laid, and then the wires are placed at specific intervals for the areas that heating is desired. In this system, you can dictate which areas receive heat and which do not.
Whether you are using a pre-sized heat mat or the system noted above, it is laid on top of thinset above the sub flooring. Another layer of thinset is applied on top of the mat when the tile is installed.
2. The temperature is controlled by a thermostat that is placed on the wall. Thermostats are now fully programmable, meaning you can have your heated floor turn on to a certain temperature at a specific time and then turn off after a specified time period. So if a couple usually wakes up at 7AM, they can set the thermostat to reach a certain temperature by 6:55AM setting the floors to a perfect temperature before anyone ever steps foot into the room. After the usual routine of bathing and grooming, the floors return to a "dormant" state, and the heat is turned off. You can repeat this process several times during the day if needed.
3. Each house is different, so assessing the current heating situation is vital prior to planning for radiant heat. However, in most cases, radiant heat is sufficient for heating an entire room and no additional heat registers are necessary.
4. Always check with the manufacturer of the flooring as to its compatibility with radiant heat. Dependent upon the wood species, climate, and installation you should be able to utilize radiant heat under wooden floors. Generally speaking, engineered hardwoods perform best.
5. Do: lay radiant heat under areas in front of each vanity sink, in front of the toilet, and around bathtubs. Dont's: Do not lay radiant heat under the footprint of a cabinet, bathtub, or toilet. Laying radiant heat under a toilet will cause the wax ring to melt and become a big issue in the future.
The cost of radiant heat has come down dramatically over the past few years. An installation can be completed in a day and the units themselves are not terribly expensive. Radiant heat has become one of the most popular add on items to a master bath remodel with good reason. Who wants to stand on cold tile first thing in the morning?
New Projects - Winter 2014/2015
I'm very excited about the projects on the drawing board at the moment. It will be a busy winter!
Hilltop Neighborhood Denver - Ground has finally been broken on our new build in Hilltop! My clients are a young family of three and they are building a house to live in and raise their family. I am very excited about designing their kitchen and bathrooms. We will be calling upon the white kitchen to anchor the great room on the main floor of this house, and it will be an amazing, comfortable, warm space when I am finished with it. Drawings are underway and I'm happy to say that I'll have some 3-D renderings of this space before too long to show you.
Secondly, but happening much sooner, is a remodel just up the street from the new home I mentioned earlier. I'm pleased to announce that we will begin work on a major remodel on a home just acquired by a wonderful family of four that recently relocated from another major city. This project will entail new walnut flooring throughout the second floor of the home and a major overhaul of the basement which will include a home movie theater, new bar, billiard table area, home fitness gym, and children's arts and crafts room. We're moving fast on this one and are hoping for a January completion.
Boulder - work continues on our condo remodel on Pearl Street. As we enter the construction phase of the project, I will keep you updated with quick pics of the progress.
Also in Boulder - another great young family has retained me to redesign their second floor master suite area. Plans call for a complete overhaul of the function of this second level of their home. I am planning for a spectacular master bath retreat complete with free standing tub and custom shower. We're also going to add a laundry room to the second floor and refinish the existing guest bathroom as part of the scope of work.
My third project in Boulder for this winter entails a very similar scope of work in redesigning an existing second level in a home to better fit the lifestyle of the hard working couple that owns the house. I will be working with Melton Design Build again on this project to create a space that works both functionally and aesthetically.
Bonnie Brae Neighborhood, Denver - We will make some minor alterations to the office and master bathroom of this home in the short term. Longer term - an addition is in the design phase to connect a detached garage to the main portion of the home. I will be working with the homeowners to design an interior layout that best maximizes the use of this new space. Funny story: This will be my second time working on this exact home, but now with different owners!
Fort Collins - I've recently been retained to redesign a kitchen in an absolutely beautiful home. The kitchen has obviously been taken care of over the years, but it is in desperate need of a major remodel. We will be knocking down walls and annexing space from a seldom used formal dining area to create a space that is comfortable, functional, and beautiful.
I promise to keep you updated on the slate of projects on the drawing board as work progresses. It will be an exciting winter with a lot of great designs happening!
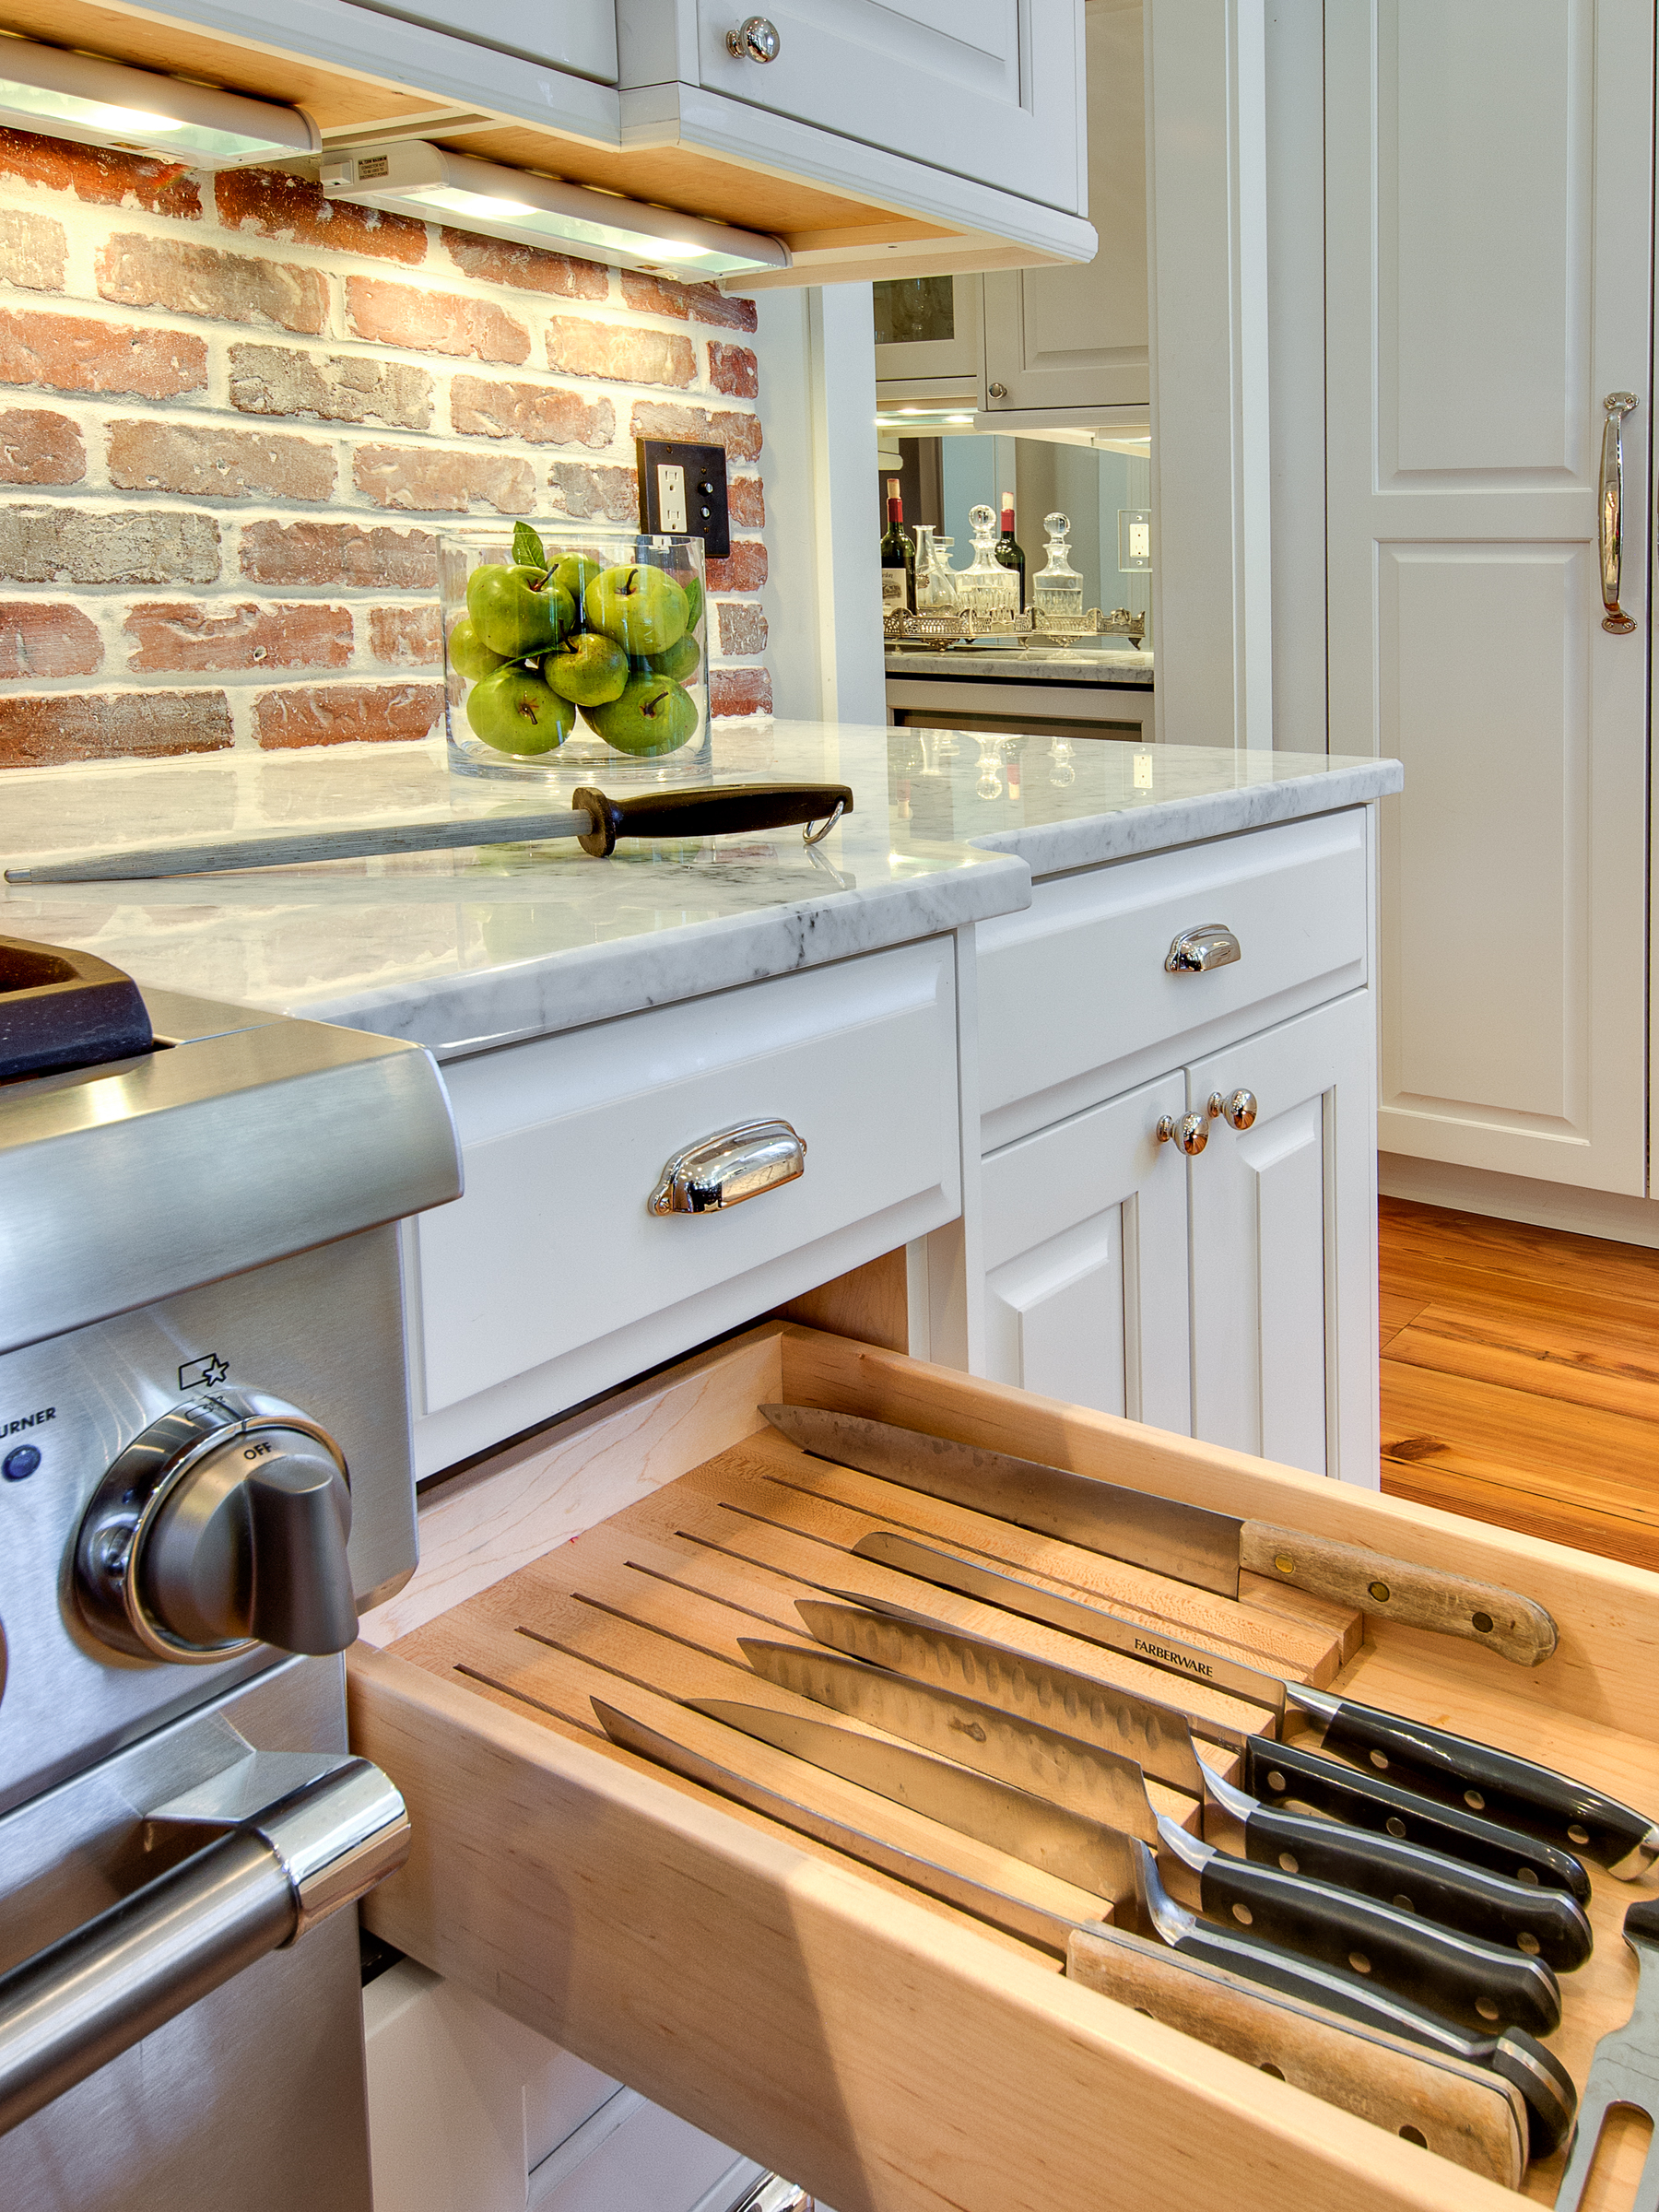
Here are 15 Ways to Add Really Functional Storage to Your New Kitchen
If you haven't checked out Houzz.com yet and you are planning on remodeling or building a new home....go there now! It is stocked full of great ideas for those of us that love design, architecture, and construction.
Click on the link below to read an article that highlights some unique ways to add functional storage to your kitchen.
A Modern Bathroom in Greenwood Village - Scouting Shots
Scouting shots from a recent bathroom remodel in Greenwood Village. Here are some of the highlights...
Cracked glass floor detail...Axor tub filler and faucets...custom Anegre veneer high polish cabinetry.
We used a really great luminescent tile for an accent in the shower. The wall tile is a 12x24 porcelain that is very similar to crema marfil marble.
Axor fixture, shown in front of the niche we built for additional storage. The storage niche is great for the homeowners' electric toothbrushes and has its own LED lighting and GFCI receptacles.
Shower niche
The free standing tub is by Hydro Systems, and the tub filler is the Axor Massaud. Striking!
Greenwood Village Kitchen
This new home in Greenwood Village belongs to one of the nicest families I've ever met. This kitchen is a true reflection of their style. It is warm and inviting, but feels elegant and sophisticated at the same time. When I first met them in 2012, they had yet to break ground on this house. Here are a few of the highlights in this kitchen:
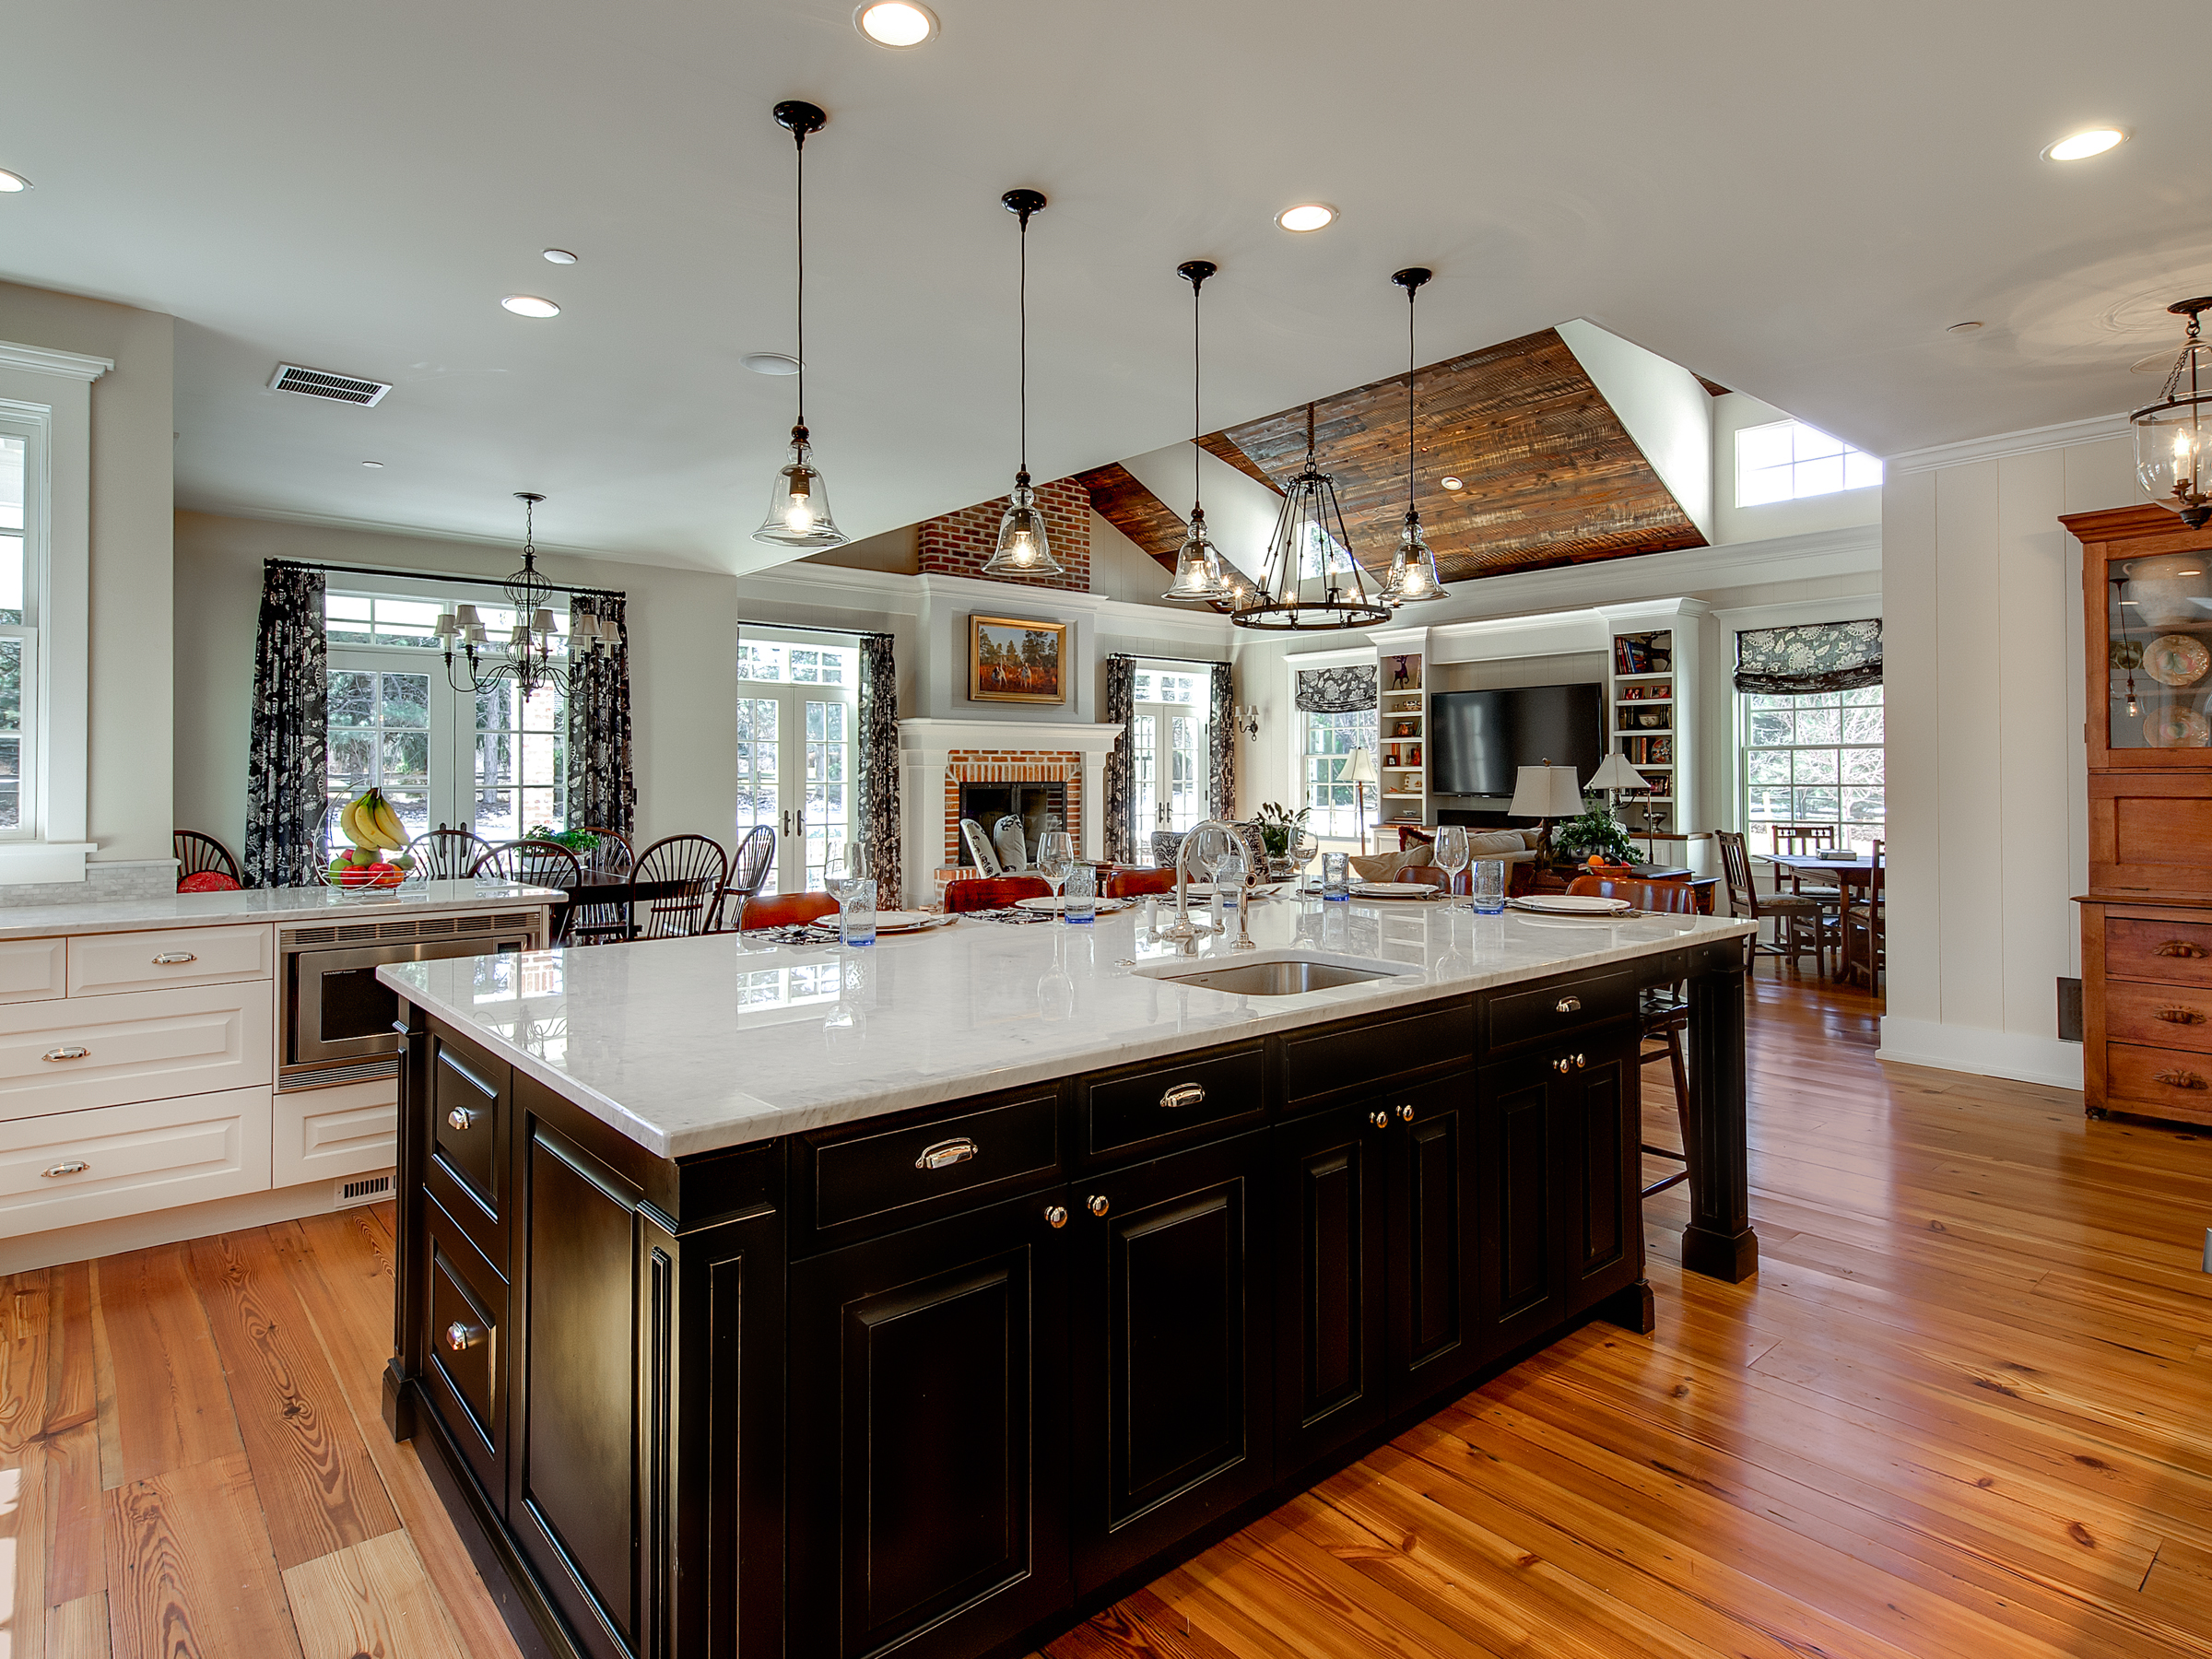
- Originally, the sink was in the southeast corner of the kitchen. It was in an area that I felt would become a choke point, especially for a family of 5. I moved the sink to the East wall and added an arched window that was not previously there.
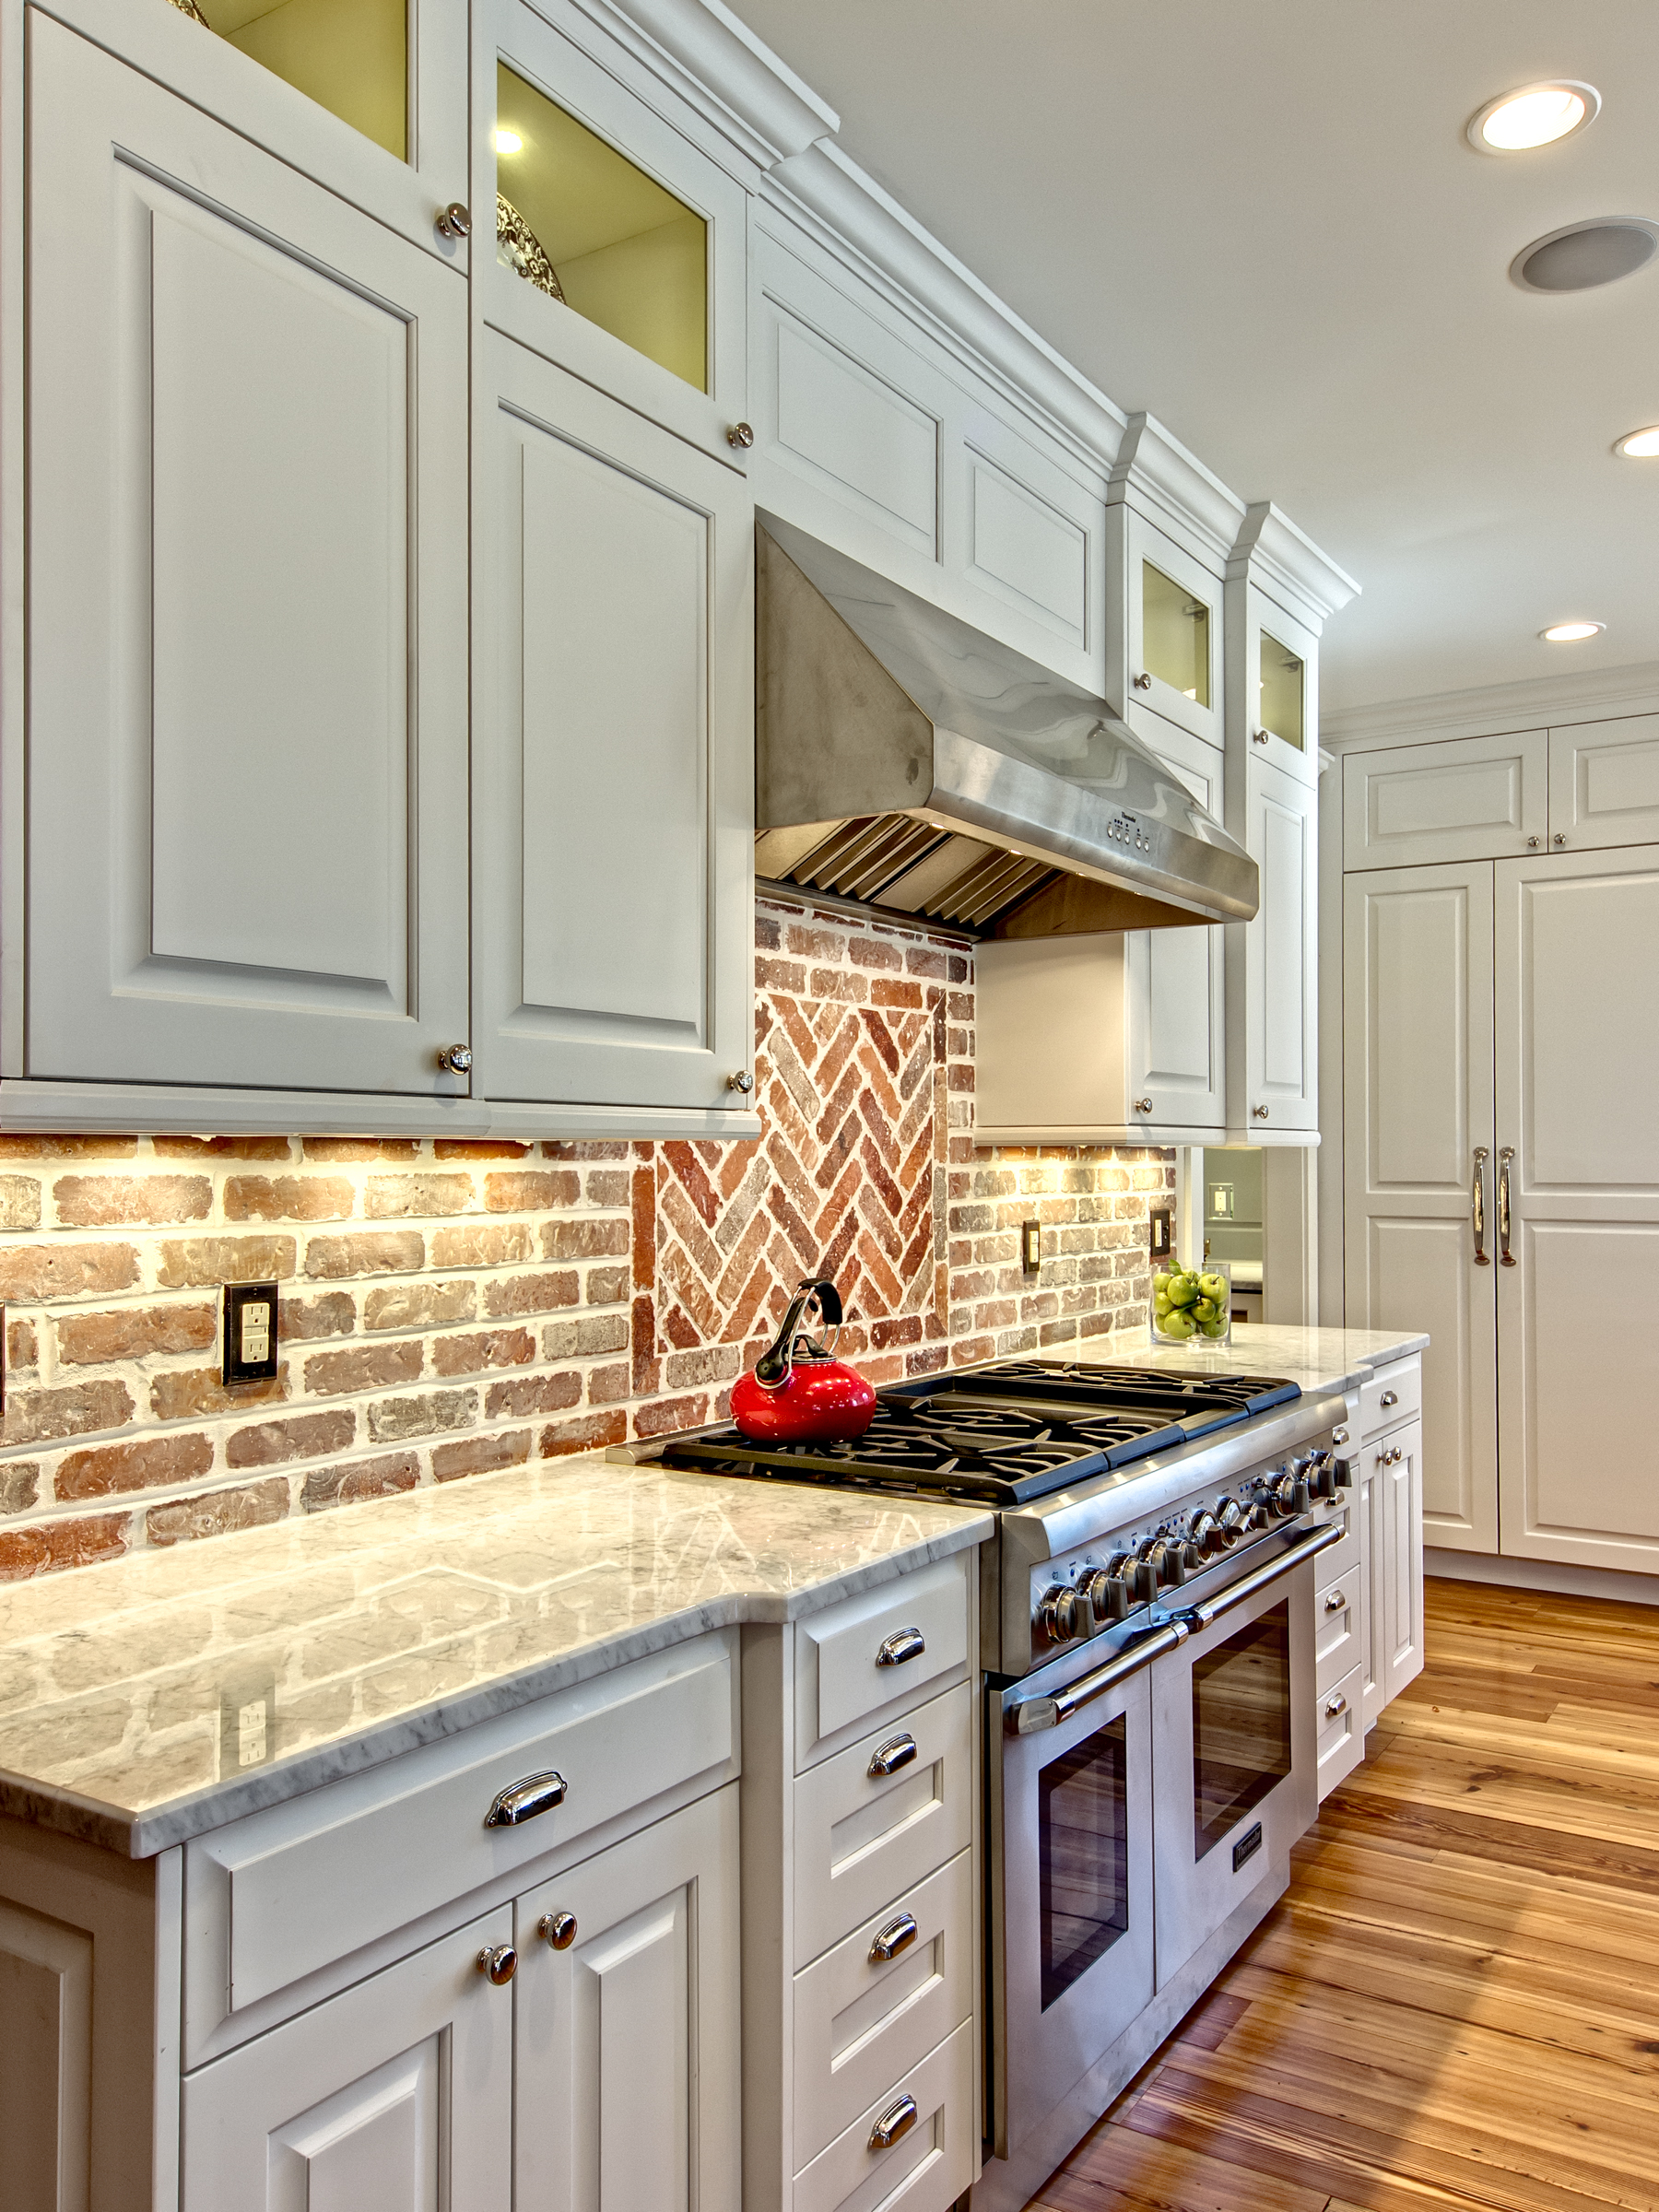
- The North wall of the kitchen (which is the wall with all the brick) was really lacking any balance. I moved the 48" dual fuel Thermador range onto that wall and then flanked it with symmetrical cabinetry. All of the top boxes are individually lit with LED puck lights.
- I contrasted the white perimeter cabinetry with a black paint rub-through finish on the island. The implied weight of the finish provides a visual anchor for the kitchen.
[gallery type="rectangular" ids="889,884,891,879,882,887"]
Cherry Hills Village - Master Bathroom
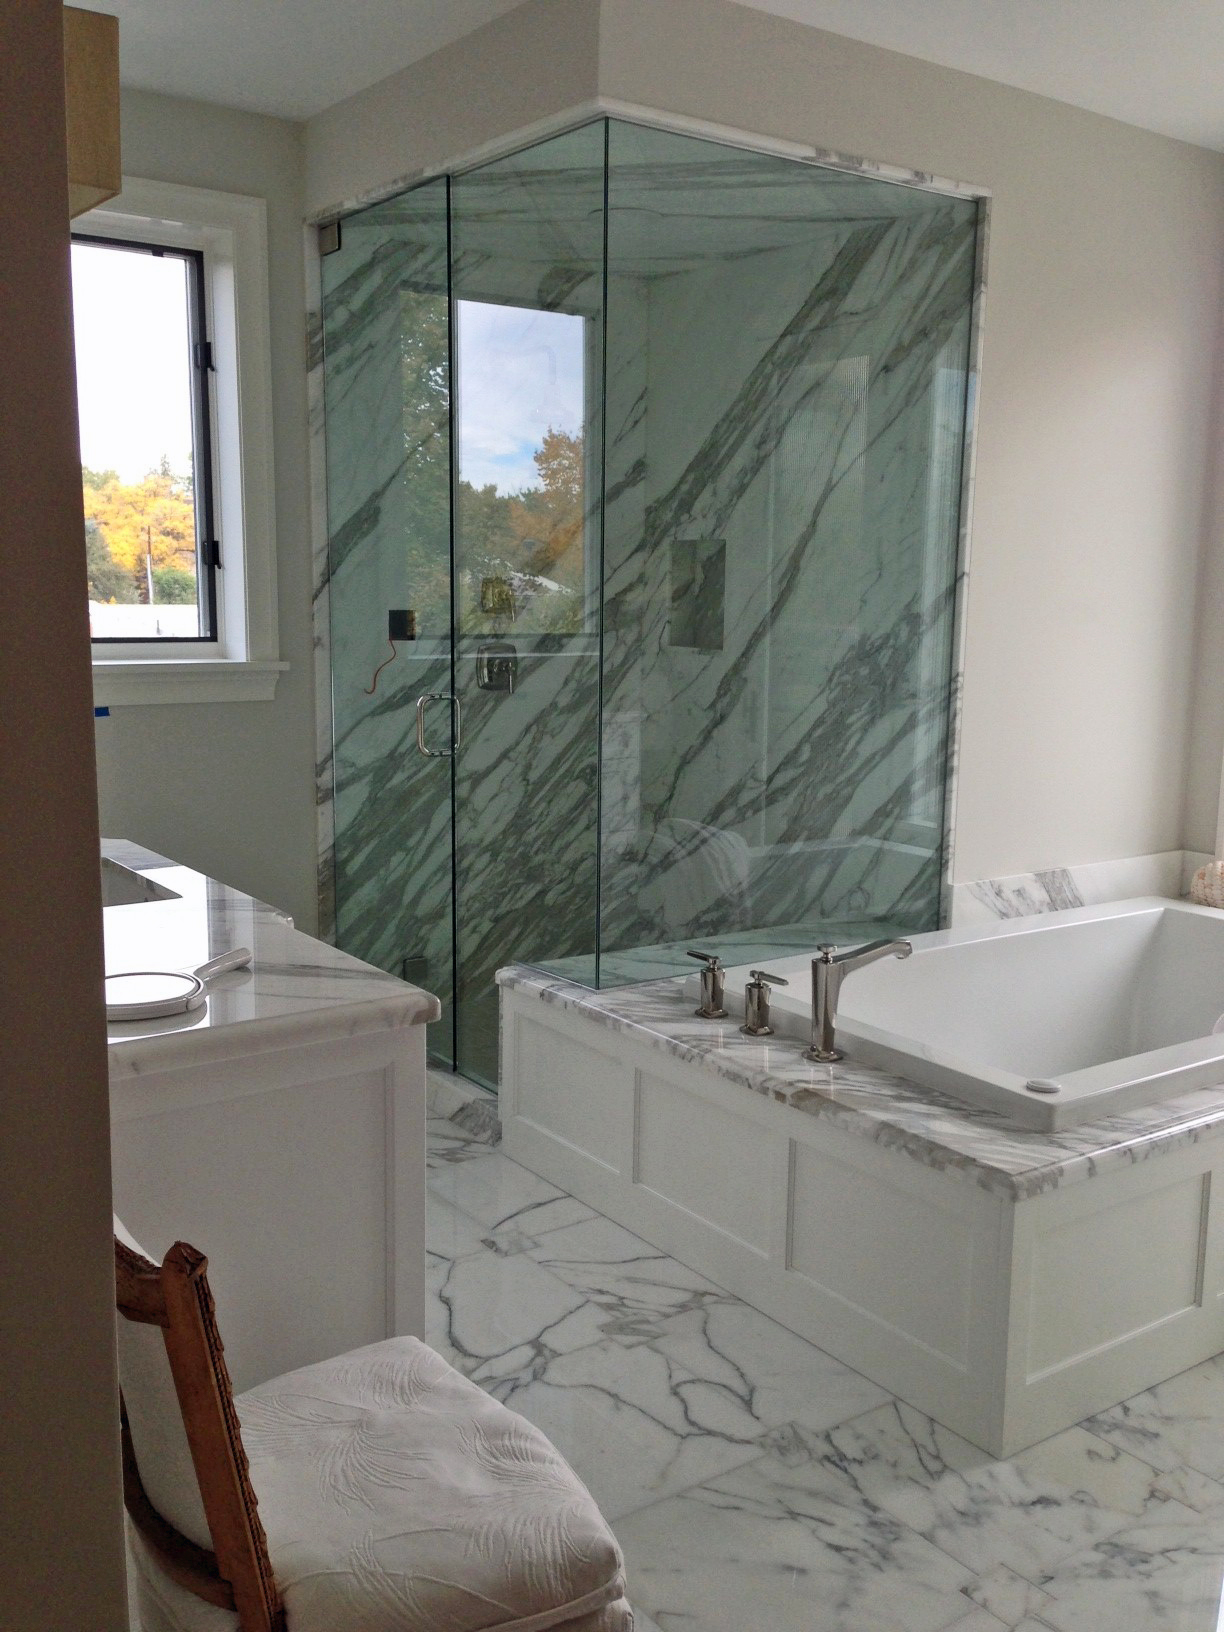
We finished this bathroom late in the summer. I was referred to the client by Jones Custom Builders, a really great building company that I have worked with on a few projects. It's a classic styled bathroom. The flooring in the bathroom is basketweave carrara and black marble. The countertop is Super White Quartzite. Brizo fixtures are installed throughout the bathroom. My favorite part of this bathroom is the inlay of Italian marble on the back wall of the shower. This decorative danse pattern is cut using water jet technology and comprised of thassos and carrara marble.
[gallery columns="2" type="square" ids="852,853"]
New Kitchen and Bath Projects Fall 2013
The first snow of the year is predicted to fall this weekend. It's only the first week of October, but after living in Colorado for almost 5 years now, it's not surprising that we will have snowy weather on Friday and sunny 70 degree weather on Sunday. Go figure. I'm pleased to announce that I have recently been retained to work on four new projects.
A master bathroom remodel in Cherry Creek North: We're going for a sleek transitional look. I am specifying large format porcelain tile (18 x 36) for the flooring and a wainscot tile that is 12 x 24. I'll tie everything together with and carrara accents, and then add some interest with vibrant colors on the walls. The new frameless European shower will be a vast improvement.
Just up the street from the master bathroom remodel is a house owned by a couple with a young child. It's a wonderful old house that has a newer addition on the back of it. Problem is that the new part of the house does not tie into the old part. There are several areas I am working on in this project including, the master suite, kitchen, great room, mudroom, entry way, and flooring. The homeowners are very involved with the process and are excited about bringing this wonderful house together into one cohesive home.
You may have seen pictures on this blog of a classic home restoration project that I completed about a year ago...That homeowner referred me to his neighbor just down the street, and we are now currently in the design phase on her master bathroom. Her home is very traditional, with clean lines. I plan to give her a new bathroom that is really beautiful - but most importantly, it is going to feel like it belongs in the house.
I was also hired on to a kitchen remodel project up in Boulder. Fortunately, this couple avoided any major flood damage - many of their neighbors are still recovering. We're going to update their kitchen to something totally sleek and modern. High gloss lacquer, white glass, textured laminates and quartz counters are going to make this space really POP.
We are also finishing up installation of new construction in Greenwood Village. That project should be complete by Thanksgiving.
I will report back with pictures soon!
Water Jet Technology in the Bathroom
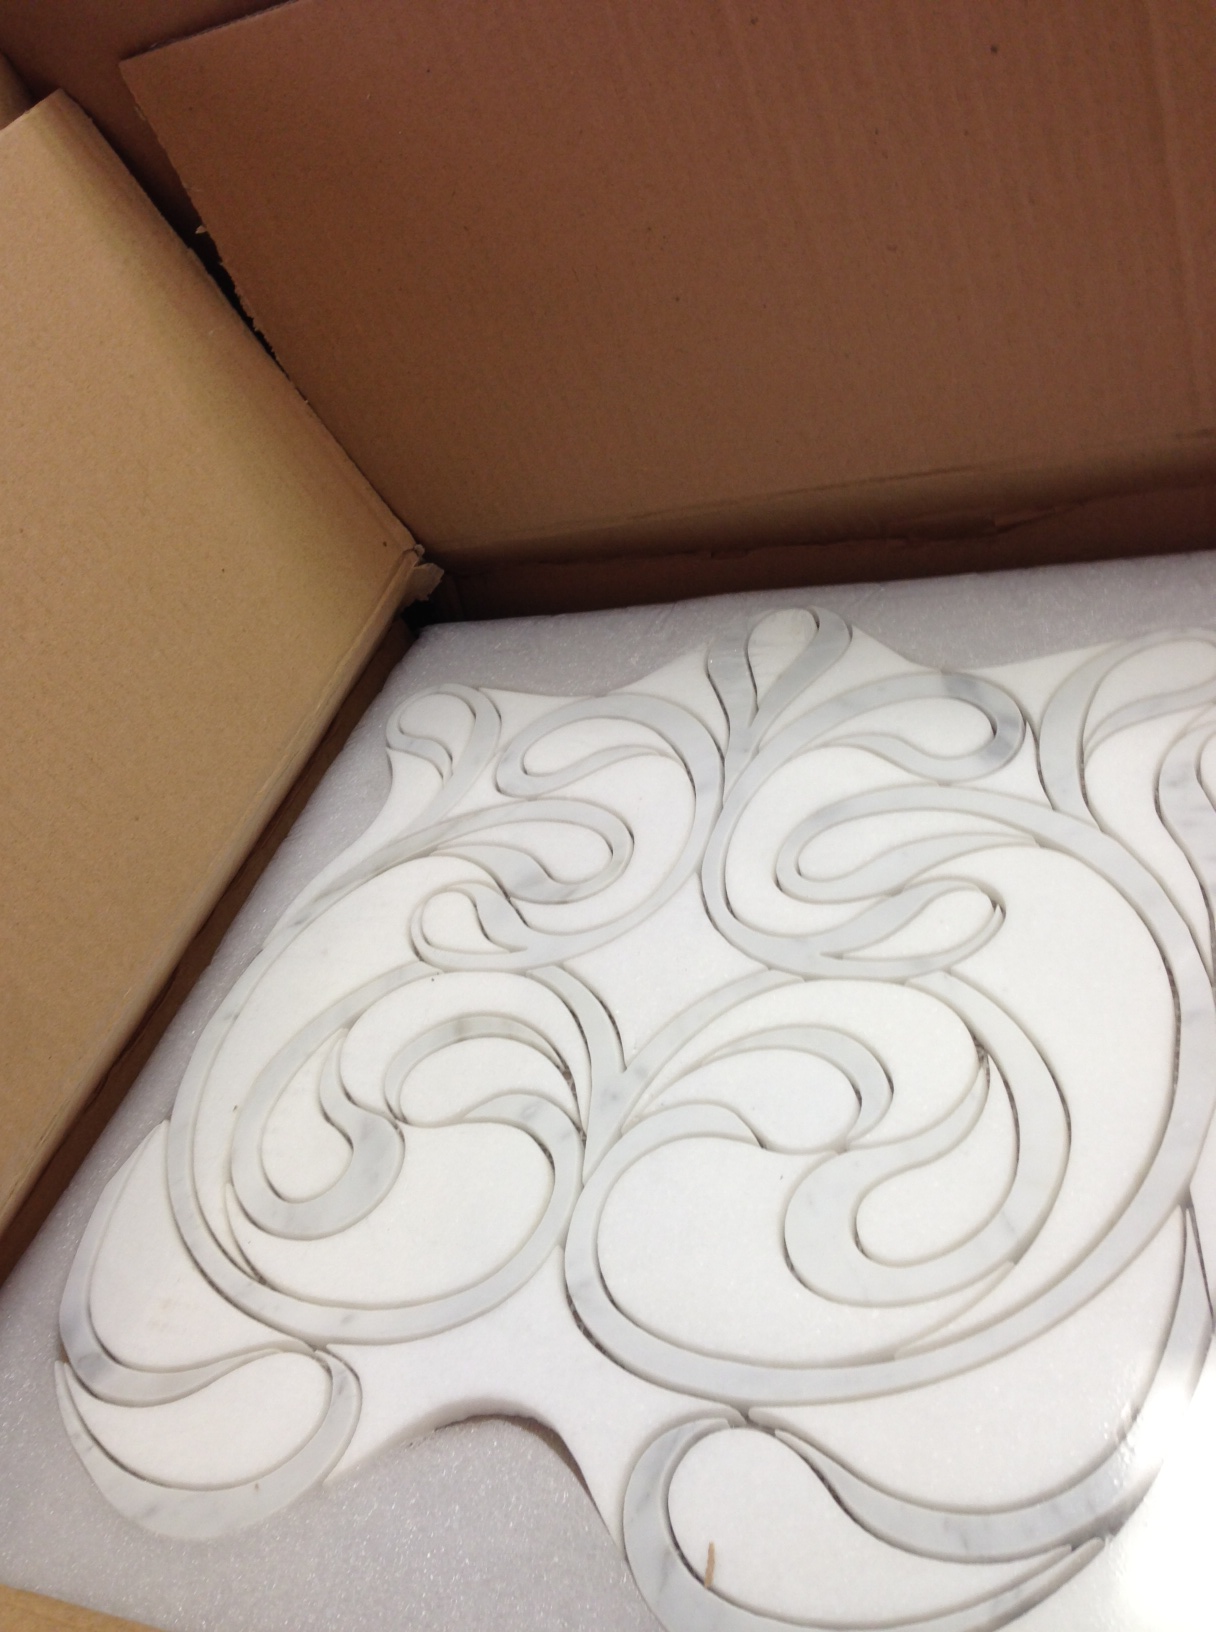
I've posted in the past that water jet technology is making its way into stone and tile manufacturing. It's allowing the manufacturers to cut really intricate designs into the stone and create some very elegant mosaic patterns. Below, a quick shot of a water jet natural stone mosaic (created out of thassos and calcutta gold marble) that I received in my office this week. We are using 8 of these beautiful mosaic tiles to create a 2' x 8' mural in a shower in Cherry Hills Village. I will post photos of the finished bathroom once we are done and include some detail shots of the mosaic as well.
Bathroom Project Featured in 5280 Home Magazine June 2013 Issue
A bathroom project that I finished about a year ago is featured in this month's 5280 Home Magazine. Here is a link to the article: TotalTranquility_June2013_5280Home


