How to Build Wainscot Paneling

Wainscot paneling is something I used to do a lot of when I lived in the Northeast.  It's found in many older traditional homes, and is often replicated in remodels and new construction to achieve a warmer feel for a space and add interest to otherwise plain walls. Wainscot comes in many different heights, styles, and variations.  It can be created with a variety of materials, but wood is mostly used for the construction.

Originally, wainscotting was used in 16th century English homes to combat rising dampness.  England has a very humid and damp climate, and this was one method that early builders used to fight mold and mildew that would rise up out of the ground and infiltrate the lower portions of walls in homes.

Now, it is used mainly by designers and builders to adorn the walls of upscale homes.  It is traditionally painted or stained and, like I said, can come in many different variations.

Steps to Create Wainscot

1.  Rip your horizontal rails to the desired width.  If you are planning on a 3" exposed rail and you have a 4" baseboard, then your rails should be ripped at 7", as the rail will be applied first and the baseboard attached to it, flush to the floor.  Use 3/4" thick MDF (medium density fiberboard) or paint grade plywood if you are planning on painting your wainscot.  If you desire a stained wainscot, then take care to select only the best boards for your material, as the stain will accentuate any grain patterns or defects that are found in the wood.

2.  Mark stud locations on wall.

3. Draw level lines at the desired heights and then nail your wainscot to the wall at the locations where you previously marked off studs.

4.  Next, mark off your desired locations for vertical stiles.  Nail these into place as well, and be sure to apply ample wood glue to the ends that will abut the horizontal stiles and rails.

5.  After you have nailed your stiles and rails to the wall, you'll have a pretty good idea of what the end product will look like.  Miter your chosen panel mold or inside profile into the panels, per your design.

6.  Add your chair rail and cap mold.  Here's where you can get creative.  There is no set way to build wainscot.  Take your time designing and drawing before you start any nailing or building.  Draw the panels out on the wall to ensure that you like the size and shape of them.

7.  Finally, all of the nail holes and joints will need to be filled with putty and sanded to a smooth finish.

8.  Your wainscot will need to be primed first, and then painted with a minimum of two coats of paint.  I recommend spraying the paint, as brush application will take a very long time, and the sprayed finish gives a very uniform even coat.

Classic Kitchen Design

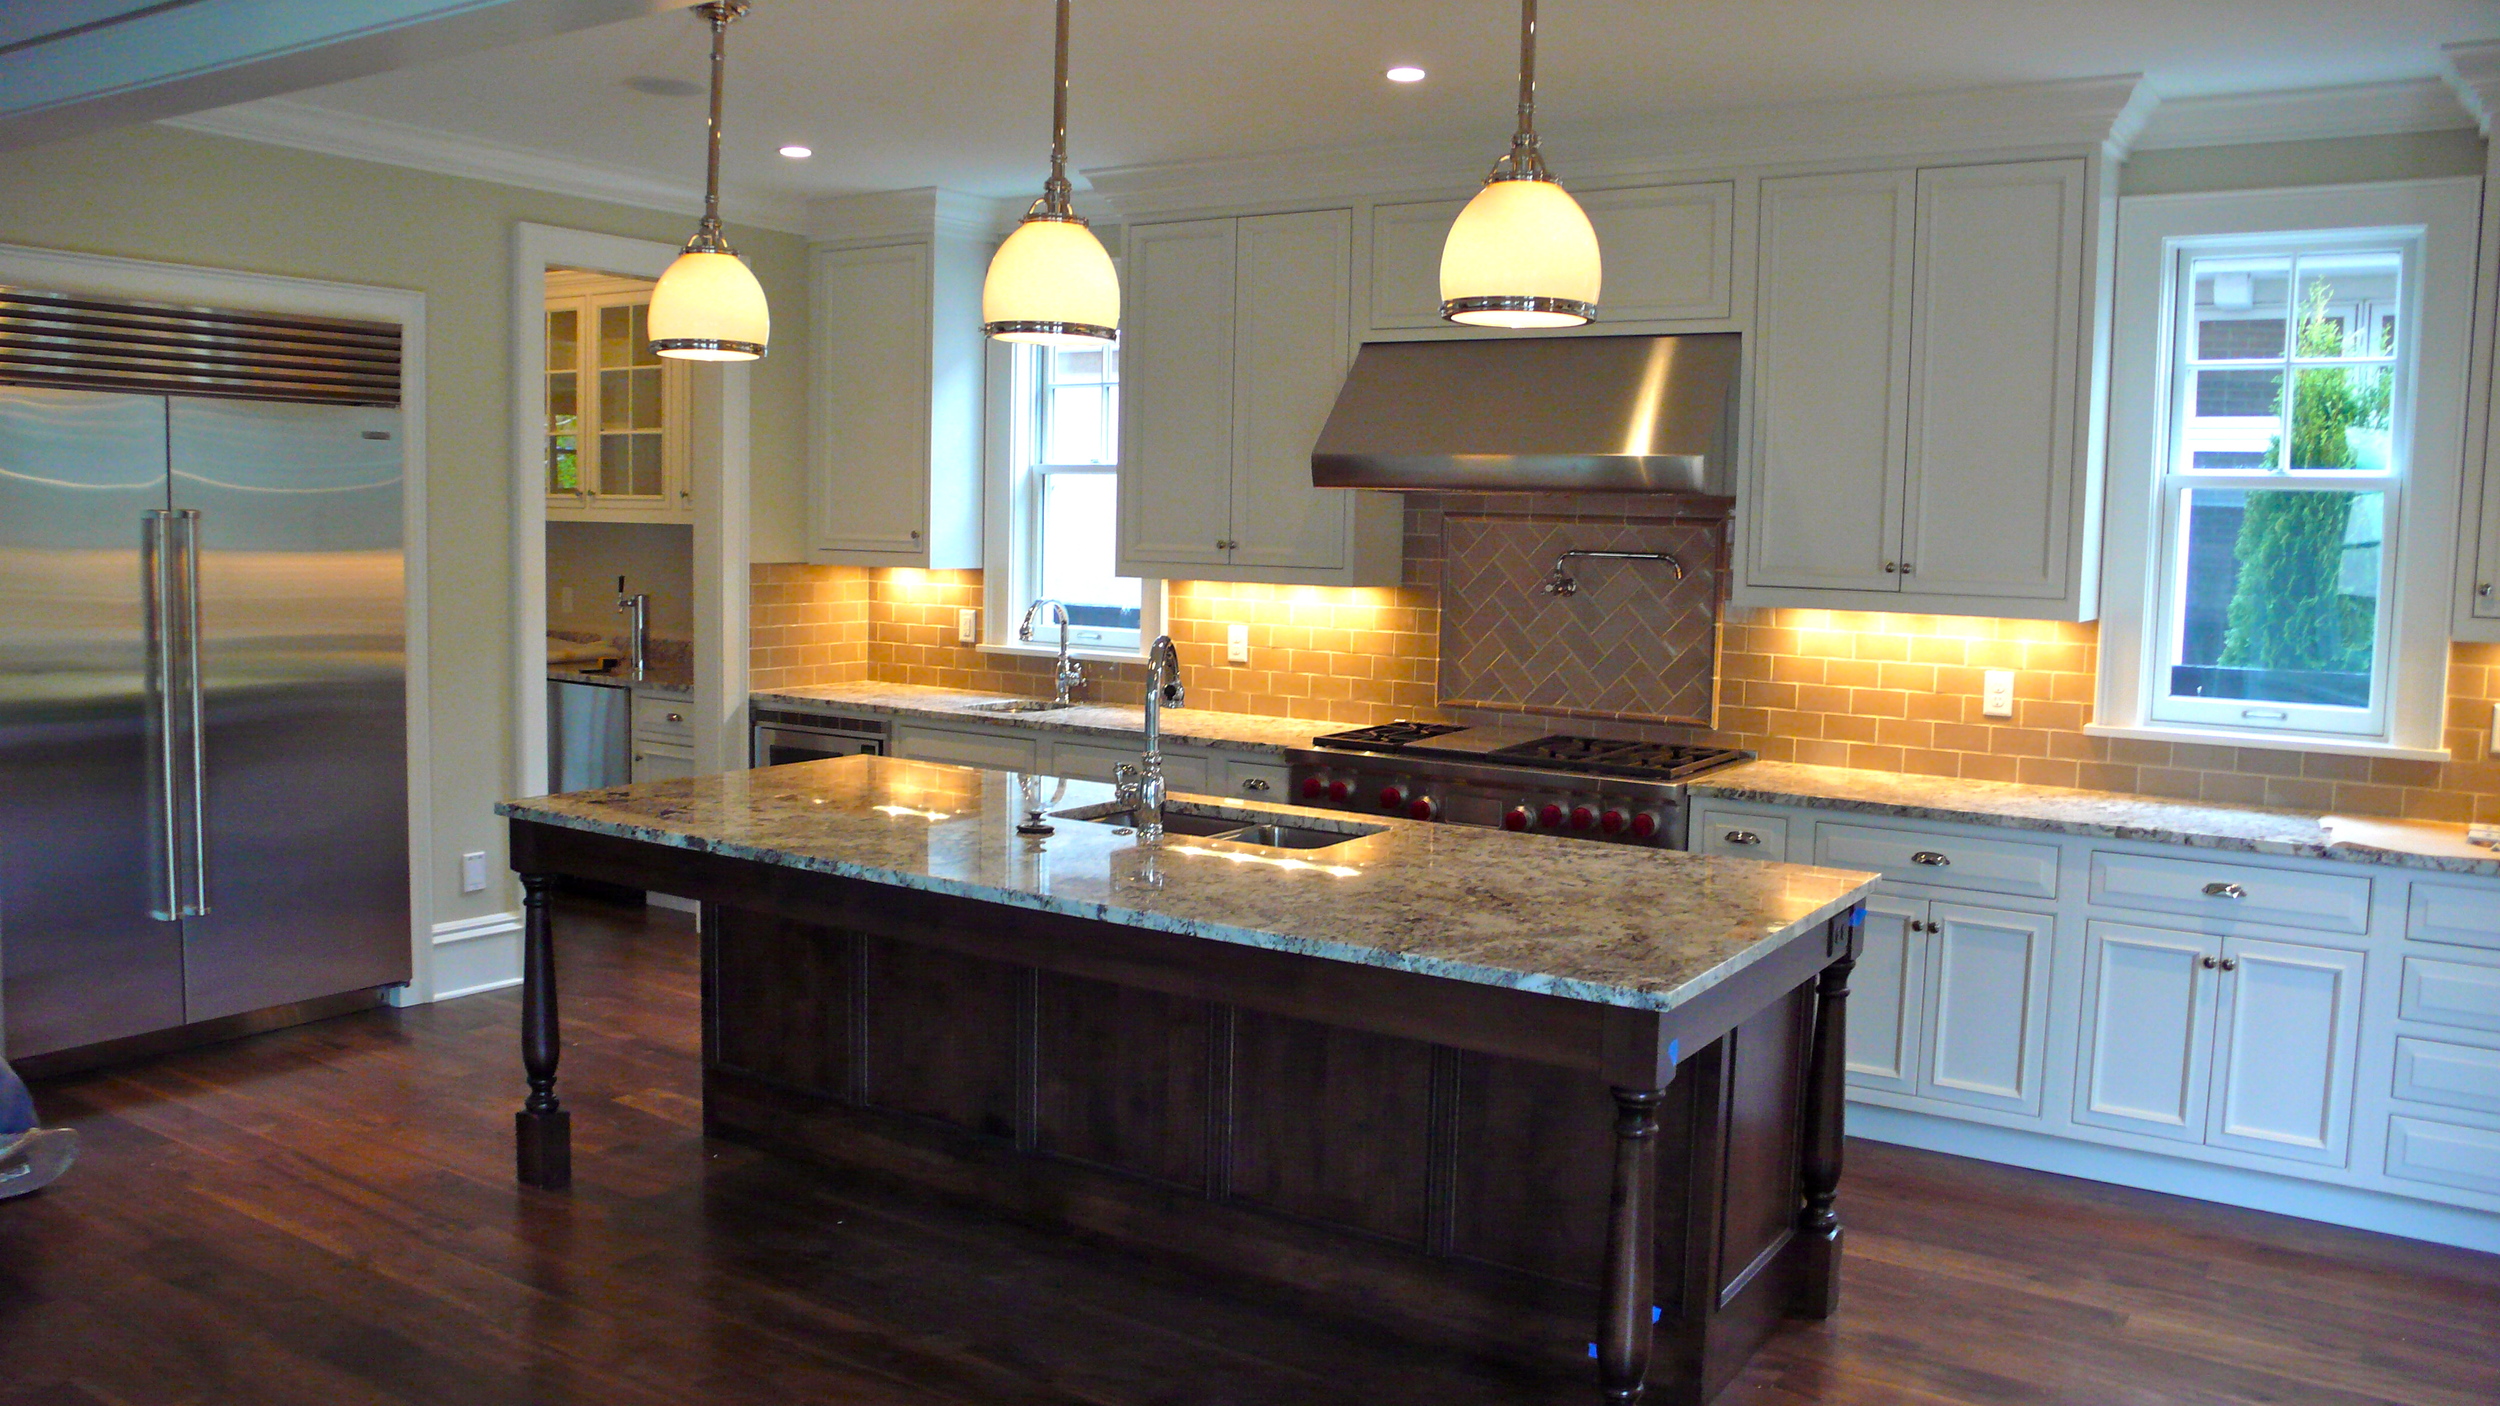
This project recently completed in the East Washington Park neighborhood of Denver.  The home was conceived and constructed by one of Denver's most highly regarded build/design firms.  Attention to detail is apparent throughout the home and the overall affect is sophisticated and comfortable.

I'm not sure what label our design/build firm would give to this design, but I think of it as a classic kitchen.  Off white cabinetry on the perimeter is contrasted with a dark stain and glaze on the island.  This type of color combination has become quite popular in newer homes and recent remodels.  The cabinetry is all inset and features an applied moulding and raised drawer heads.

The addition of a prep sink under the left hand side window makes this kitchen very user friendly for a two cook family.  The main sink is on the island, centrally located in the kitchen.  There is generous seating for 4 or 5 at the island, and the Butler's Pantry is a great place for staging food and provides a lot of additional storage.

The flooring provides a really nice contrast to the cabinets and granite.  It is rustic walnut wide plank.  The granite is called Alaskan White I believe.  Greenfield Cabinetry (Indianapolis, IN) is the cabinet shop I used to provide the inset cabinetry.

[gallery columns="4"]

Whole House Remodel

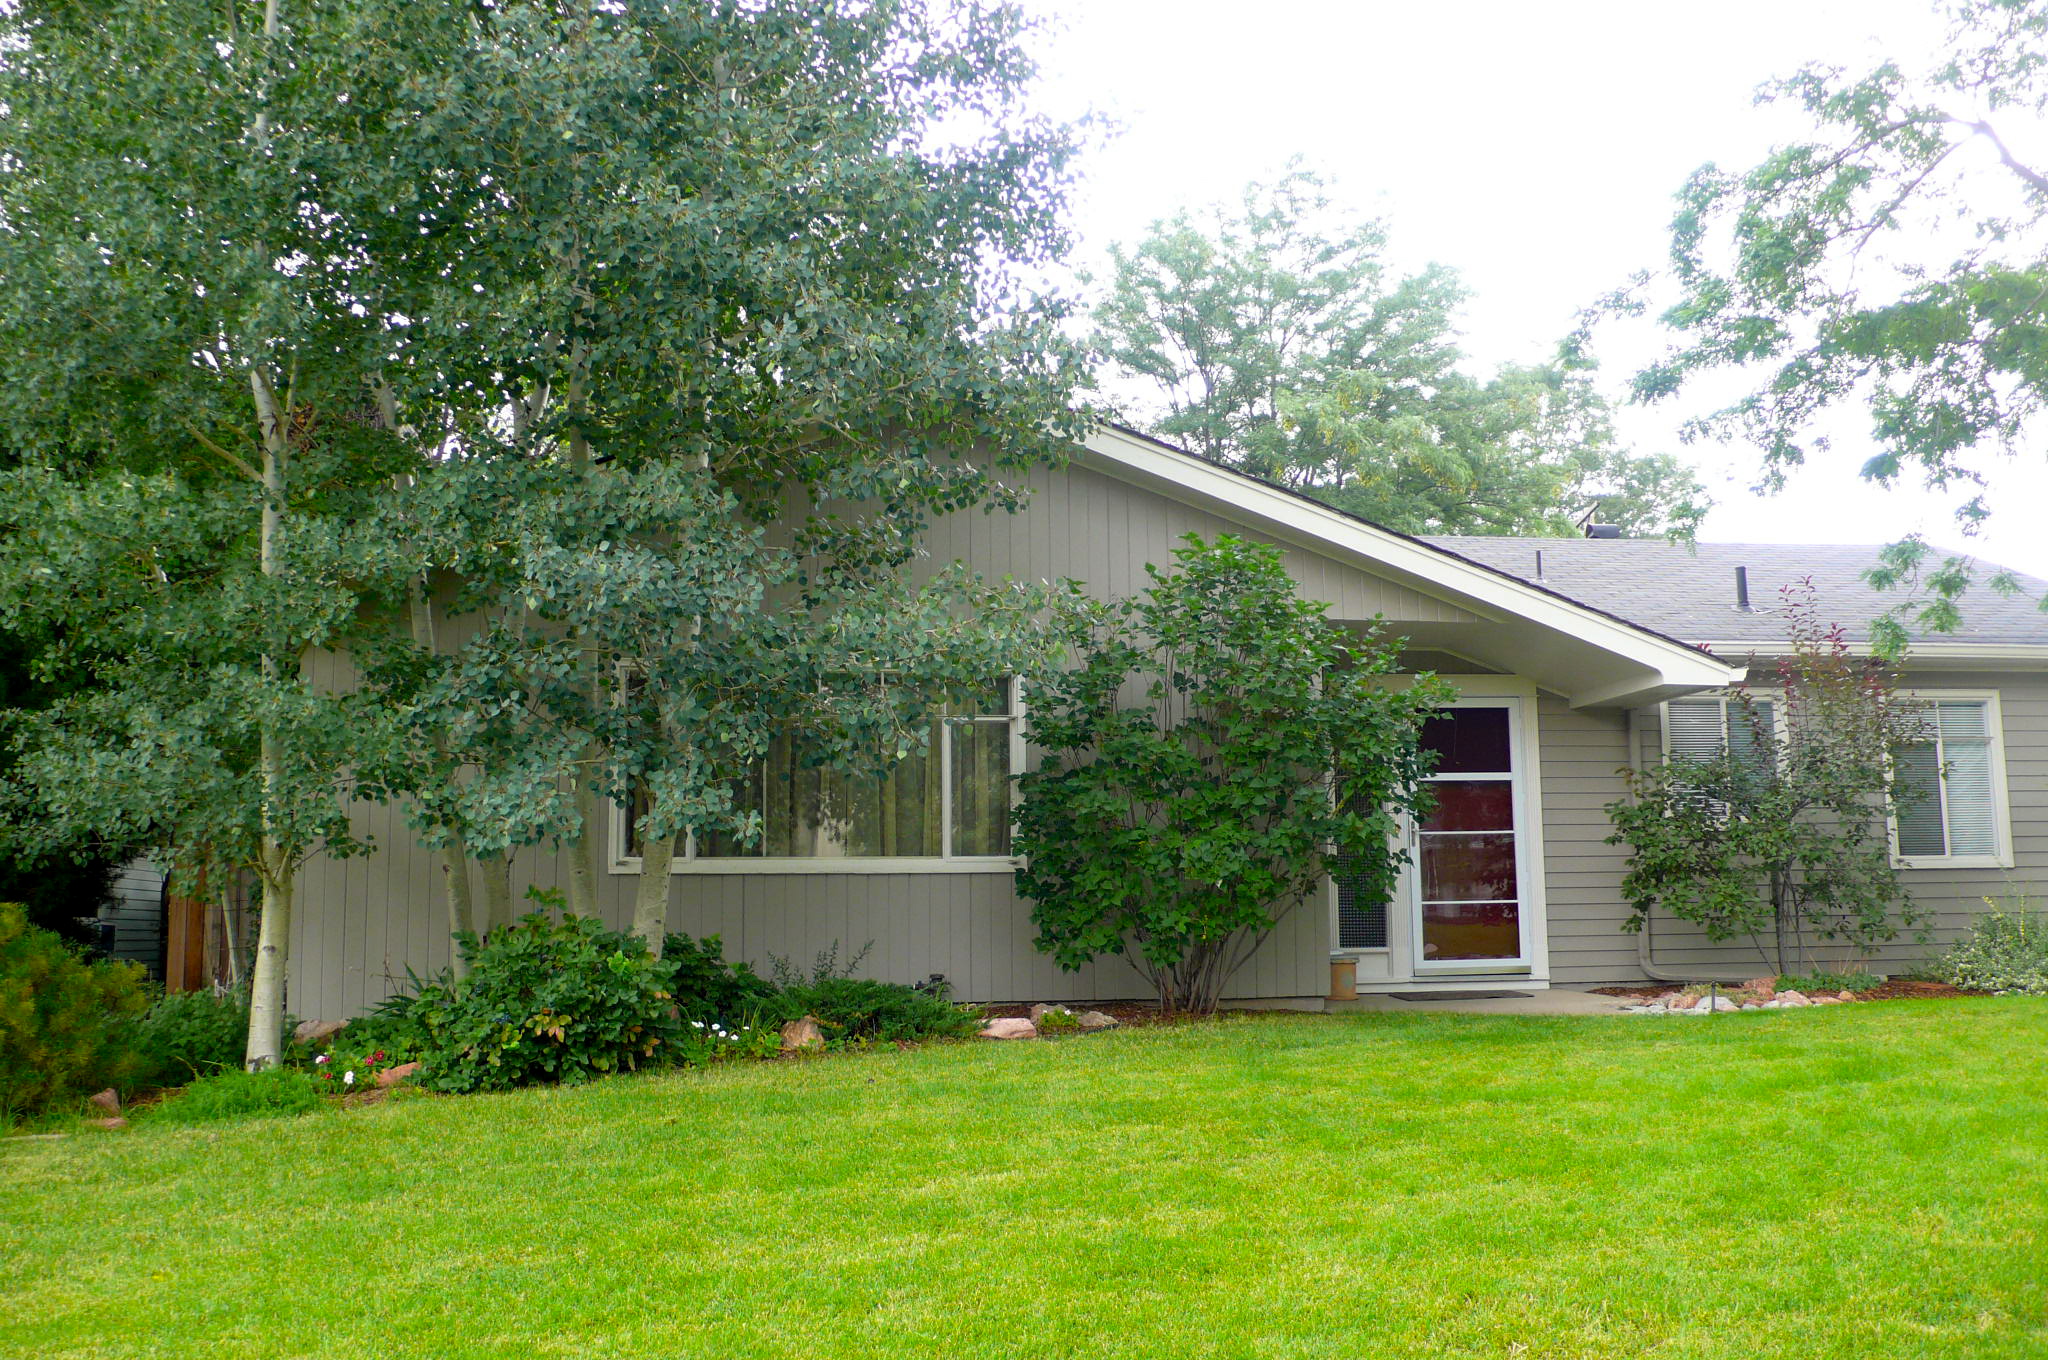
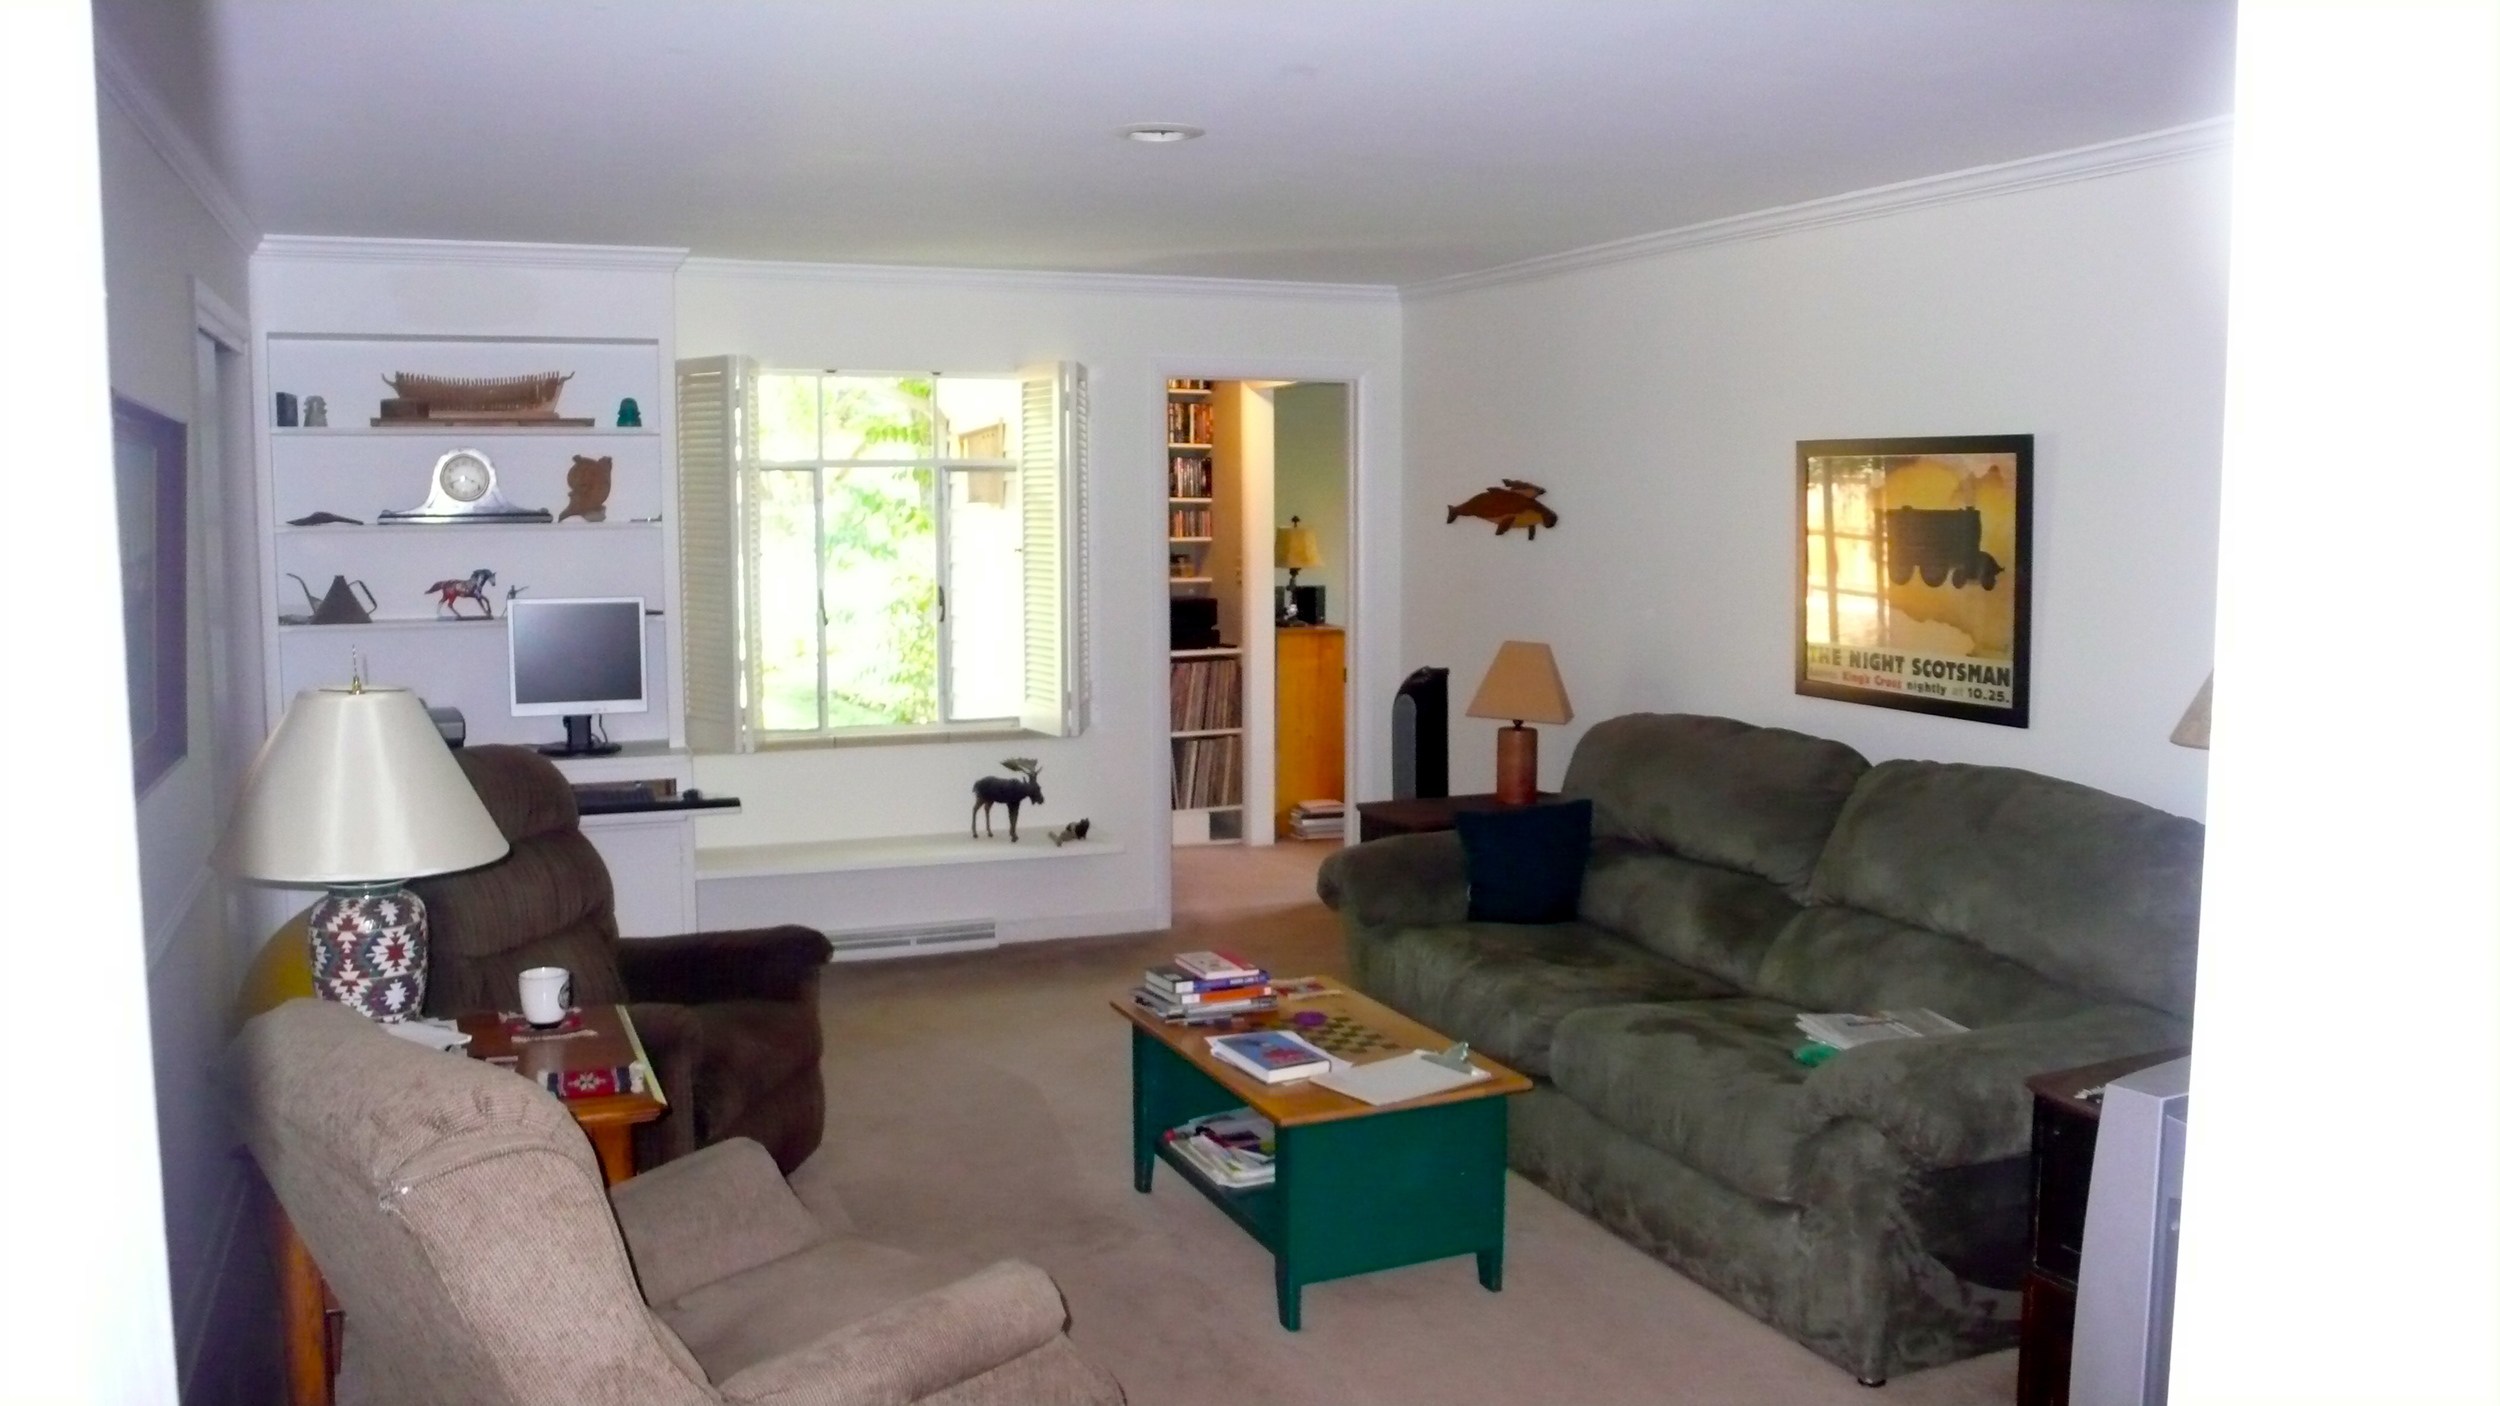
When my wife and I first saw our future home on Cook Street in southeast Denver, we weren't terribly impressed.  It's a 1955 ranch with an addition and a garage that has been converted into a larger living space.  However, I started to visualize what we could do with this house and realized that although it would take a TON of work, this would be a fantastic house for us.

Wall to wall carpeting.  No lighting anywhere.  A kitchen straight out of 1978 (currently the kitchen remains in it's late seventies state.  However, I have plans to gut this puppy and remodel it by end of July 2011)  So before you ask why there are no pictures of a kitchen remodel...They were omitted on purpose!  I'll reveal the before and afters of the kitchen by end of summer...I promise.

We took possession of the house on September 10, 2010.  We had three weeks to lay new floors, complete new electrical, remove walls, add new doorways, build a custom closet, and add carpeting to the master bedroom.

Like all houses, ours is also a work in progress.  To date, we have completed a remodel of the entire main level - except for the kitchen - which will be gutted this summer.  There is still a lot of work to do...And we have done a lot since these pictures were taken **added a built in desk "command center" to the niche in the center of the house** and **currently remodeling front bedroom into a nursery**  (Pics to come late summer)

We chose a 3/4" solid birch hardwood floor in 3" plank width.  It is a prefinished product.  We chose prefinished because it cuts down dramatically on time to install.  Also, if we should ever want to refinish the floors, we can.  Unlike engineered wood, our hardwood floors are solid, so we can sand them down and then refinish if we choose to.

I incorporated recessed lighting wherever I could.  We plan to add recessed lights to the kitchen and *ahem* also plan on installing two skylights in the kitchen to take advantage of Denver's sunny skies.

These before and afters really don't do the project justice, but at least you can see what we were originally dealing with...

[gallery columns="4"]

My Favorites from KBIS 2011

"This year's show is SO much smaller than past years' shows." KBIS 2011, in my opinion must have been the smallest show in many years for the NKBA (National Kitchen and Bath Association).  I think I must have overheard this quote about ten times during my three days in Vegas.  Despite this perceived lack of attendance, it still felt like a pretty big show to me, and I met a lot of people who will definitely make a difference in my business the upcoming year.  Best of all, I got the opportunity to see the best and brightest new products that are on the market.

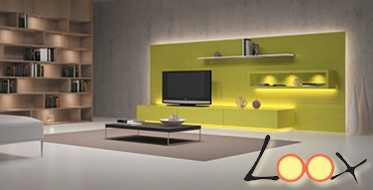
Lighting in the kitchen and bath is a real focal point now.  Toto even has a line of sinks with integrated LED lights underneath that shine up and through a transluscent material.  Hafele probably has the LED product with the most "cool factor".  It is called LOOX and it's versatile, energy efficient, and simple to install.  LED is still rather expensive, but it is very energy efficient and you'll probably never have to change a bulb for as long as you own your house.  Check out my earlier blog post about the Basics of LED Lighting.

I was also impressed with Northern Contours.  Based in Minnesota, Northern Contours builds doors for major cabinet manufacturers.  They have great capability and are true custom in this respect.  To give you an idea of their capabilities, I took a picture of a high gloss real wood custom veneer cabinet vignette that was on display.  What does this mean for you?  Take a look at their website, www.northerncontours.com, and if you find a finish that you love, it can be made for your very own project.

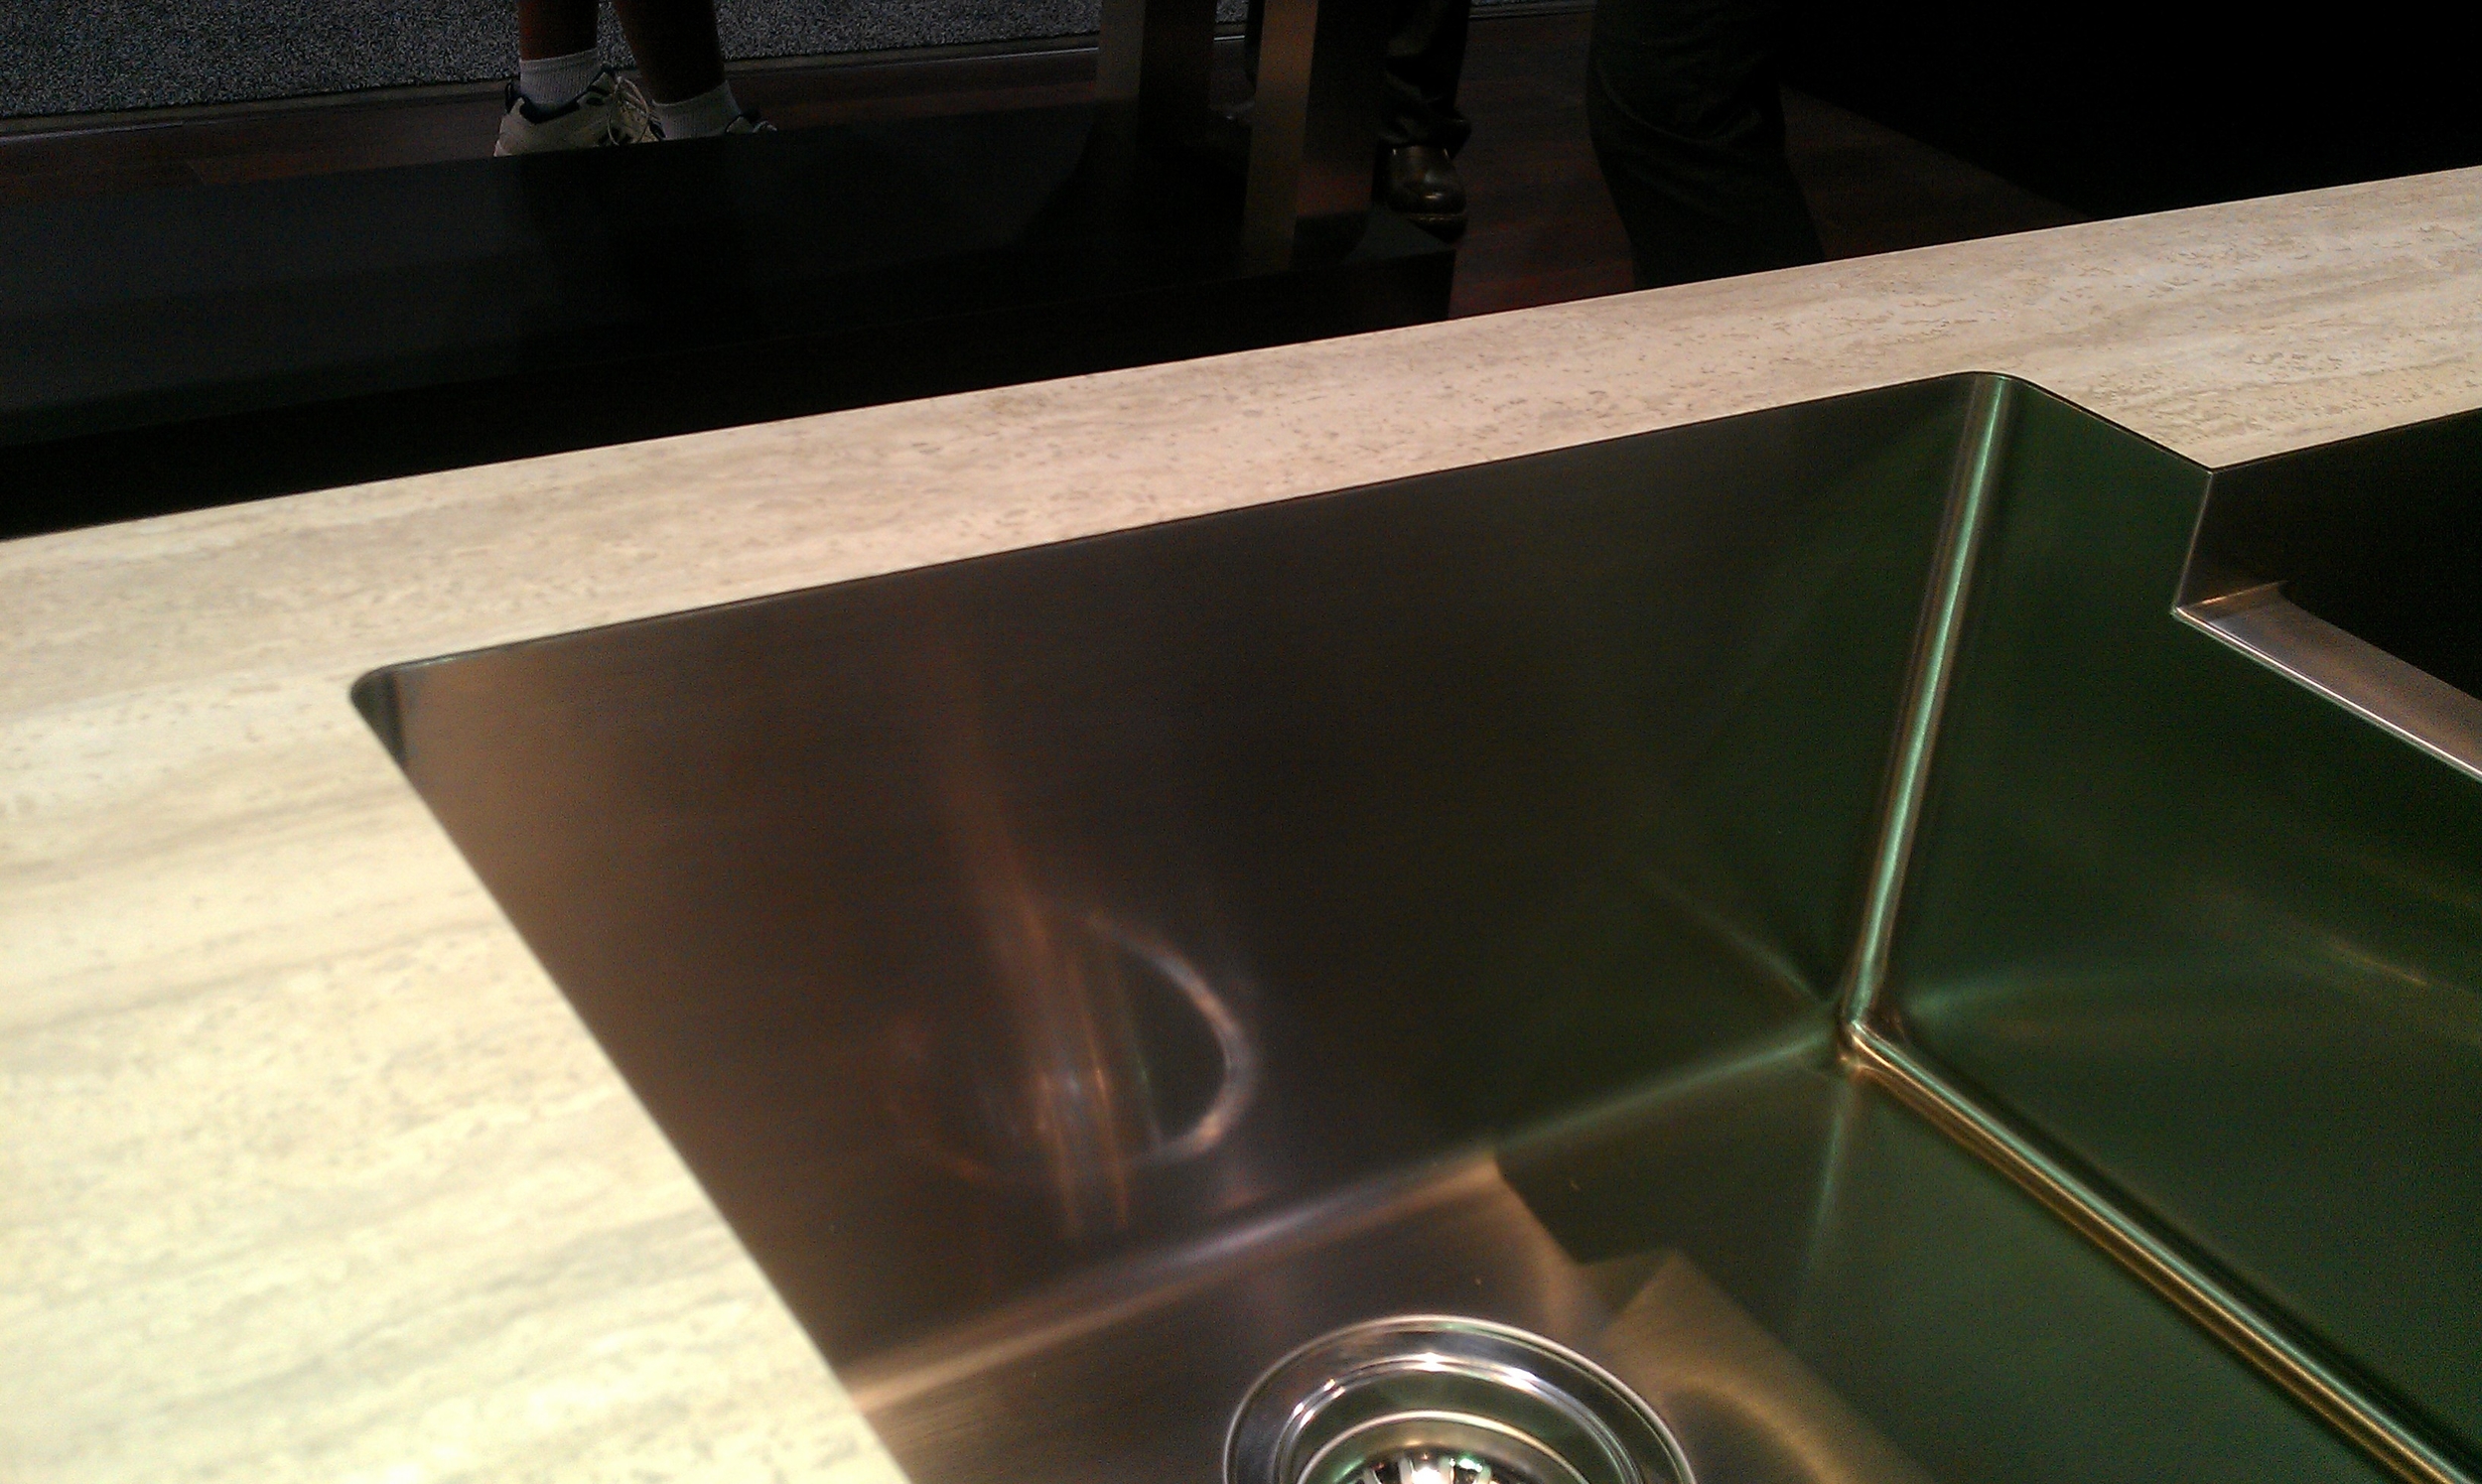
Karran makes sinks with zero lip on them for solid surface or laminate countertops.  Laundry rooms would really benefit from this feature.  Using a patented design, Karran has created a sink that can be undermounted to laminate or solid surface, virtually eliminating any and all seams or overhangs.  It's a great look.  TIP:  So you can't afford granite?  Specify a Karran sink for your laminate countertop and really upgrade the overall look of the space.  It immediately gives a high end look.

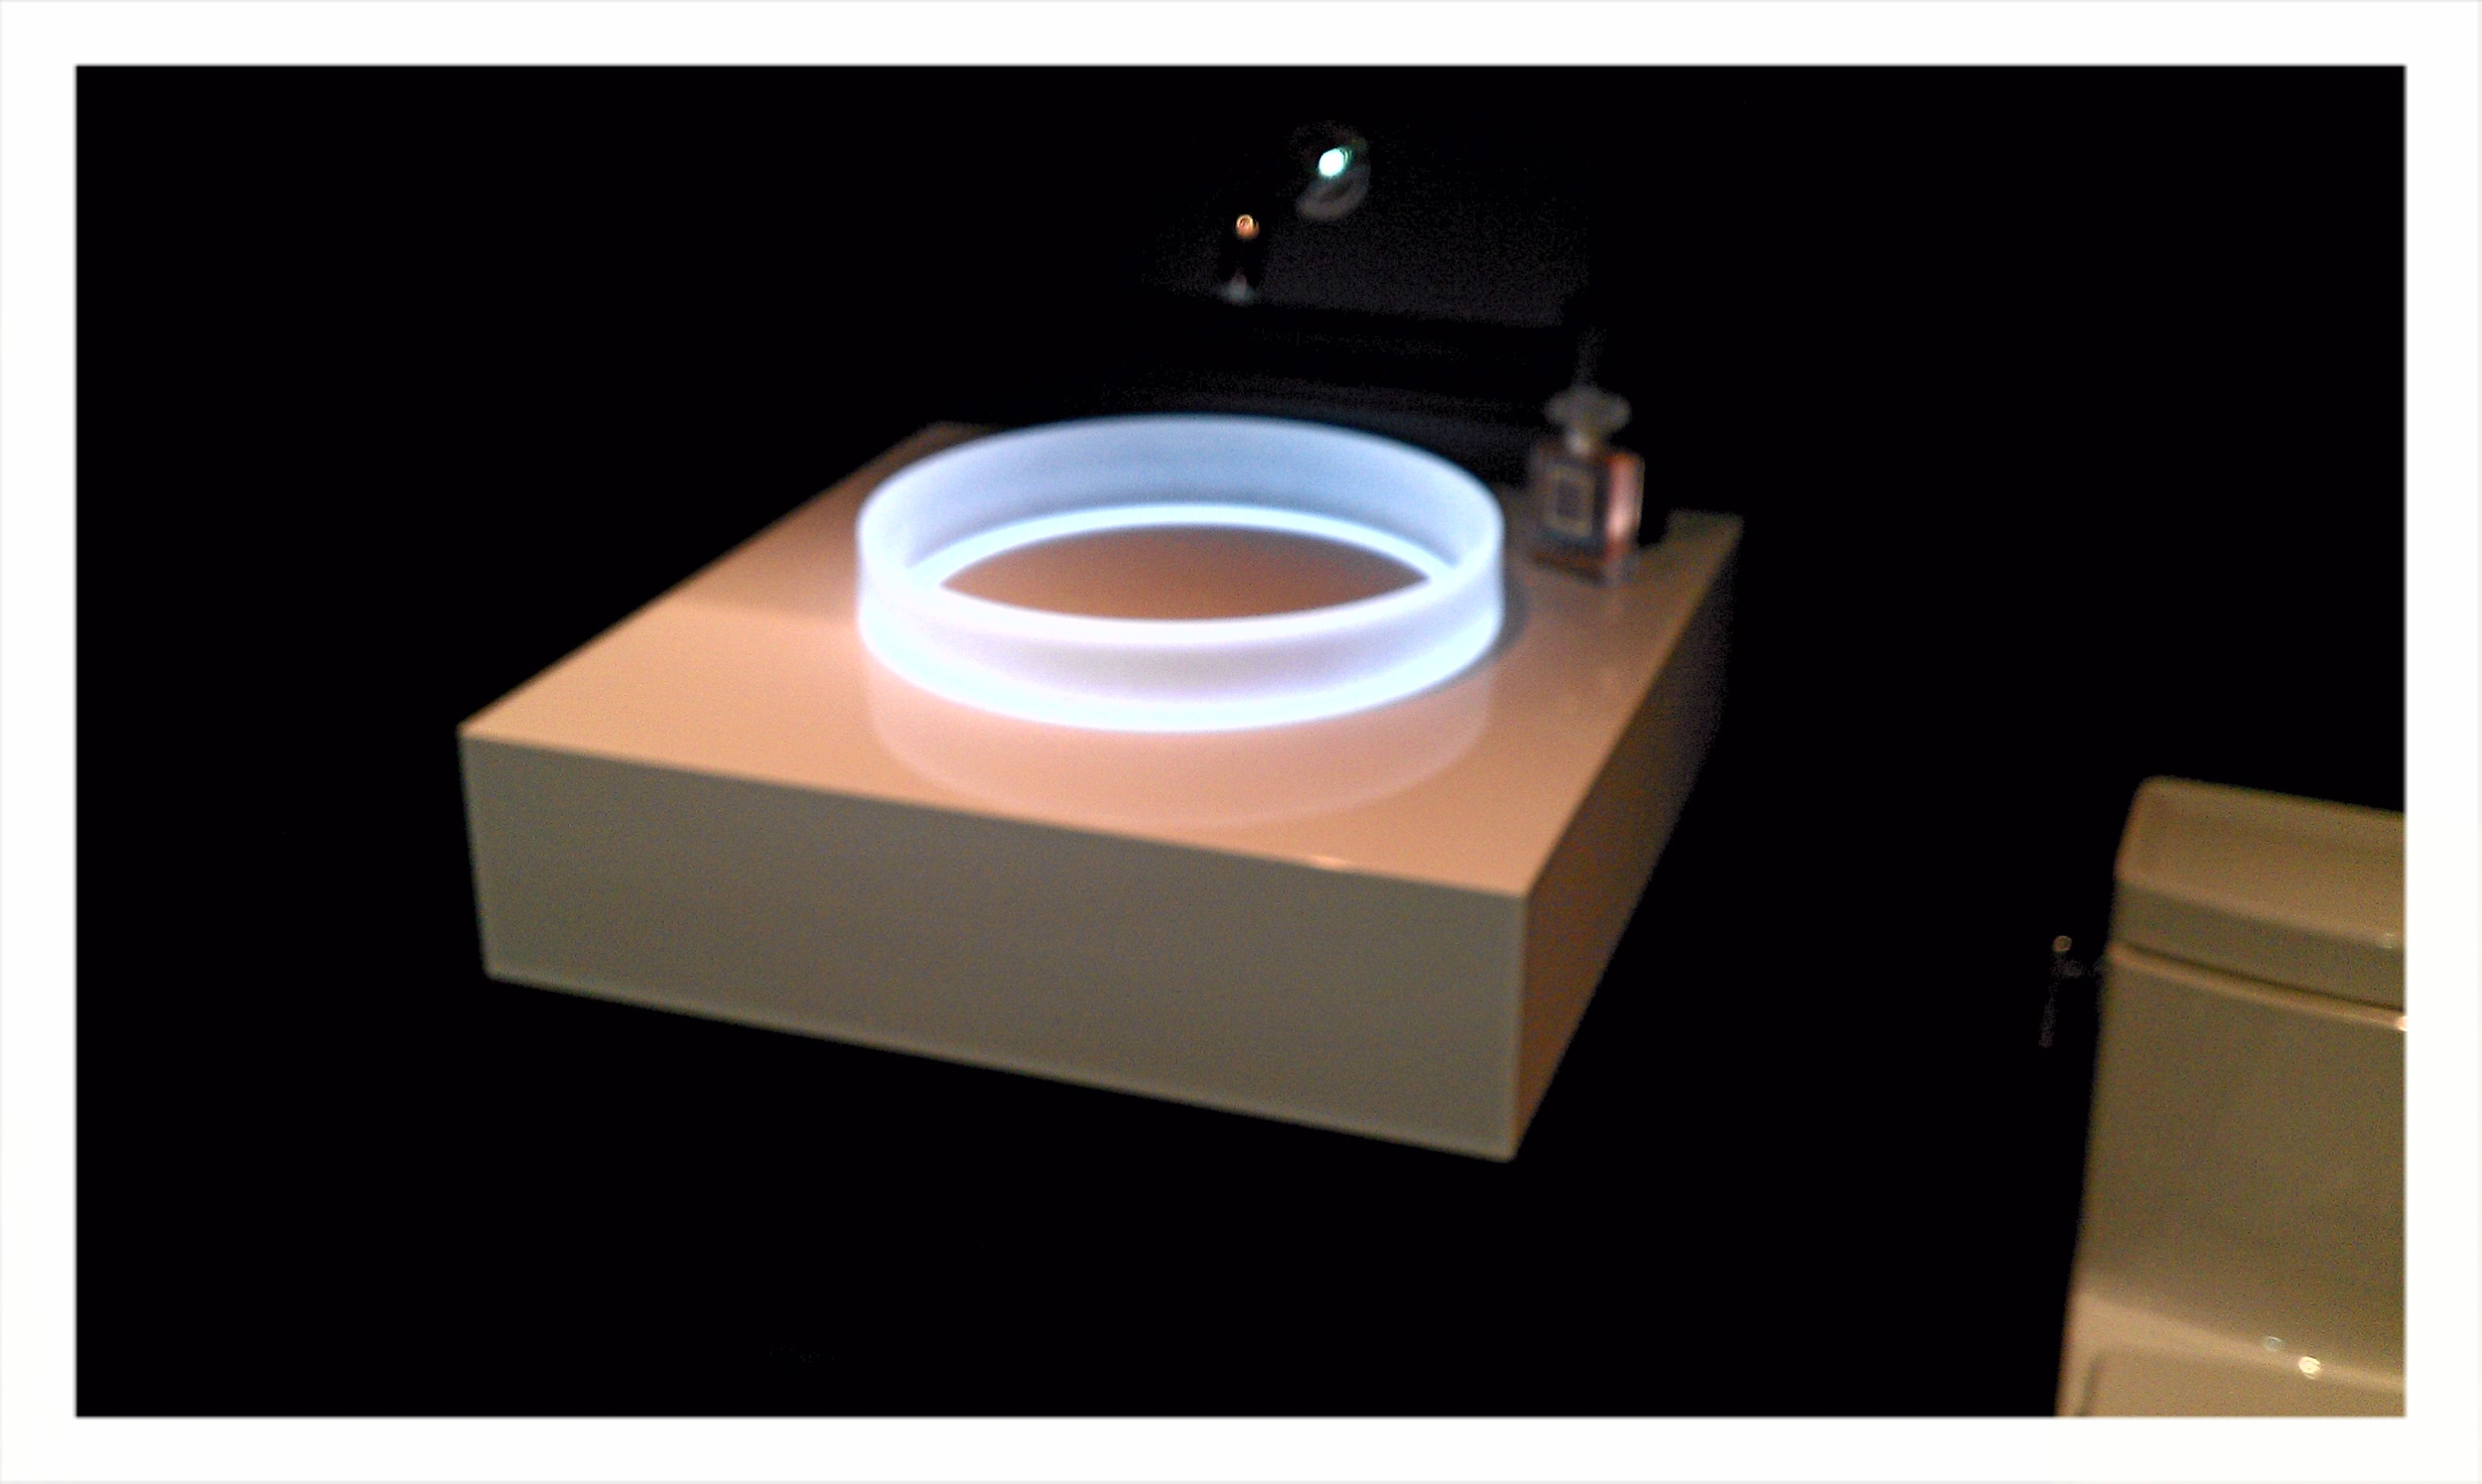
Ok, now for an item that might not be practical for everyday use, but if you're looking to really make a statement with a powder bath and just want the WOW factor, I might suggest the following product...Toto has a line of vessel lavatories called "Luminist".  Luminist incorporates LED lighting beneath a translucent lavatory bowl.  When turned on, the vessel appears to emanate light evenly in all directions.  The Toto website has better pictures of this product, but here's one I snapped with my camera phone.

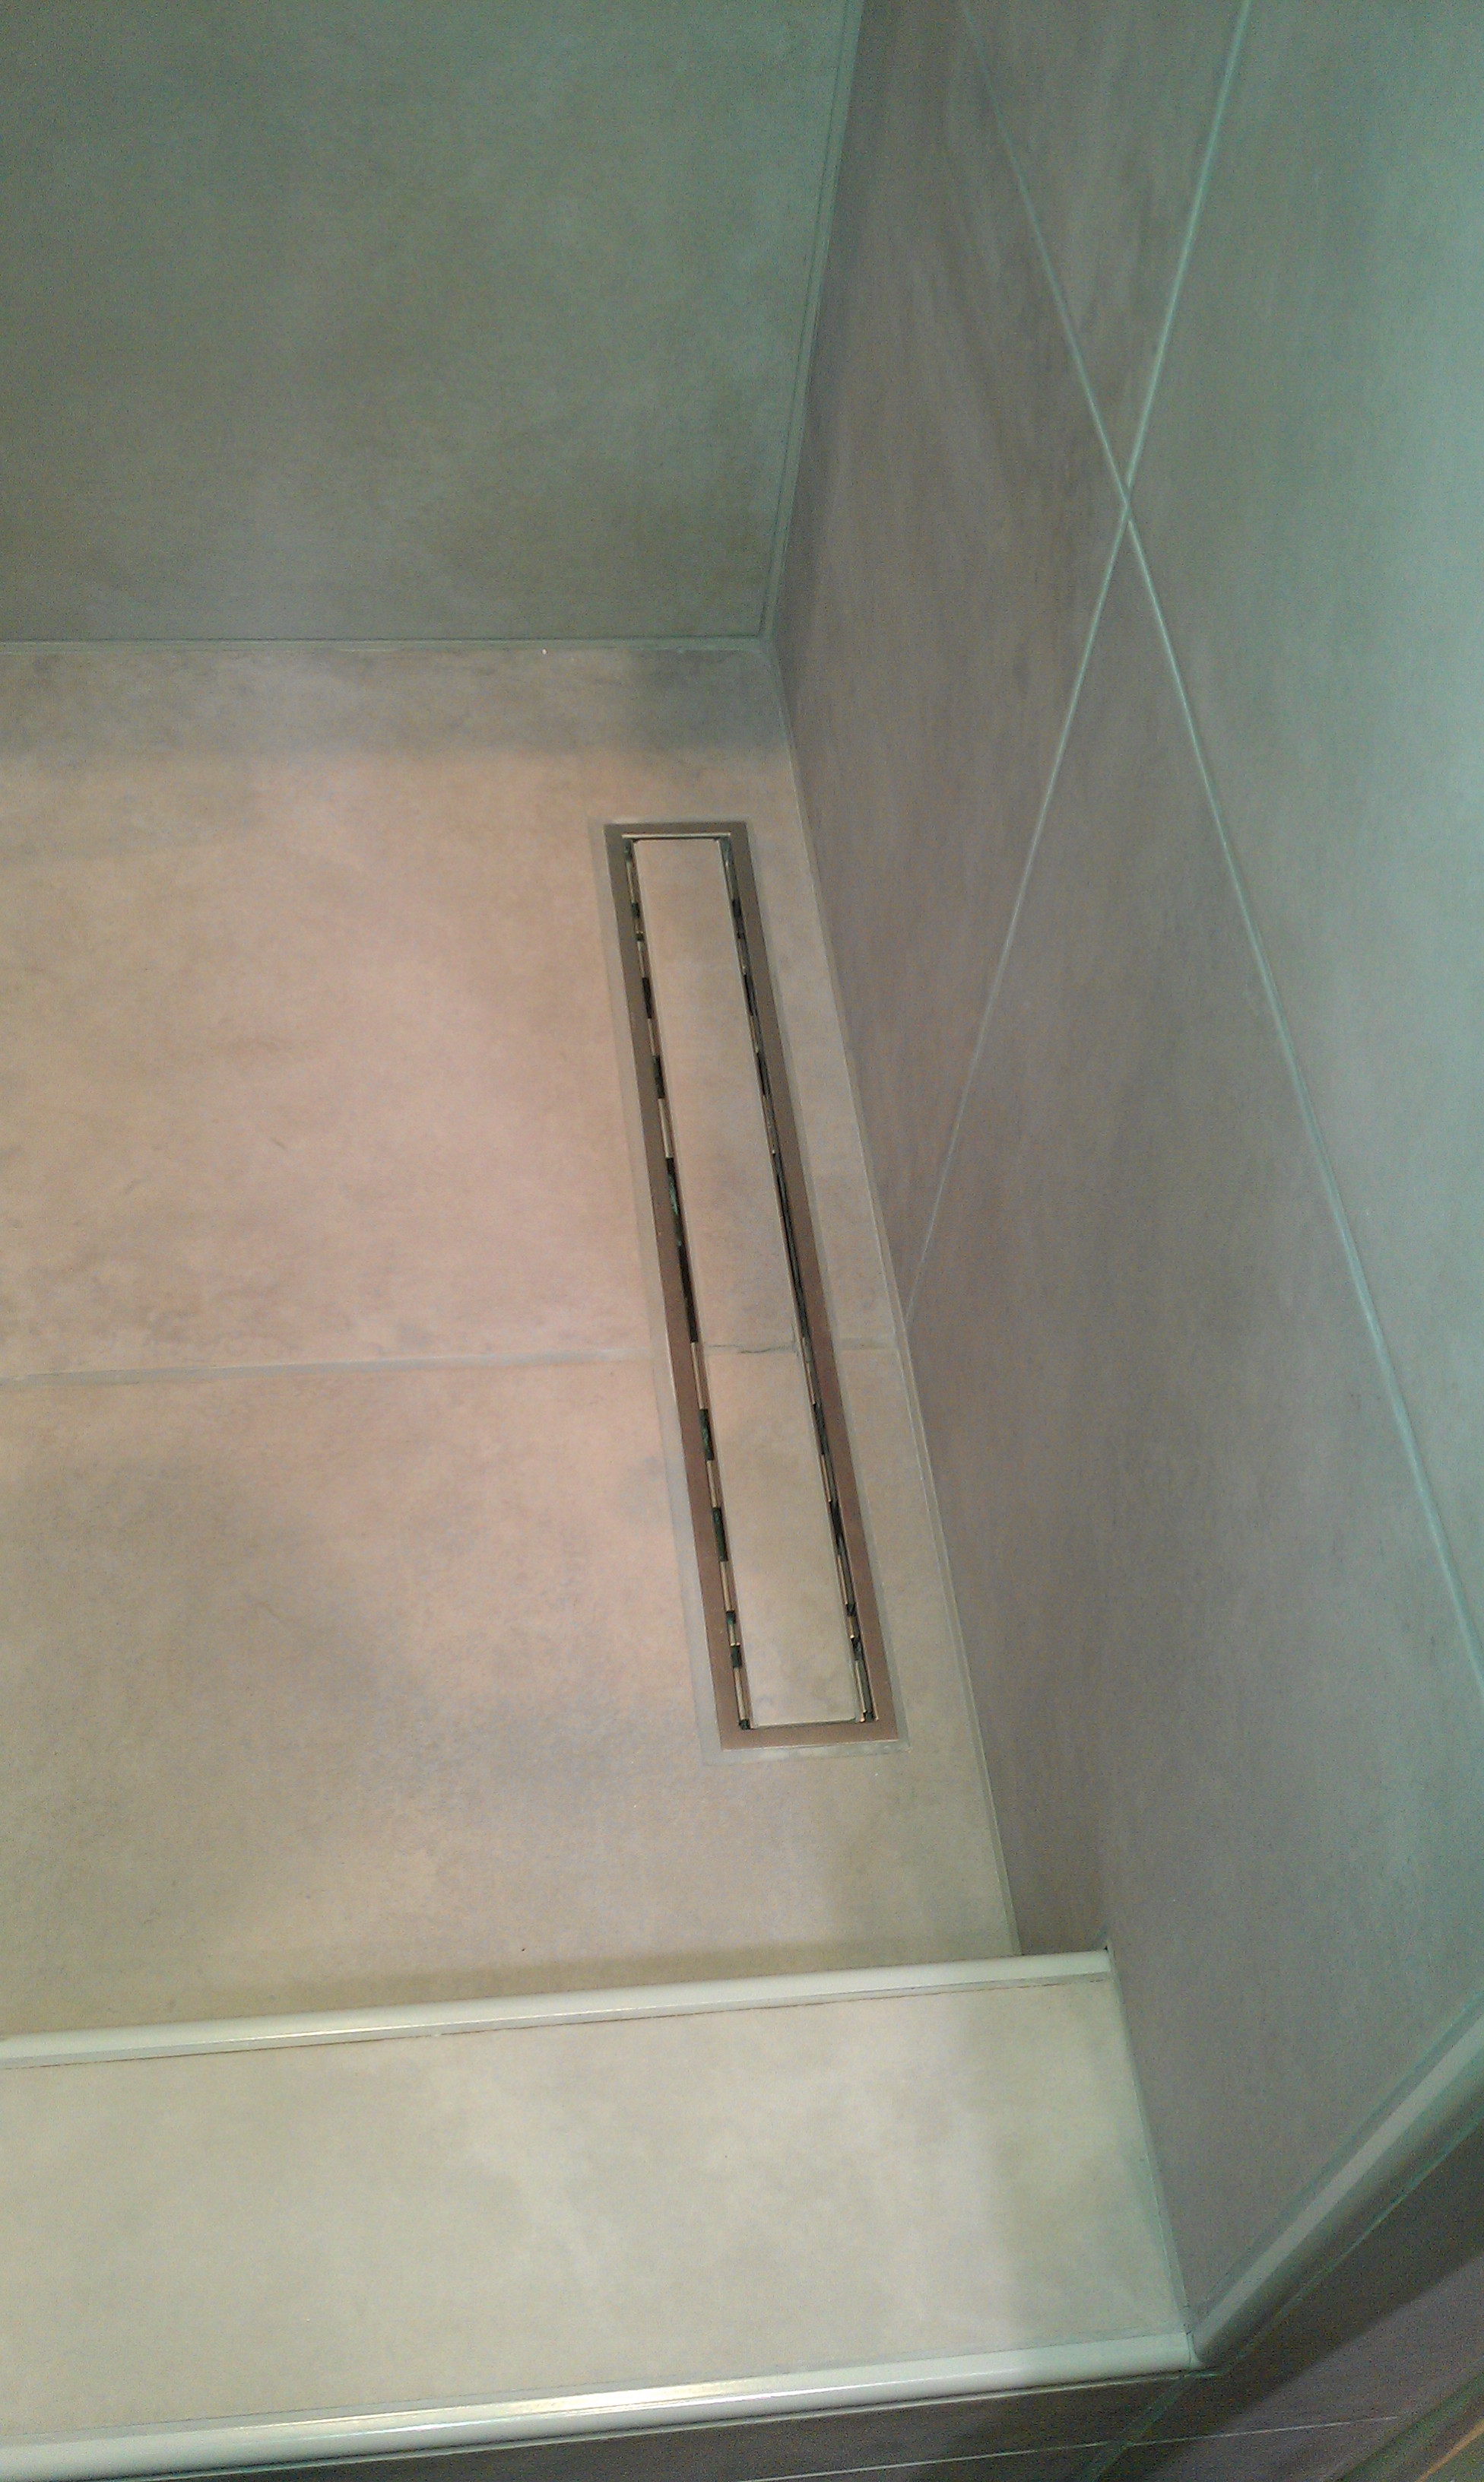
If you are planning on creating a steam shower or a shower with multiple rain heads and heavy volume of water flow, it is worthwhile to explore the Schluter Kerdi Board System for the encapsulation of all moisture and vapor.  Schluter is well known for their tile accessory products and this is just one more addition to their various products.  Schluter has incorporated the drain into the pre formed pan board of the shower, virtually eliminating the risk of water leakage at that point.  They also have some very pleasing designs for the drains.  One of which is pictured below.

To view this year's "Best of KBIS" as voted on by the NKBA, check out the following link:

http://www.kbis.com/show/best-of-kbis

Til next time...have fun with those projects!

Some Notes from KBIS 2011 in Las Vegas

image First off, I apologize for the formatting. This is my first post via a mobile device.  We'll see how it turns out.

I am also convinced that Electric Mirror is going to be a hot item in the coming year.  These mirrors provide lighting and mirror in one, which is really nice because the best lighting at the vanity is at eye level, not from above.  I recently specified the "Novo" mirror for a Denver bathroom remodel and can't wait to see the finished product installed in about a month.

image

Rambling Thoughts...

Totally surprised by the lack of contemporary cabinet lines on display. Taiwanese /Chinese vendors and manufacturers have evolved from last year, but it will be a while before they measure up to the big market players such as Kohler in terms of quality and marketing technique. Speaking of Kohler, they really impressed me with some of their new lines. Abrezo Line of fixtures was awesome...very refined. Anyone interested in a $6,400 toilet withal touchscreen control unit?

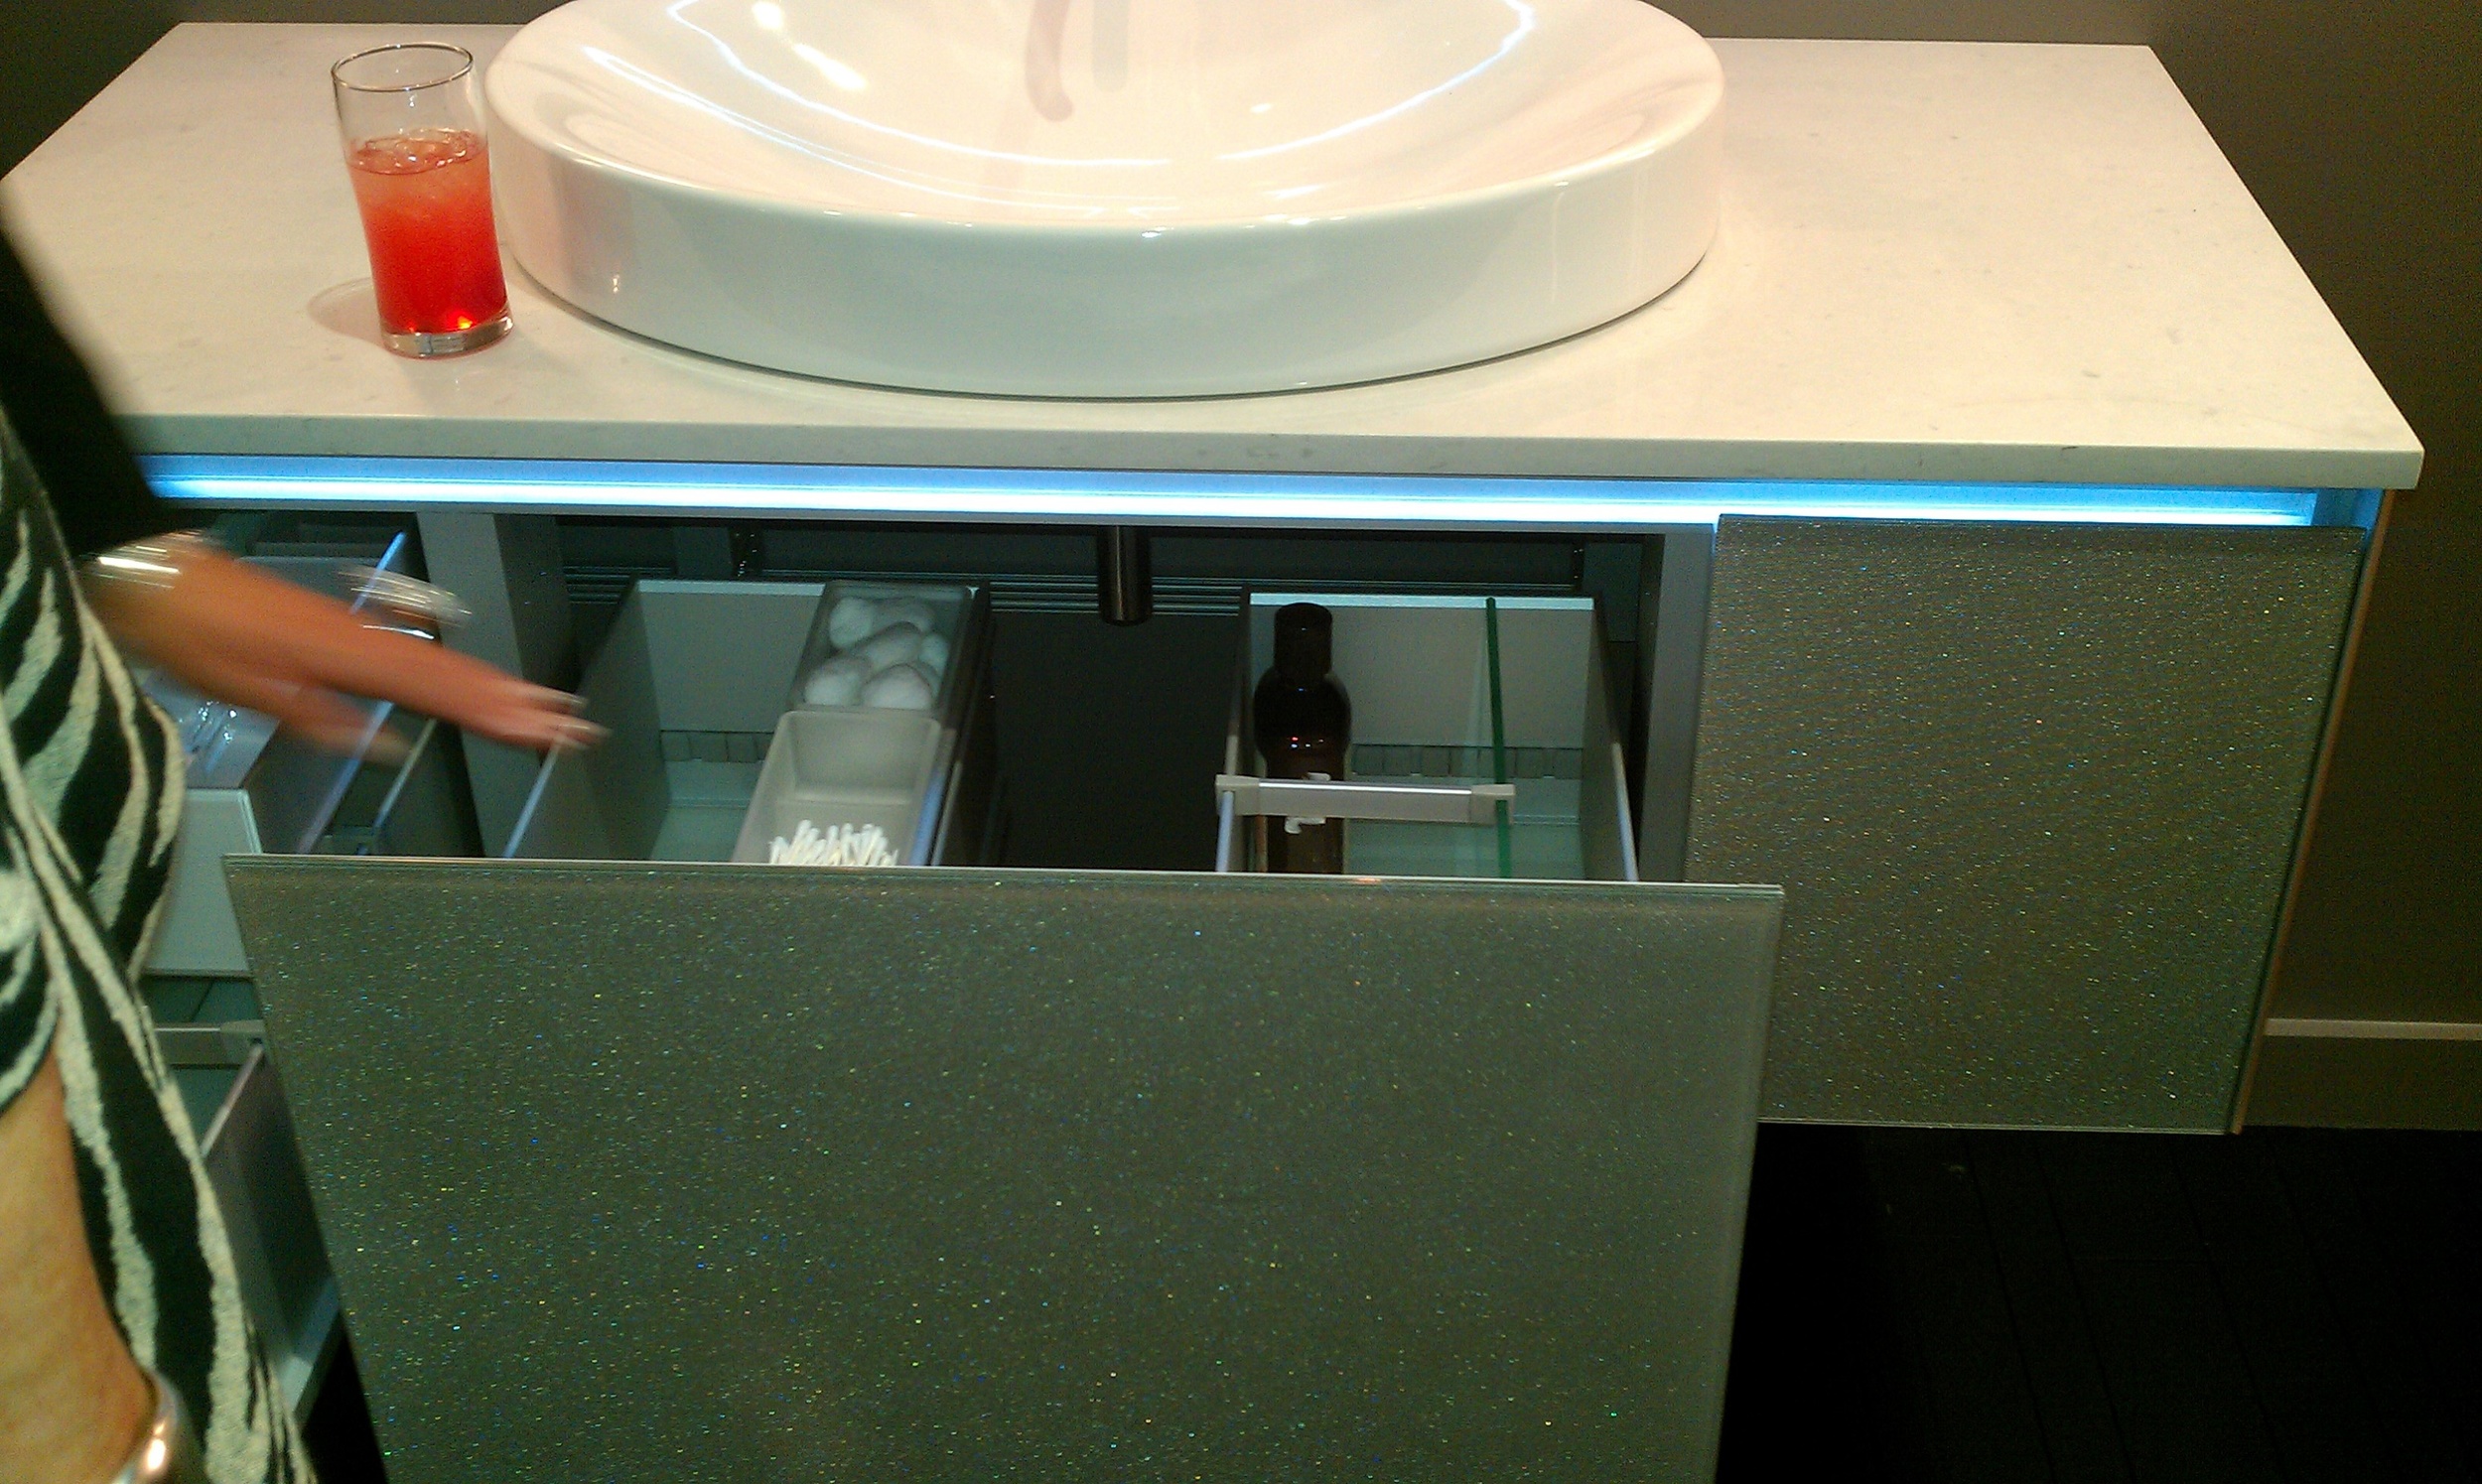
Robern has some really great vanity cabinets on display.  Honestly, I had no idea their product line went beyond the medicine cabinets they are so well known for.  The vanities have glass fronts (of which you can choose several different types of glass), divided drawers for solid organization, integrated power sources, and some really slick lighting.

Restoring a Denver Square...

What's  a Denver Square you ask?

Well, it's a familiar type of home to us that live here in town.  The Denver Square gets its roots from its shape.  Basically it is 4 square rooms on the main floor and four square rooms on the second floor.  The Denver Square style of architecture became popular after the Silver Crash of 1893.  That semi-depression caused architects to hold back on ornamental details and make homes more accessible to those that had lost much of their wealth.

Cheesman Park is home to many of the city's most well maintained Denver Squares.  The owner of this home in Cheesman Park has been working on restoring his property to it's original condition for more than a year now, and I am happy to say that work on the kitchen has officially began.  We've chosen incredibly unique colors and styles for the cabinetry and gone top of the line with a Sub Zero and Wolf package of appliances.  When finished, it will be truly incredible.

Our ambitious design calls for knocking down several walls and installing an 18' LVL (laminated veneer lumber) supporting beam where we once had a load supporting wall.  We are opening up the main traffic thoroughfares into and out of the space and really adding some functionality to a space that desperately needed it.  Our lighting plan calls for a dramatic increase in task and general lighting.

I'm also very excited because we will be reusing some of the original leaded glass panes in the new design.  The entire kitchen is driven off of these lead panes.  Heights and widths for the two main cabinets are driven off the of the size of the leaded glass panes, which in turn dictates our heights for the rest of the cabinetry.  Very cool...

I will update with more photos as work progresses...It will certainly be a dramatic transformation from start to finish.

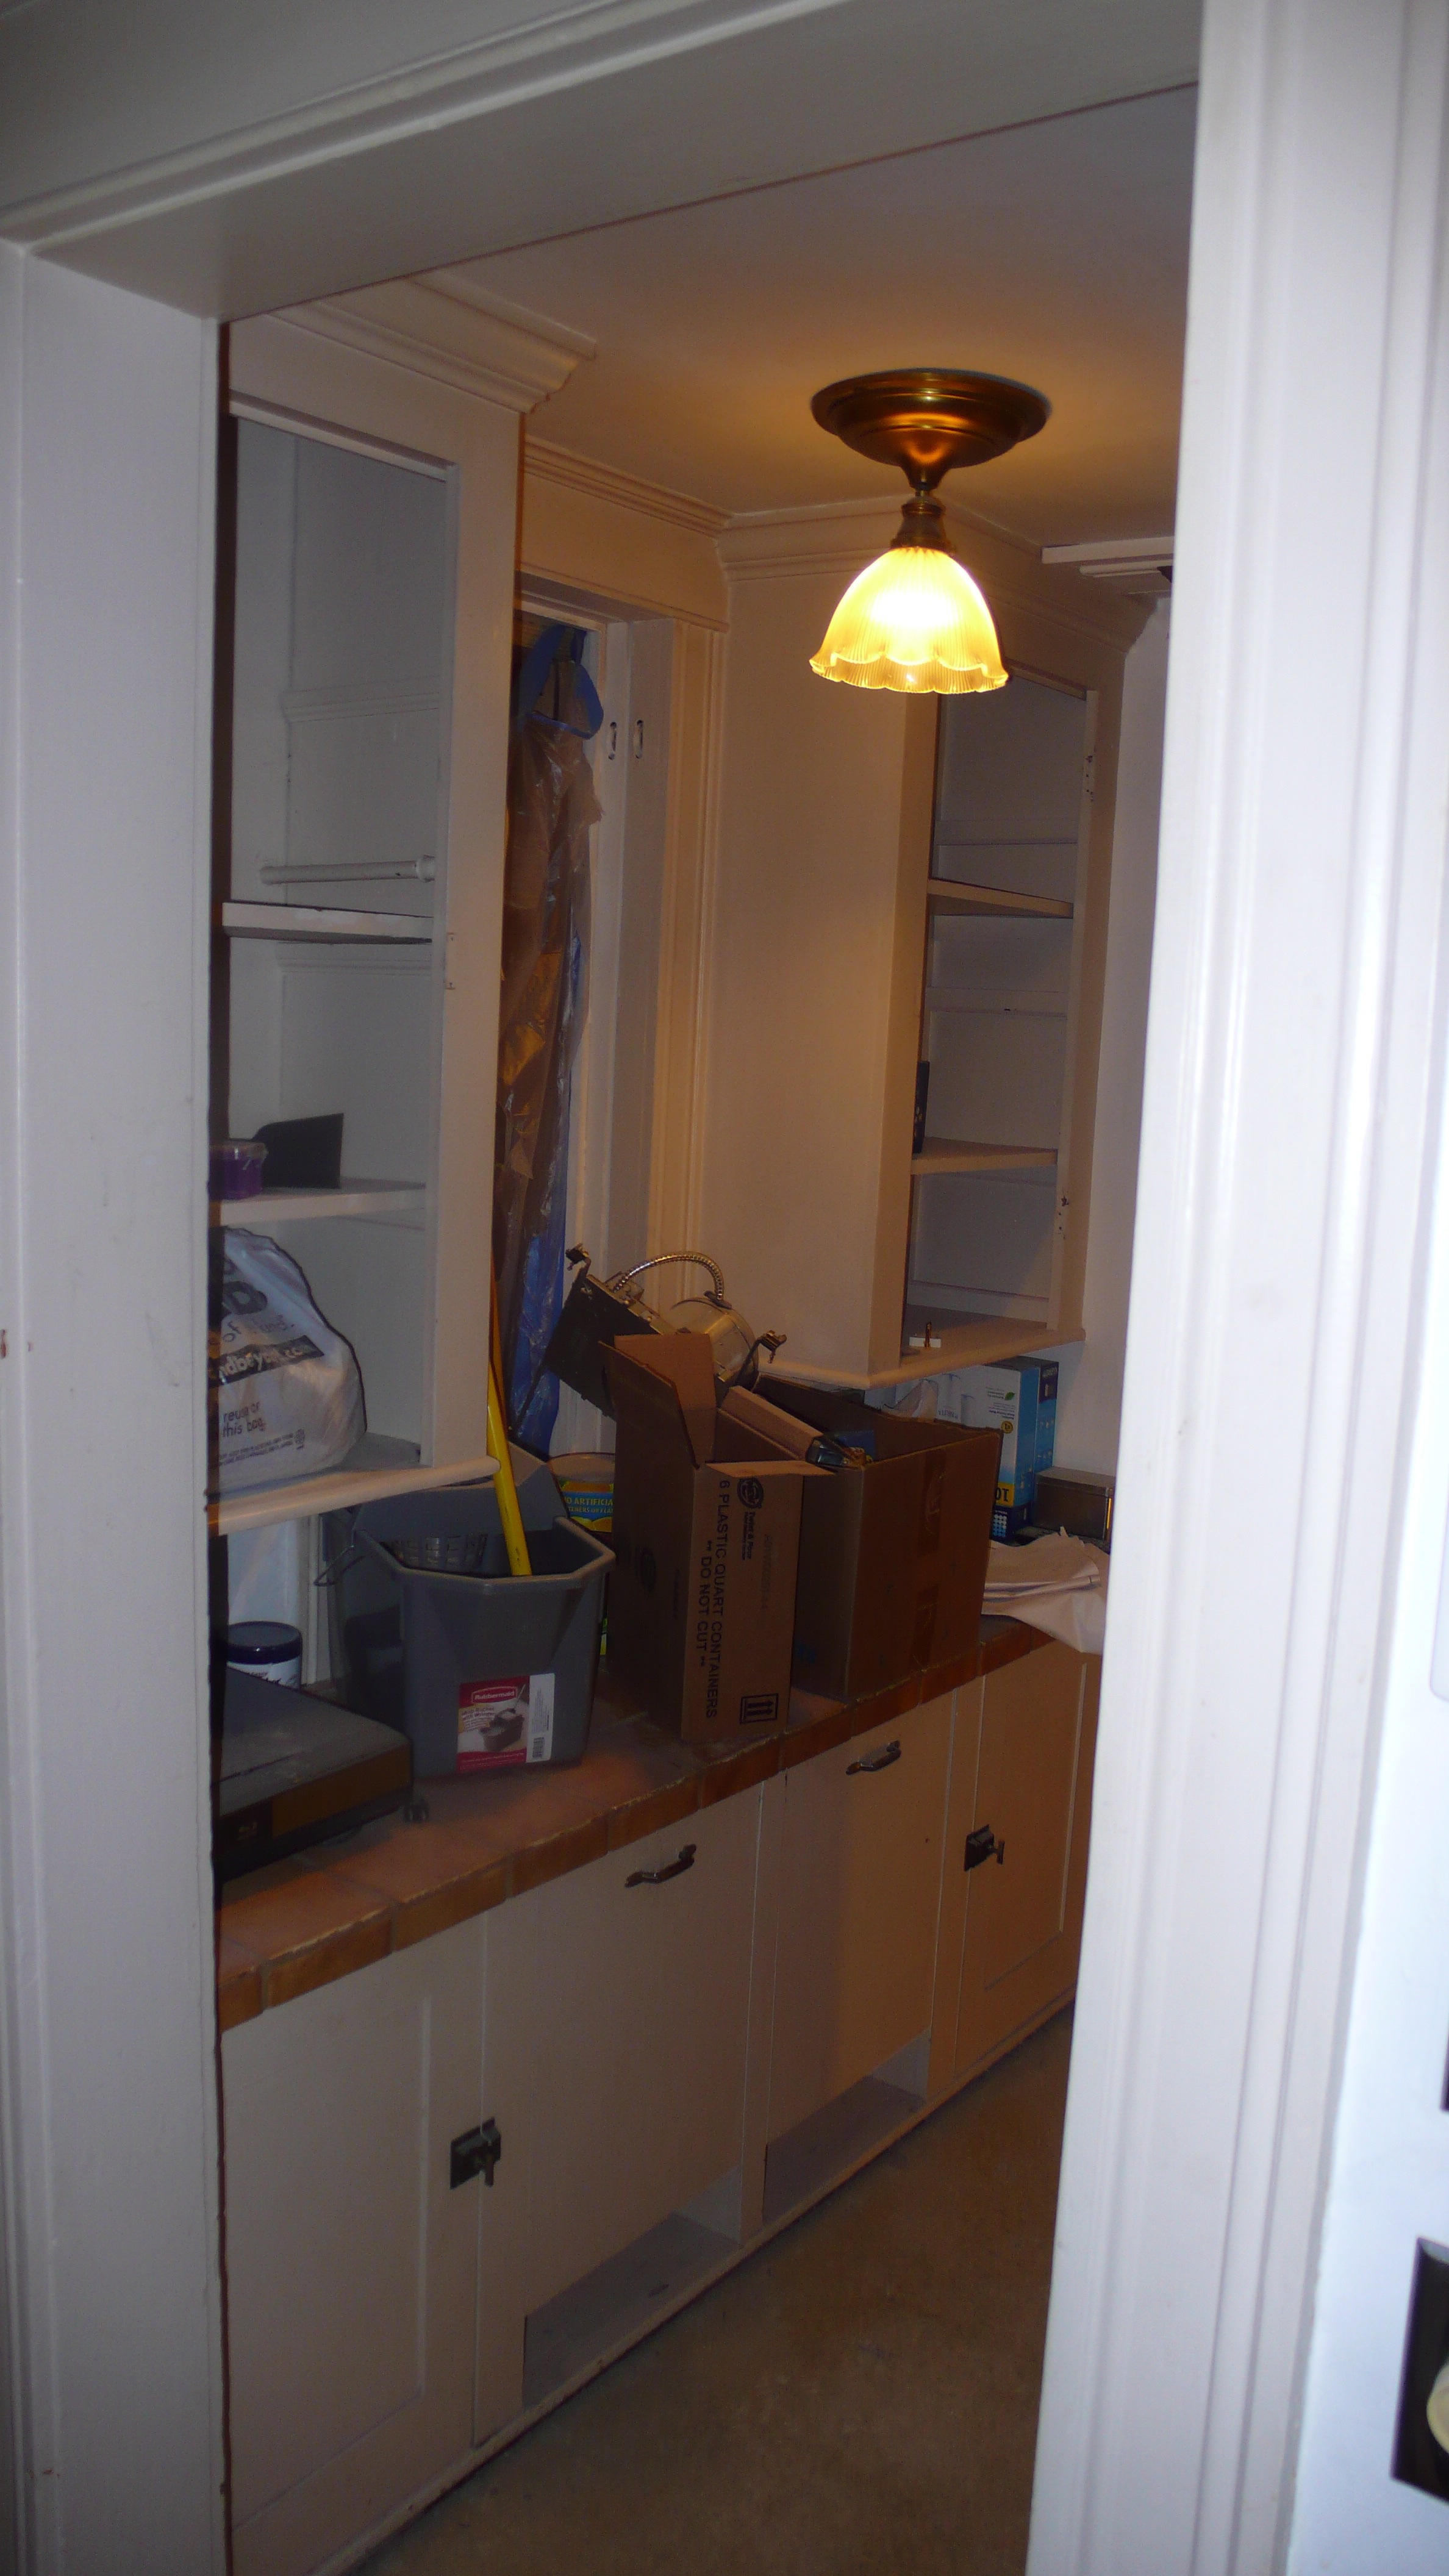
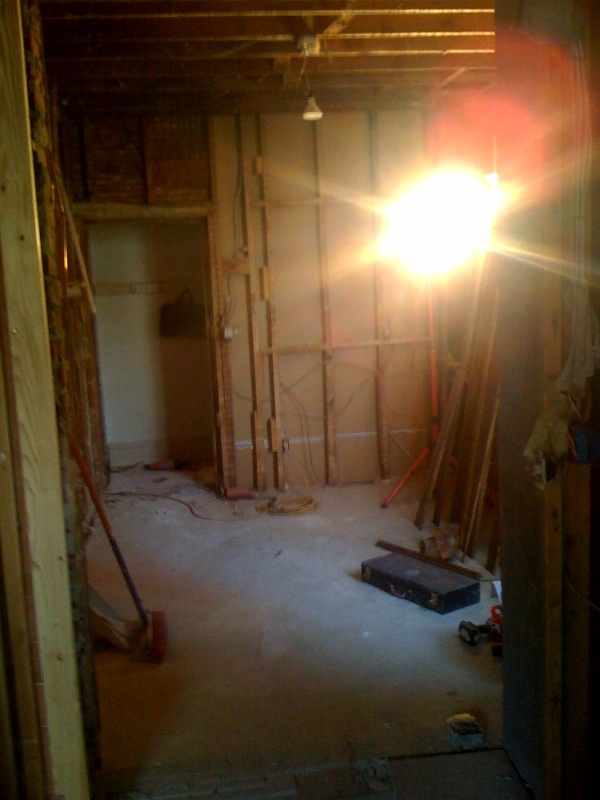
A couple "Before" shots:

Read This: Get an Extra $50 Back on Your New Toilet

Hi All, I'm sorry that it's been a while since I posted to my blog...Things have been hectic.  But excuses are a dime a dozen right?

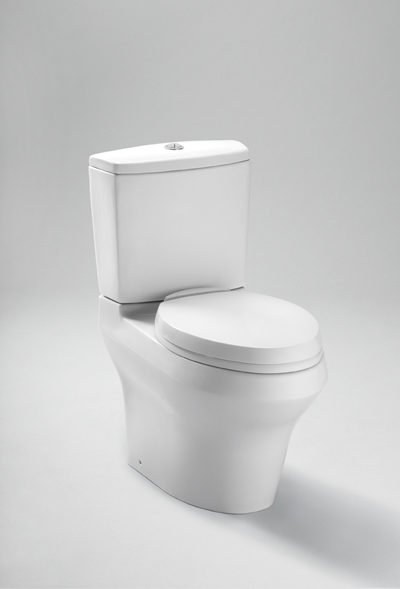
For those of you thinking of remodeling your bath - If you're pretty sure you're going to do it in the next six months, now is the time to go out and buy yourself a new toilet.  I know, I know.  This is not the sexiest blog topic to write about, but it's definitely worth a quick shout because it could save you some moolah on that all-so-expensive remodel.

Denver Water offers rebates on "WaterSense" Certified Toilets, washers, and sprinkler-related plumbing and irrigation items.  Up until recently, a qualifying toilet would get you a nice $125 rebate.  Considering that you can purchase a new WaterSense Certified toilet for under $300, it could be savings of up to 40%.

Starting March 16, 2011, all rebates will be reduced by $50.  What does that mean?  Go out and buy your toilet if you're considering remodeling your bathroom.   Purchase it and store it in your garage.  If you wait until after March 16, your rebate is only worth $75.

Project photos and more informative blogs coming soon...I PROMISE!

Remnants - An Affordable Way to Add Natural Stone to Your Bath Remodel

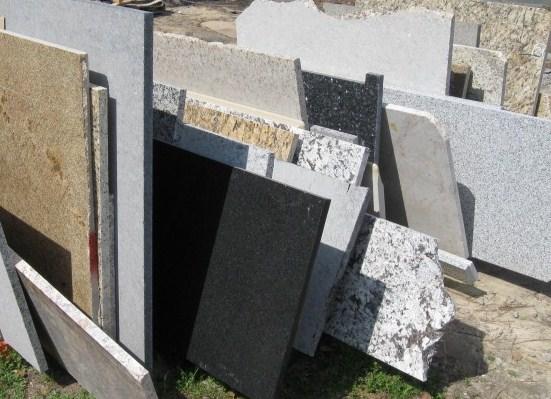
Granite, marble, and quartz prices vary - but most will begin at about $55 per square foot installed for the most basic stock colors.  As you venture into exotics and non-stock colors, prices go up accordingly, and it is not uncommon to find slabs of granite that go for upwards of $3500 per slab.  These are the slabs that look like pieces of art.


In many bathroom remodels, clients desire a distinctive stone, with unique colors and veining.  However, it can be cost prohibitive to buy a full slab (slabs are usually 5' x 9' in size) when only a small piece is needed.  A standard 30" powder room vanity only requires a piece of stone that measures 31" x 22".

Remnants are just that - they're leftovers from previous jobs.  There are many instances where a commercial business - such as a restaurant or hotel may have a large piece of granite left over from a new installation.  Believe it or not, there are also residential clients who end up with large pieces of unneeded stone from a new kitchen or a large bathroom remodel.  A lot of times, they simply leave that stone with the fabricator, who holds on to it and then sells it at a deep discount to anyone who wants it.

You won't find remnants at big stone yards.  Fabricators are the place to go for these pieces.  For most of my bath remodels, I try to steer my clients towards searching for a remnant.  Most of the time, we find something that they love and we purchase for an extremely reasonable price.

Just recently, I found a really nice piece of "Typhoon Bordeaux" granite remnant.  The piece is big enough that we can use it for both of the bathrooms we are remodeling, and we got it at an incredible price.

Searching for the right piece of stone is a pretty time consuming process.  It's one of the more costly items you'll spend money on during your project.  Take the time to visit some local fabricators in your area before you drop thousands on brand new slabs.  You'll probably be surprised by the wide selection available, and if you search long enough, you just might find that perfect piece of stone at a very low price.

Project Featured in Des Moines "Homestyle" Magazine, September 2010

I'm proud to say that our project in Des Moines, IA was chosen to be featured in this month's Homestyle magazine, published by the Des Moines Register.  My project received 6 pages of coverage, along with 11 pictures...

Click HERE to see the online article.  It doesn't contain as many pictures as the print publication, but has the entire written article.

Sinks for Cool People

Ever feel like every time you visit a showroom, there is something new you've never seen before?  The task of choosing your fixtures and fittings for the bath can become an overwhelming chore when faced with the ever growing number of design choices available.  Sinks, maybe moreso than any other product, are constantly evolving.  They are now created with every water impermeable substance that you can think of - ranging from bronze to wood.  A myriad of shapes and installation options are also available.  Wall mount, deck mount, vessel, semi undermount, undermount, self standing....the list goes on and on.

Small guest baths are a great place to make a statement.  Specifying a really great vessel or lav can make the space "pop".  Whereas most guests won't see your master bathroom, almost all of them will visit your guest bathroom at least once during a visit.  Find a unique look for your bath and then focus the rest of the design around that piece.  Spend your money on the pieces guests will use most - the lav.

Here are a few samples of new designs and some companies you may not have heard of previously.  I am  personal fan of Alape sinks.  German engineered with glazed steel construction.  Almost indestructible.  Available in custom colors.  Worth every penny.

Manufacturer: Diamond Spas

Material: Stainless Steel

Manufacturer: Sonia

Material: White Ceramic

Name: Basin P50

Manufacturer: Alape

Material: Glazed steel, inside and out

Name: HB.R

Manufacturer: Alape

Material: Glazed steel, inside and out

Name: WT.RS

Manufacturer: Kohler

Material: Bronze

Name: Katagami

Manufacturer: Franke USA

Material: Stainless Steel

Name: PRX720CS

Manufacturer: Elkay

Material: Stainless Steel

Name: Avado Sink Package | EFT402211C

The Basics of LED Lighting

You may have heard about LED lighting as a new technology being introduced into home remodeling projects that require new lighting sources.  It is being touted as energy efficient, and low profile, which are two things that homeowners will surely be interested in.  LED stands for Light Emitting Diode.  What the heck is that though?  Basically, it is a semiconductor diode which has electrons (electricity) passed through it.  When the electrons hit the diode, they fill tiny holes in the device, and this produces photons, which are released in the form of electroluminescence, or light.  This is probably more information than you need, but now when somebody asks you what an LED light is, you can answer the question with an educated answer, instantly wowing your conversation partner. 

Forms of LED Lights: There are bulbs, flourescent tubes, tape strips, rigid sticks, pucks, and these applications can be used outdoors and indoors. 

[gallery columns="4"]

Energy Consumption:  Energy Star rated LED lights consume 75% less energy than incandescent bulbs.  They reduce maintenance costs because they do not have to be changed out as much as normal bulbs.  LED's produce very little heat.  Also, LED lights won't break like incandescent bulbs, so there is no risk of breakage. 

Uses:  LED lights are being used more and more often in home remodels, specifically in the kitchen.  The most widely used applciation is for undercabinet lighting.  Something like THIS makes a great undercabinet task light.  It used very little energy and won't heat up the bottom of your cabinets.  LED lights are also finding their ways inside cabinets.  These LED puck lights produce warm colors, similar to an incandescent bulb, and make great interior cabinet spot lights for glass front cabinets that are used to display items.

Costs: The good news is that you probably won't ever have to change one of these bulbs for 20 years.  The bad news is that the costs are more than a regular incandescent bulb or halogen light.  Figure on paying 50% more for an LED light vs. a regular incandescent.  As the technology progresses and more manufacturers enter the market, these prices will fall dramatically.  However, as the technology is still fairlyl new, expect to pay more for this product, as you would for any premium upgrade. 

Where to find in Denver: Any kitchen and bath designer will have access to hundreds of different LED forms and styles.  However, if you are interested in viewing these lights in person, you can always visit Foothills Lighting or your local Home Depot.  A designer lighting store, such as Foothills, will have many more options and styles to choose from.

I'm Still Writing...But Now I am Sponsored!

I'm happy to report that I've been brought on board at Examiner.com as the Cherry Creek Home Improvement Examiner.  Examiner.com is a website dedicated to information about our specific cities, written by local insiders.  Each city has its own site, and employs "examiners" in different professional fields to write articles on everything from restaurants to gardening. 

I will be using the Examiner.com platform for more formalized content, while this site will continue to be updated with more personalized things, such as recent projects, upcoming events, and side projects. 

You can view my introductory post to the site here

8 Steps to A Successful Kitchen Remodel - Steps 7 & 8

Steps 1-3 Steps 4-6

We're into the last two steps of this remodel, and I've yet to mention a word about the actual construction.

How can you write an article about successfully remodeling a kitchen and not mention the construction until Step 7?  The truth of the matter is that at this point in the process, everything SHOULD be set into motion.  You've hired your team, ordered product, and scheduled your installs.  Now is the point in the process where hiring a good team will really pay off.  If you've done your homework and laid the proper foundation, now is the time to step back and let the pros do their thing.

7. CONSTRUCTION

As previously mentioned, the beginning of construction is determined by the cabinet delivery date.  A normal time frame calls for construction to begin around 2-3 weeks prior to cabinet delivery.  Obviously, the more dramatic the structural changes to the home, the longer lead times you'll need to account for with your schedule.

Your contractor should seal off the affected areas and lay down a protective layer on the floors to and from the entry way that will be used.

Demo is followed by flooring, plumbing and electrical.  Your kitchen designer should have reviewed all outlet and switch locations, specified electrical and plumbing requirements, and laid out your ceiling and task lighting.  Your kitchen designer should be on site before and during any major events in the construction process to hash out any details and work around any issues that may arise on the job site.  As I said before, your designer acts as your "agent" throughout the process.  This is the point in the process where you'll wonder how people do a remodel without a designer.

After the floors are laid, rough plumbing and electrical is complete, and your drywall is hung, taped, and dry, you're ready for cabinet installation.

TIP:  At this point, all of your finishing products should be on site.  Appliances, tile, cabinetry, sinks, faucets, lighting and any other adornments which will finish the kitchen should be sitting peacefully in your garage.

Your base cabinets will generally take anywhere from 3-6 days to set in place permanently.  Granted, for jumbo kitchens, or kitchens with intricate details and mouldings, this may take longer.  But generally speaking, one week is standard.

Your countertops should be templated as soon as the base cabinets are set.  Again, this responsibility lies with your professionals, most likely your designer.

Wall cabinets and appliance housings usually take another week.  Your contractor will schedule his electrician to coincide with the appliance installer, making for a seamless day of install on the appliances.

Once cabinets and appliances are set in place, you counters will be installed.  This takes one day.

What you'll notice during the construction process is that in the beginning, it will seem like things are dragging along.  You won't see major differences in the space visually during the first week or two.  It's not until the cabinets, appliances, and counters are set that you'll begin to walk in and say "WOW!".

On large ticket remodels and complicated projects, it is a good idea to meet with your team at the beginning of each week.  The progress meetings are invaluable as a communication tool.  Contractor, designer, and client will exchange progress, set goals for the upcoming week, and talk about any issues that have arisen and possible solutions.  It is vital to everyone's happiness and stress levels that these meetings take place on a regularly scheduled basis.

An average kitchen remodel will entail workers in your home for 6-8 weeks.

As a homeowner, the most important thing to remember during the construction process is to stay calm, collected, and patient.  Keep your communication lines open.  NEVER assume anything.  Your kitchen designer (if they are any good) will talk to you on a daily basis to keep you updated on progress and discuss any concerns you may have.  Rely on your professionals and realize that almost no kitchen remodel goes perfect from start to finish.  You're going to encounter issues.  How you handle these issues will be the difference between nightmare and dream projects.

8.  WRAP IT UP AND ENJOY!

You've made it this far.  Your kitchen is functional and you're only seeing the occasional worker in your house now.  This is the home stretch.

Now, its time to create your punchlist.  The punchlist is actually a document that, once complete, will effectively complete your contract and hold you liable for any outstanding balance you owe to your contractor or designer.

Walk through your new kitchen.  Test every appliance.  Pull out every drawer and open every door.  Check for knicks or scratches on the cabinetry.  I suggest that my clients walk around with a post it pad, a standard pad of paper, and a pen.  Write down everything that is not exactly right.  Put a post it note on all areas where paint needs to be touched up.

You will submit this punchlist to your designer/contractor.  A day or two later, you should have a "service technician" in your home, fixing all the little items that you defined in your punchlist.

Confirm that these items are complete and sign off on the job being complete.  AND YOU'RE DONE!

In Summary:

A kitchen remodel is a very significant change in your home.  It will disrupt your life for six months.  In my opinion, the most important factor in a success vs. a failure is communication.  You must voice your wants, needs, and desires to your professional team.  Keeping this line of communication open is vital to achieving the vision that you first had in mind when the process began.

I hope that this article has been informative.  Happy remodeling!

Manhattan Loft: The Perfect Example of Modern Multi-Use Space

When these clients came to me, I was still working as a finish carpenter on custom kitchens in Connecticut.  They had an amazing loft in the Chelsea neighborhood of New York, but there was a corner of the apartment that really needed an upgrade. It's a laundry room, a desk, a storage area, and a lounge area - All in about 150 square feet.  You say it's impossible to squeeze all that functionality into a sleek, user-friendly space?  I guess you have to see it to believe it, and I've got the pictures to prove it.

Element 1: Laundry.  We unstacked the washer and dryer and placed them side by side.  I wrapped the units in an extra-high custom unit that has pocket doors, which can be opened and stored under the counter when not in use.   We added an 18" undermount stainless steel sink to the left and topped the entire unit with absolute black granite, honed.

Element 2: Desk.  The sturdy 2" thick desktop is solid walnut, custom built for this project.  The metal leg is also a custom piece, fabricated by a metal shop in Queens.

Element 3: Lounge.  Maybe the most complicated part of this project was figuring out how to create a built-in day bed with storage drawers underneath.  We fabricated a face frame for the front of the bed at the shop.  The rest was built on site by myself.  Solid walnut drawer fronts span the entire front of the cabinet.  The drawers provide ample storage underneath the bed.

Element 4: Storage.   Dramatic 9' tall solid walnut doors are hung using "invisible" Soss hinges.  The drywall serves as our casing, providing a very clean vertical element in the space.  Tons of storage inside.  The wall cabinet doors all hinge upward and have pneumatic gas lid stays.

Special thanks to Mark and Danny for helping me hang those wall cabinets!

[slideshow]

8 Steps to Follow for a Successful Kitchen Remodel: Steps 1-3

The cabinetry is hopelessly outdated, your appliances are on their last leg, and you're simply tired of not having the amenities that you want in your kitchen...

You've torn out pages from design magazines, casually browsed for new appliances, and talked endlessly about the possibilities for your new kitchen.  So when the time comes to finally put those thoughts and aspirations into motion, where do you begin?

What steps ensure that your finished remodel will actually bare some resemblance of all the visions in your mind?

It can be a daunting challenge - remodeling a room in your home.  The kitchen, no doubt, is the most used, and most viewed space in your home.  Whereas a small design mistake in another room in your house, perhaps the study, may go unnoticed by yourself and others, a mistake in the kitchen will rear its ugly face every day.  It can't be stressed enough that proper planning in the pre-construction phase of the project is the most important aspect of any remodel.  This is amplified ten fold for a kitchen remodel.

Where to begin??!

As a kitchen and bath designer, I have had the opportunity to work on some amazing remodels.  There are some basic rules, or steps, that I follow during every project and I have found that sticking to these steps is a very effective way to ensure that all of my projects are conceived fully, run smoothly, and achieve an end-result that is pleasing to my clients.

As a general rule of thumb, if you follow these basic guidelines, it will greatly increase your chance of completing a successful remodel.

1.  WHAT'S YOUR STYLE?

Whether it is contemporary, traditional, french provincial, arts and crafts, or any number of other styles, you'll need to identify what sort of "feel" you want for your kitchen.  You may not know what your style is until you see it.  Flip through magazines, browse websites, take note of your neighbors' kitchens.  Pull out pages from magazines, print pictures from websites, and assemble a folder with all of these items.  It may be a certain color that you saw on in an advertisement for cabinetry, or a door handle that you saw in your neighbor's kitchen.  Whatever it may be, take note of it.  These design choices will come together and identify the style you're interested in.

contemporary kitchen

If you already have a clear vision of what style you want to achieve with your new space, then you're already ahead of the game.

Textures, colors, and materials all play a role in the style of the kitchen.  For instance, if you're looking for a "mountain" feel for your space, consider rustic woods such as knotty alder.  Consider a painted white finish or cherry / maple specie for a traditional kitchen.

traditional kitchen
traditional kitchen

2.  WHAT IS YOUR BUDGET?

Usually, one of the first questions that you should talk honestly about is your budget for the project.  Consider that an average sized kitchen can be remodeled from $25,000 to $250,000 depending on the materials, scope of labor, design fees, and appliances.

The overall cost of a kitchen remodel is usually somewhere between 12% - 20% of a home's value.  Using a hypothetical situation, we will use a $500,000 home value and 15% variable for the overall budget = $75,000 overall budget.

Using the hypothetical situation above, we can break down the remodel into the major components, and the amount of the budget that is typically used for each area.

40% Cabinets:  $30,000

15% Appliances: $11,250

8% Countertops: $6,000

7% Floors: $5,250

5% Lighting / Electrical: $3,750

3% Tile: $2,250

2% Sink/Faucet: $1,500*

20% Labor: $15,000

*assumes one sink/faucet

Figuring your budget and being realistic will make the entire process run more smoothly from start to finish.  You will have the ability to be up front with your contractor, your designer, and your self in the early stages of the project.  Knowing budgets helps the contractor in choosing his materials, and it will guide your designer in his/her drawings so that the space comes in at or beneath your budget.

Obviously, choosing higher end products in one category will mean you will have to choose lesser priced materials in another.  This is usually the case.

3.  ASSEMBLE YOUR TEAM

I can't stress this enough.  No other factor in the entire process will make or break your project faster than assembling the right people for the job.  Spend the time up front to find experienced, reliable, and proven professionals to come on board for your project.  But this still leaves the question, what kinds of professionals do you really need?

1.  Kitchen Designer

2.  General Contractor / Builder

3.  Architect*

*Architects are usually only employed when major structural changes are called for.

DESIGNERS: Hiring a designer is the first step here.  Your designer will be your "agent" throughout the entire process.  They quarterback the entire project from start to finish.  They will help you finely tune your vision and will be able to provide cabinetry, countertops, appliances, tile, and flooring.  Employing a designer is vital to a project's success.  A great place to start your search for a Kitchen and Bath Designer in Denver is the National Kitchen and Bath (NKBA) website. CLICK HERE

GENERAL CONTRACTORS / BUILDERS: Most likely, your designer will have a list of preferred contractors or builders that they work with on a consistent basis.  However, it is up to YOU  to choose your contractor.  RULE:  Always interview at least three general contractors before choosing one.  You may have a family member who recently did some work on their house and was 100% satisfied with their contractor.  Get a referral.  The best way to actually gauge a reference is to speak to someone who is currently having work done on their home.  Ask them how things are going.  Is the project on schedule?  Is it within your original budget?  Do the workers show up on time and behave appropriately while on the job?  The more information you have the better, so don't be afraid to ask questions.  General Contractors are responsible for pulling building permits, all plumbing and electrical, painting, and flooring.  Each project is different, so you may only employ them for certain pieces of your remodel, while sourcing the other pieces elsewhere.

ARCHITECTS: Unless you are planning major structural changes to your home, i.e. an addition or full house gut, you probably will not need an architect.  However, if your plans call for major structural work in any part of the home, it can be a good idea to employ an architect.  Here is a list of Denver's AIA certified architects:  CLICK HERE

NEXT - STEPS 4-6

Kitchen Remodel - Highlands Ranch

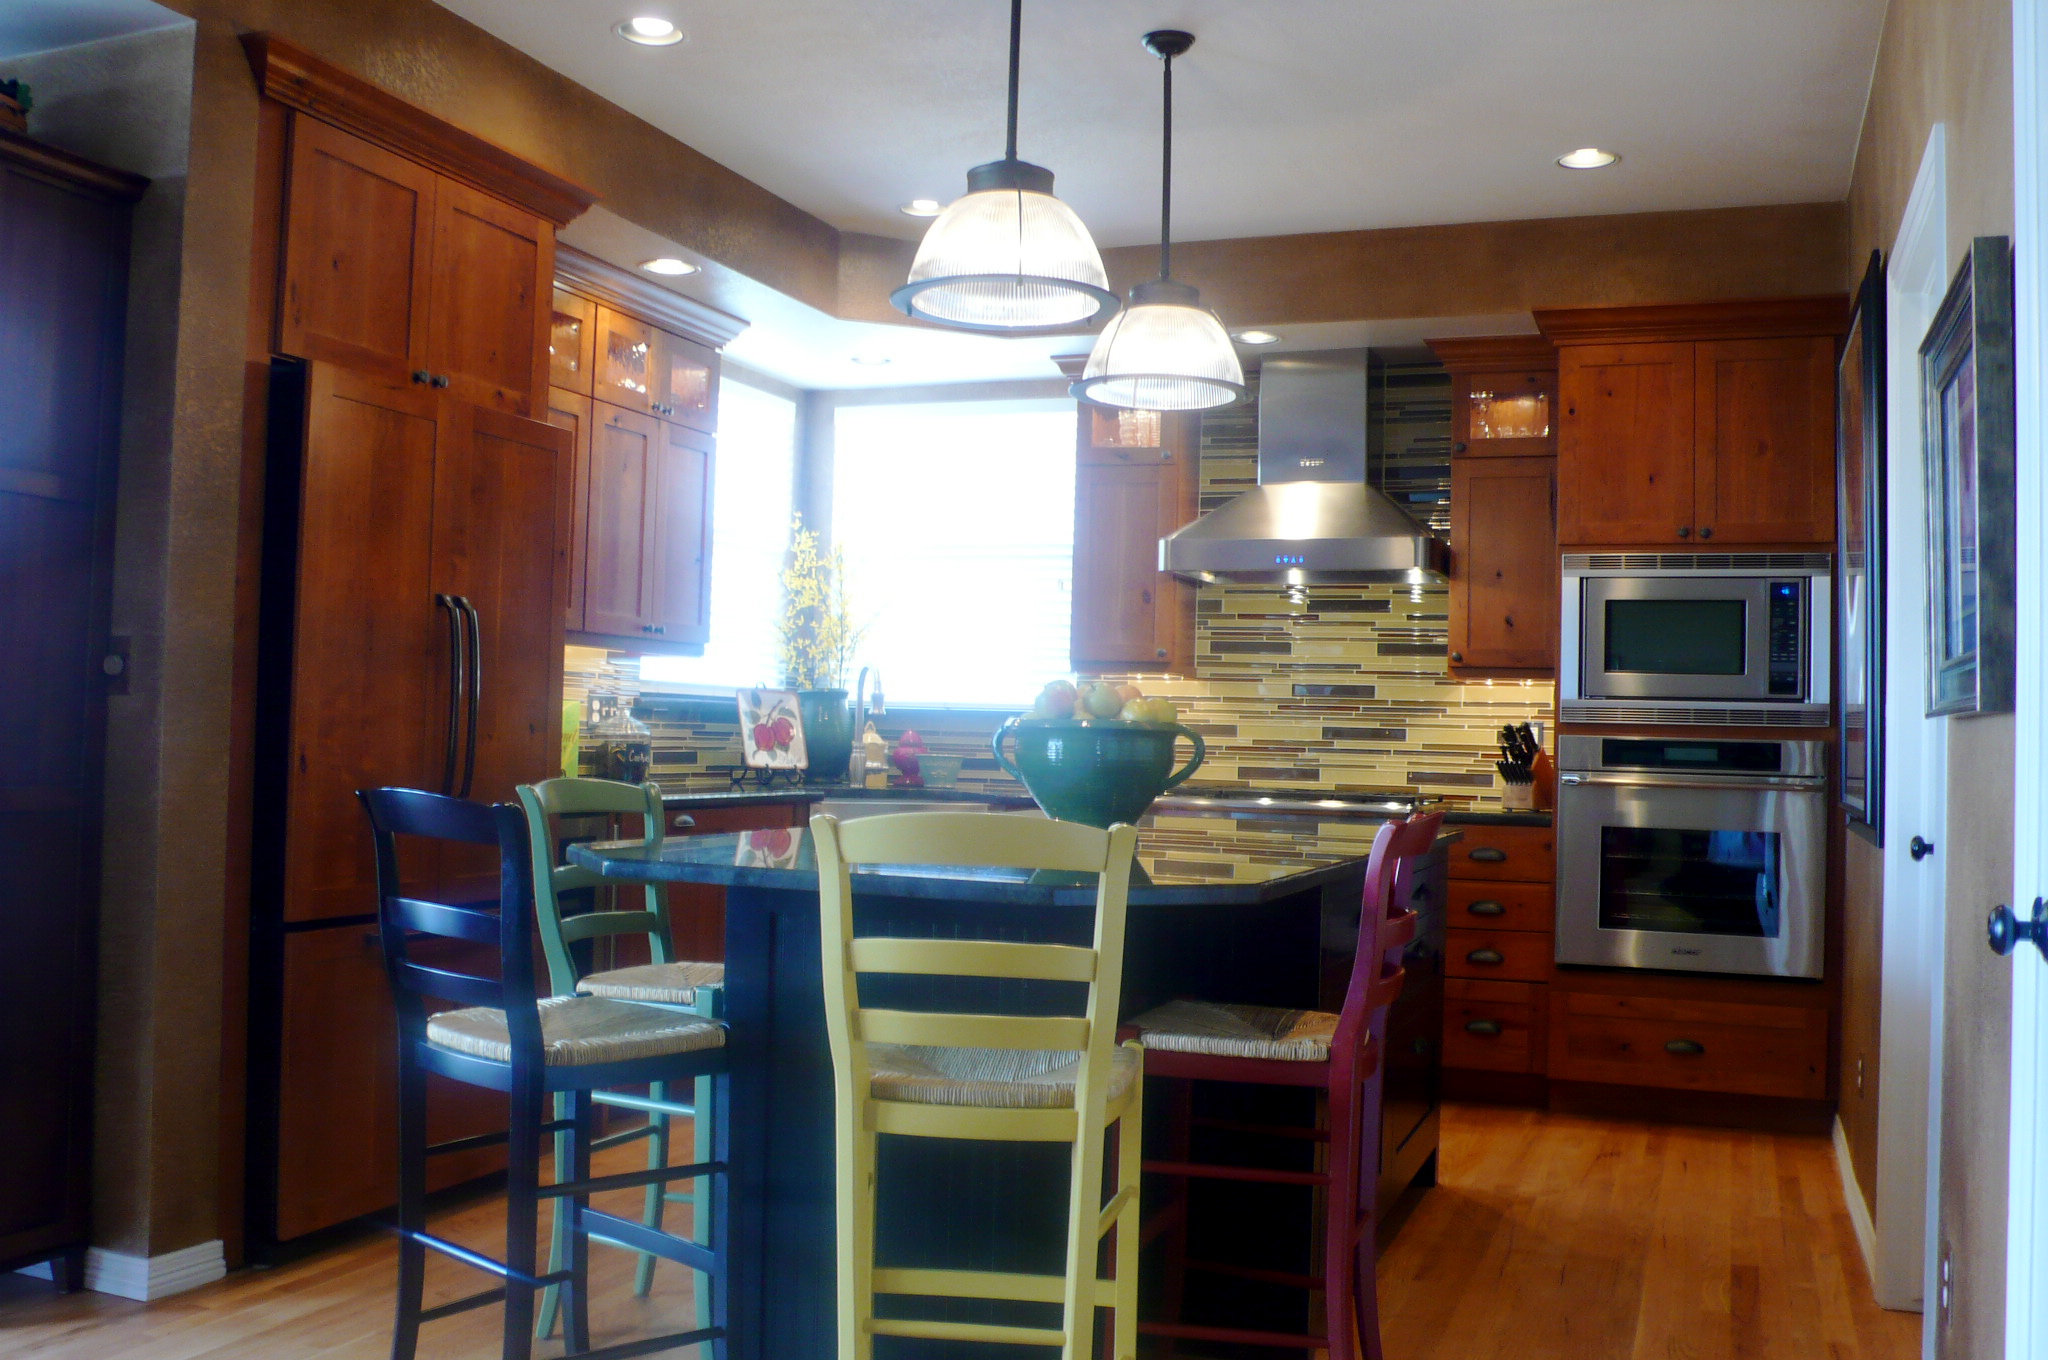
Rustic Cherry cabinetry is complimented by the black island, which was made by the homeowner in his basement.  An angled stainless steel farmhouse sink marries the oven tower to the refrigerator and is centrally located to everything in the kitchen.  It was a project that moved along very quickly from start to finish.  This was very much a collaborative process with the homeowner, who had a very good idea of what she wanted before the project began.  We bounced ideas off of each other, debated the aesthetic value of different materials and eventually came up with a design and color palette that works perfectly for the house and most importantly for the clients.

Cabinetry: Rustic Cherry, "Sunset" Stain, Shaker Style Door

Backsplash: Random size interlocking glass, by DalTile

Countertops: Granite, "   "

Ovens / Micro: Dacor Convection Microwave / Oven Combination w/ 30" SS Trim Kit

Refrigerator: Kitchenaid 36" French Door with Matching Panels

Dishwasher: Kitchenaid

Range: Dacor 36" Gas

Venting: Dacor 36" stainless steel chimney style hood

Slideshow of Entire Project:

[slideshow]

Kitchen Remodel - Des Moines, IA

Project A takes place in Johnston, IA. My mother in law is a big entertainer.  She loves to throw parties and have people over.  Her home is constantly abuzz with visitors and family members.  The old kitchen was not a good fit for her.  It was closed off and outdated.

The appliances were 15-25 years old.  Linoleum floors.  Formica countertops.  The lighting was insufficient.  The footprint of cabinetry and the dividing wall between the kitchen and great room made the space feel twice as small as it actually is.

Basically we removed the wall that divided the kitchen from the great room, added more functional interior cabinet fittings, and updated the materials and appliances.

Cabinetry: Maple and Lyptus, slab doors

Cooktop:  Miele 36" 5-Burner Induction

Oven / Micro: GE Advantium 30" Combination Micro / Oven

Fridge: Sub Zero 42" stainless steel with dispenser

Dishwasher: Miele LaPerla

Venting: Miele 42" telescopic hood (raises and lowers up to 12" by touch button)

Flooring: 12x24 tile

Countertops:  Granite, "Iron Red"

P1030595
P1030595